


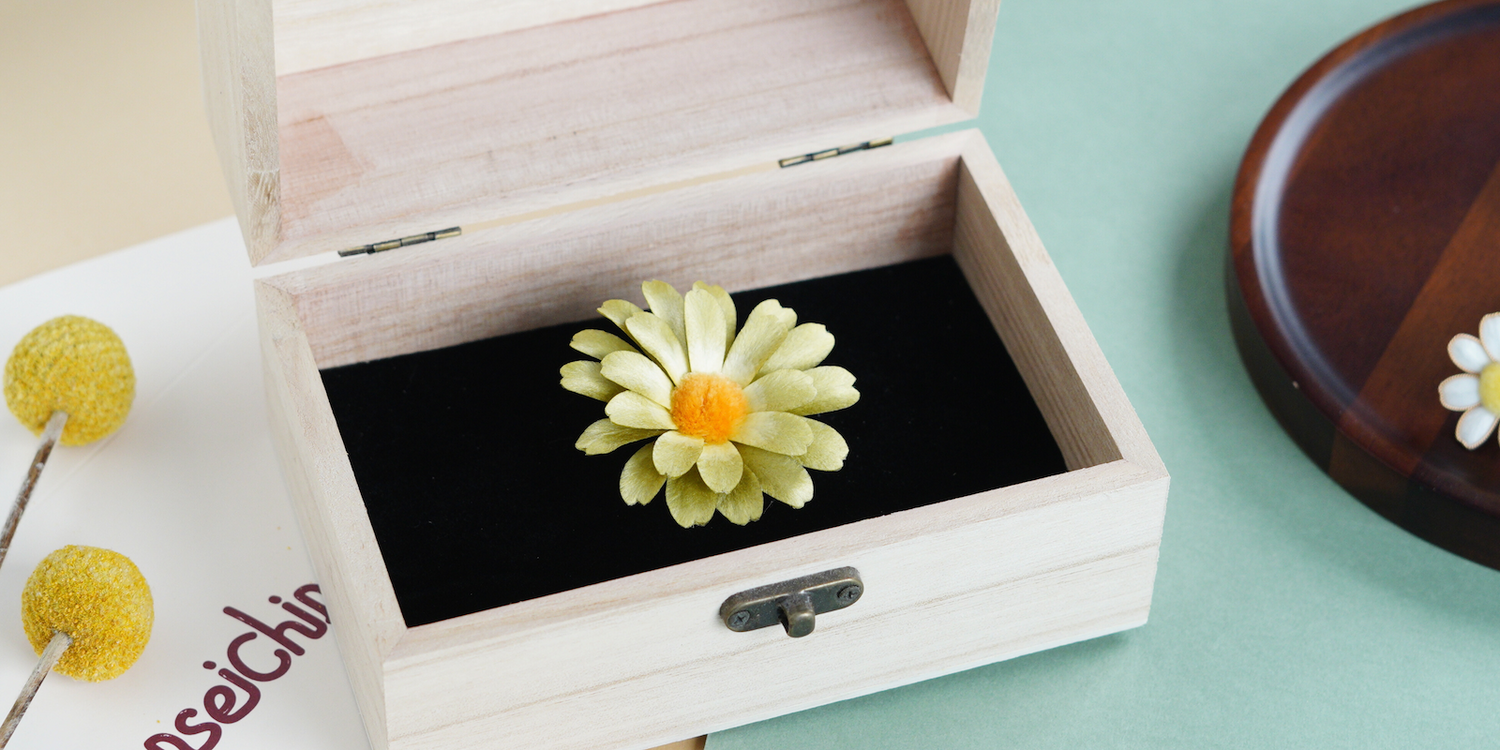
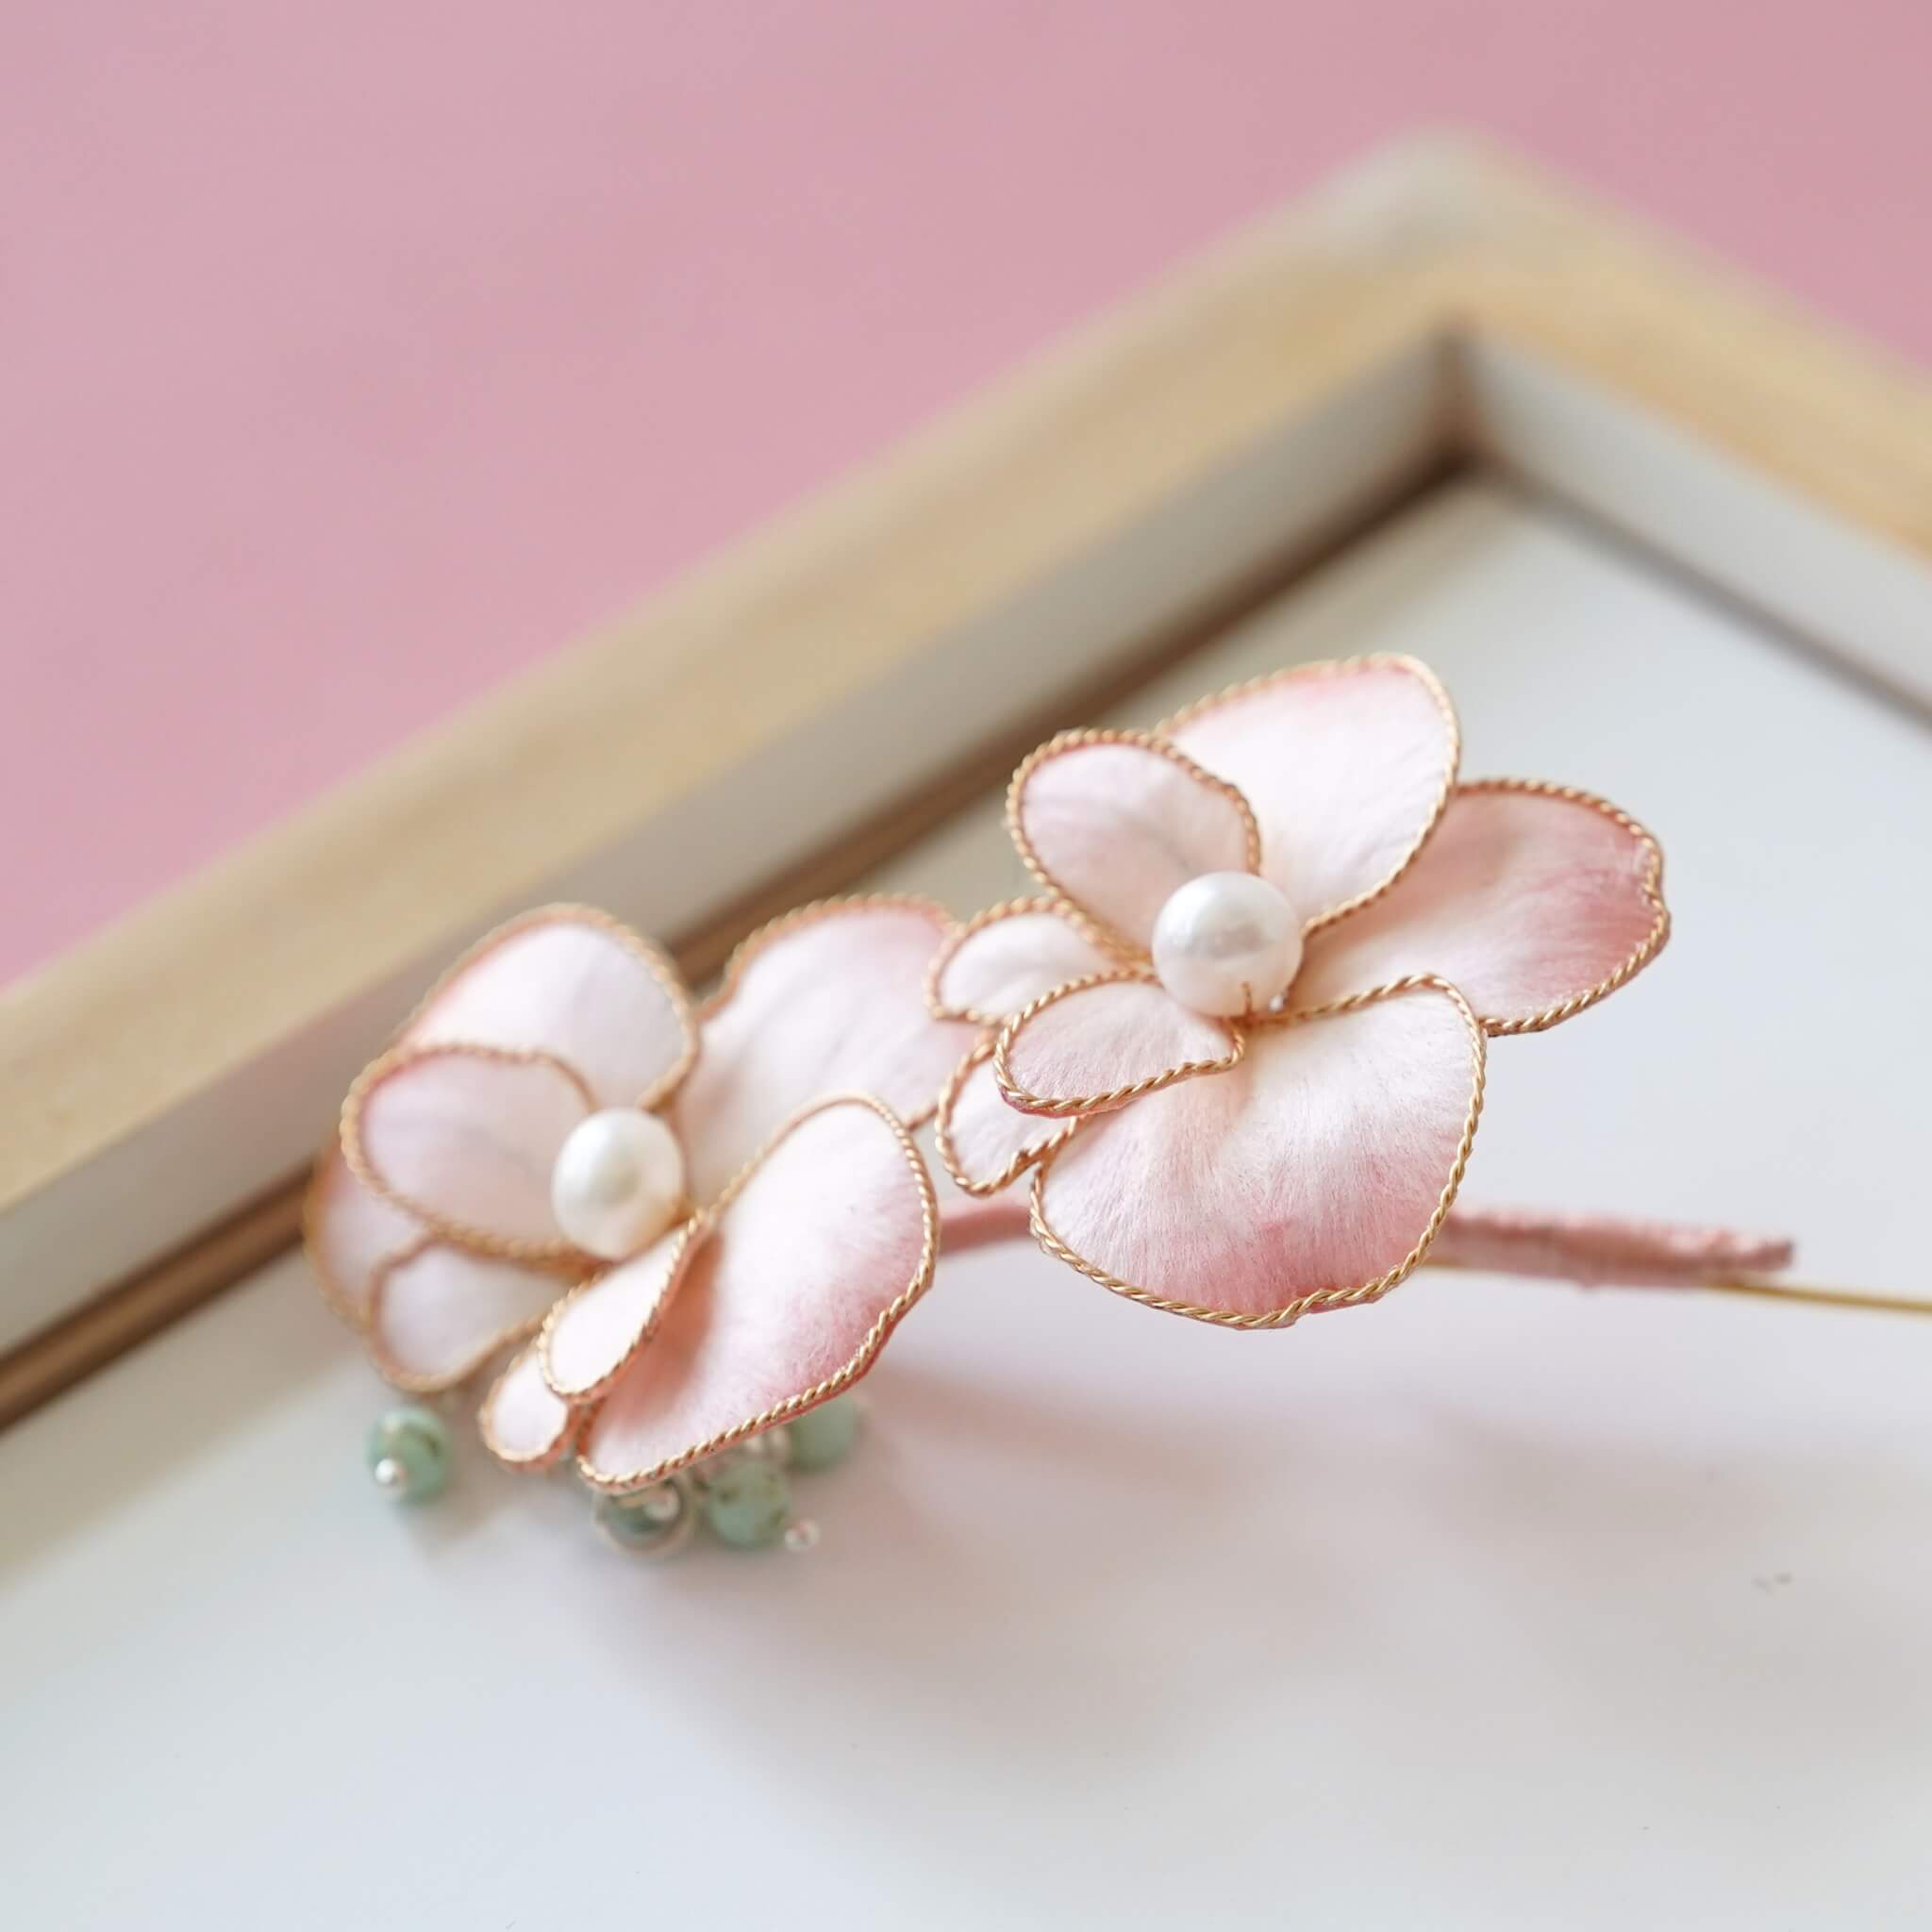
With layered silk petals and a softly textured center, this daisy ring has a light, fresh look that feels gentle and natural on the hand. Although delicate in appearance, the process requires careful shaping and precise assembly to achieve the daisy’s balanced form.
We have good news for you: all the petals you will need in this project are pre-made, so you can just shape, assemble, and enjoy the moment your daisy ring comes together.
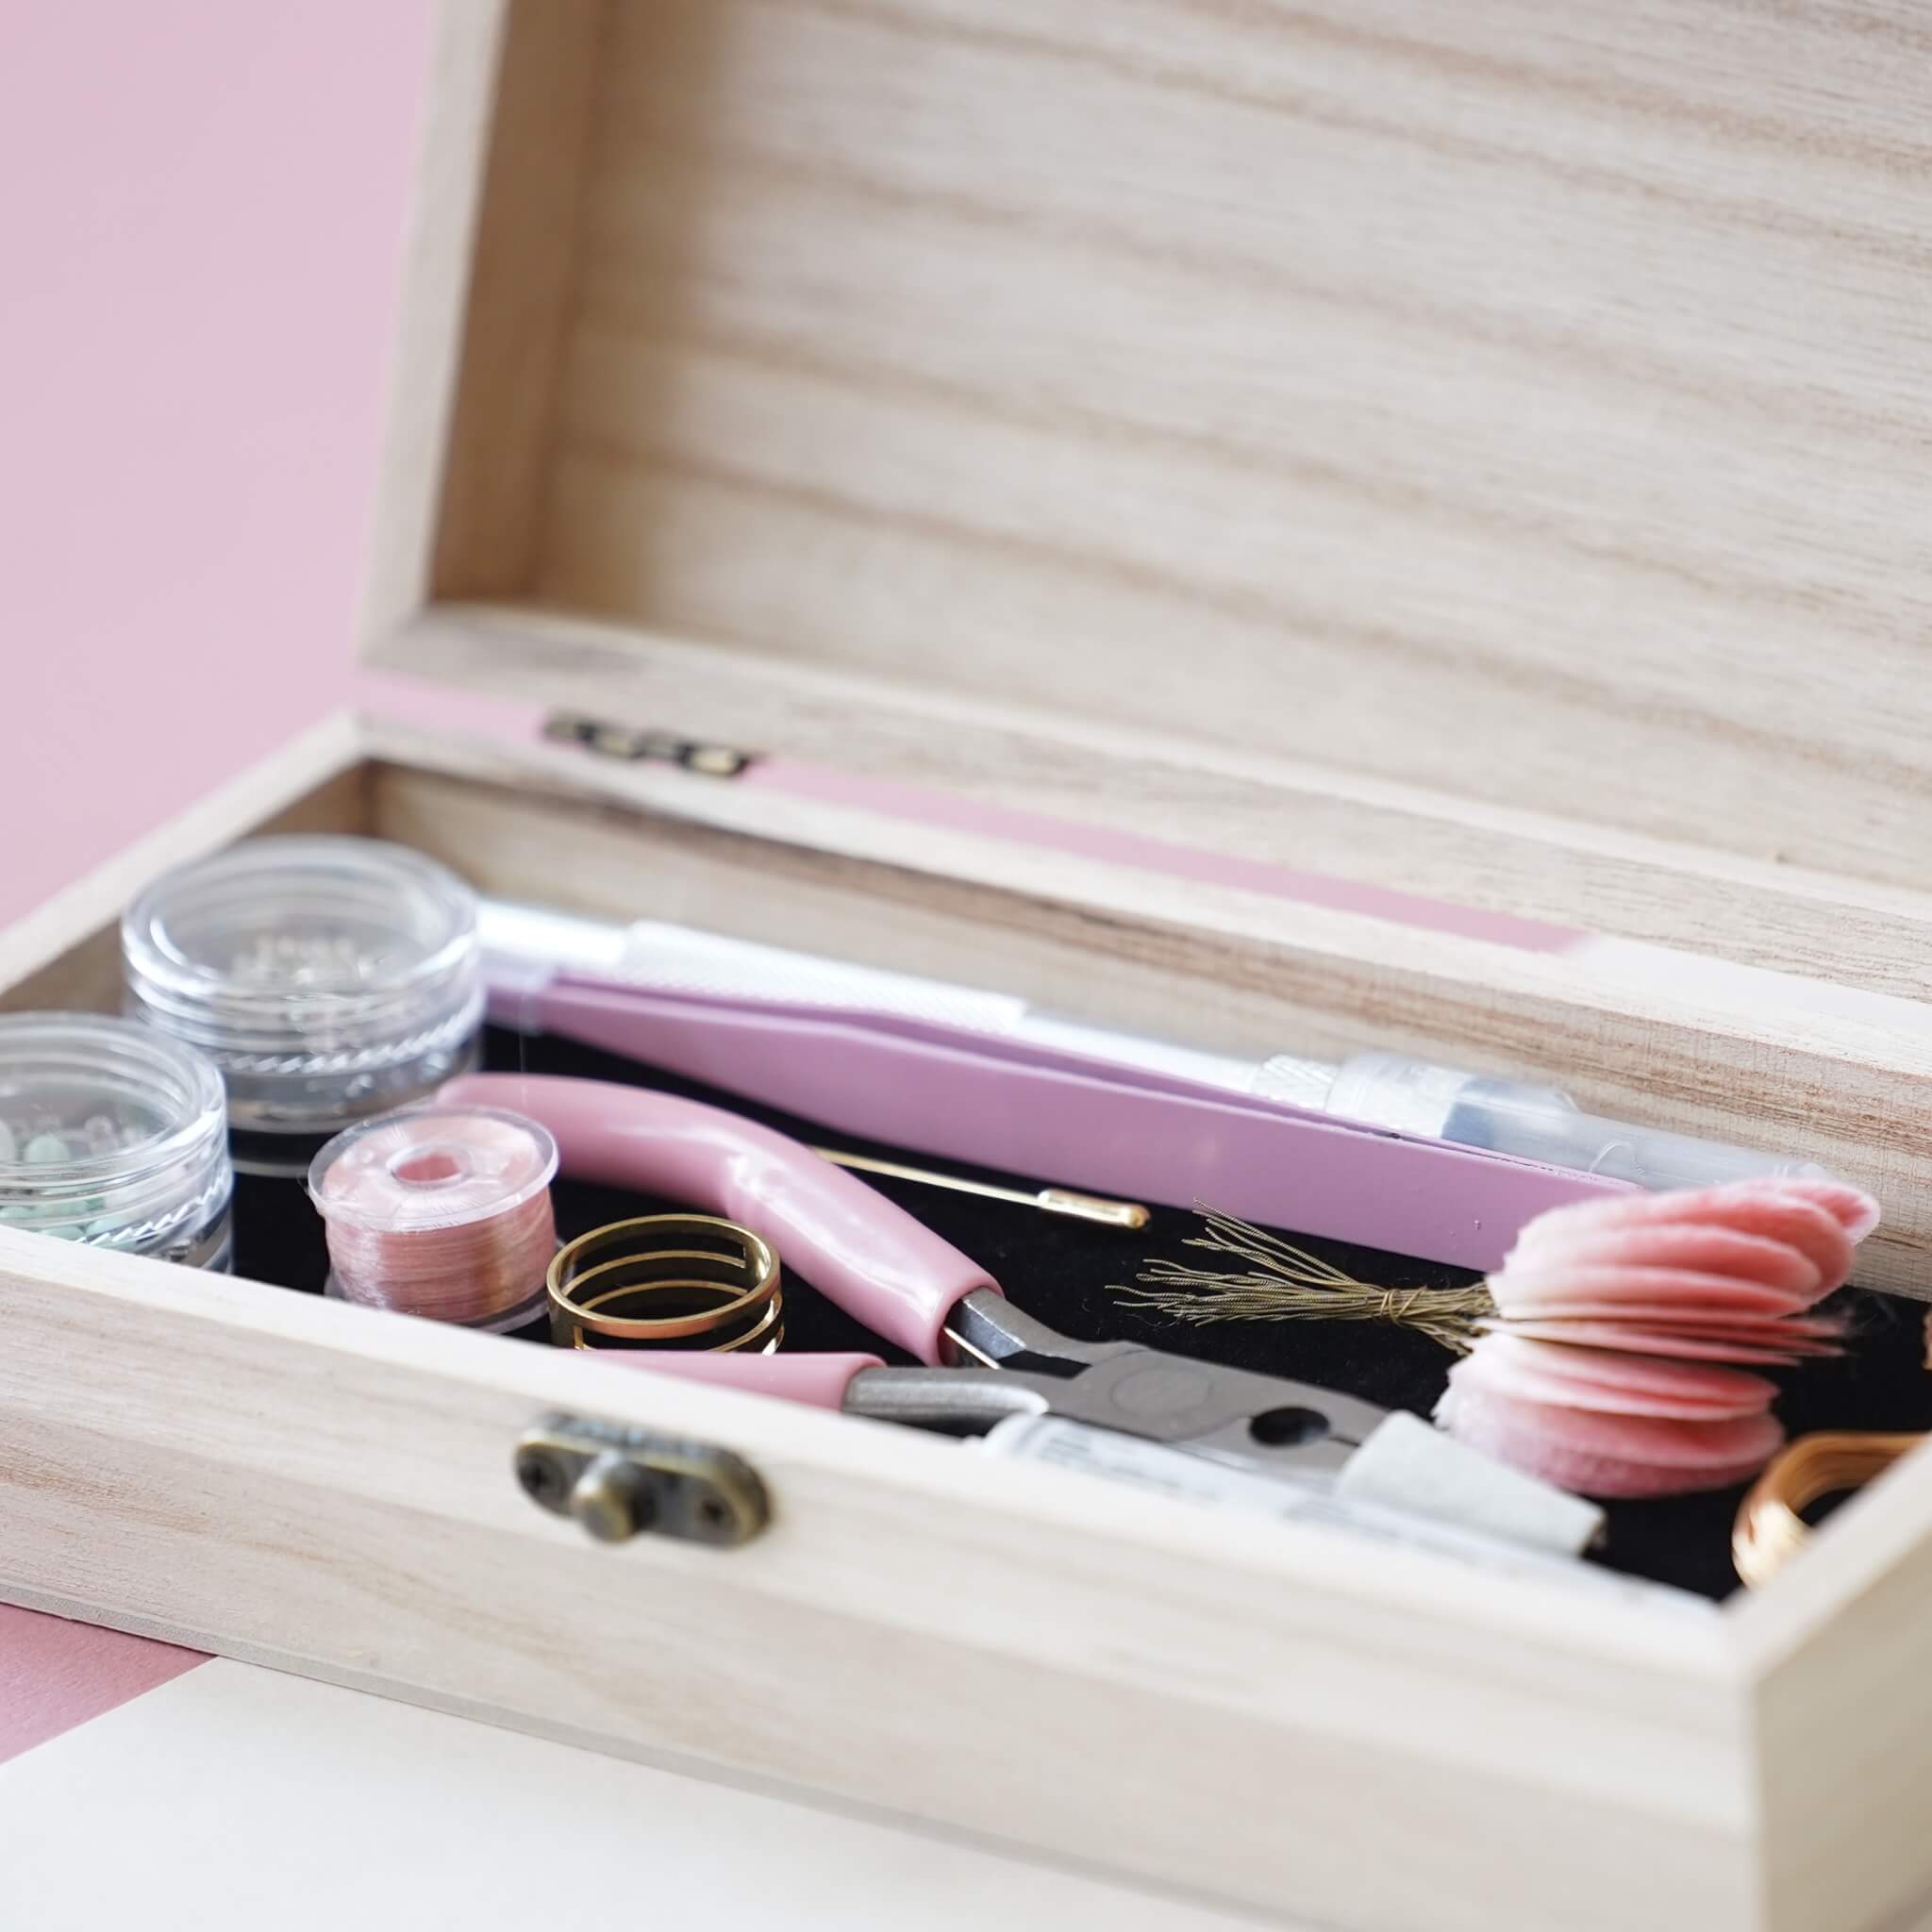
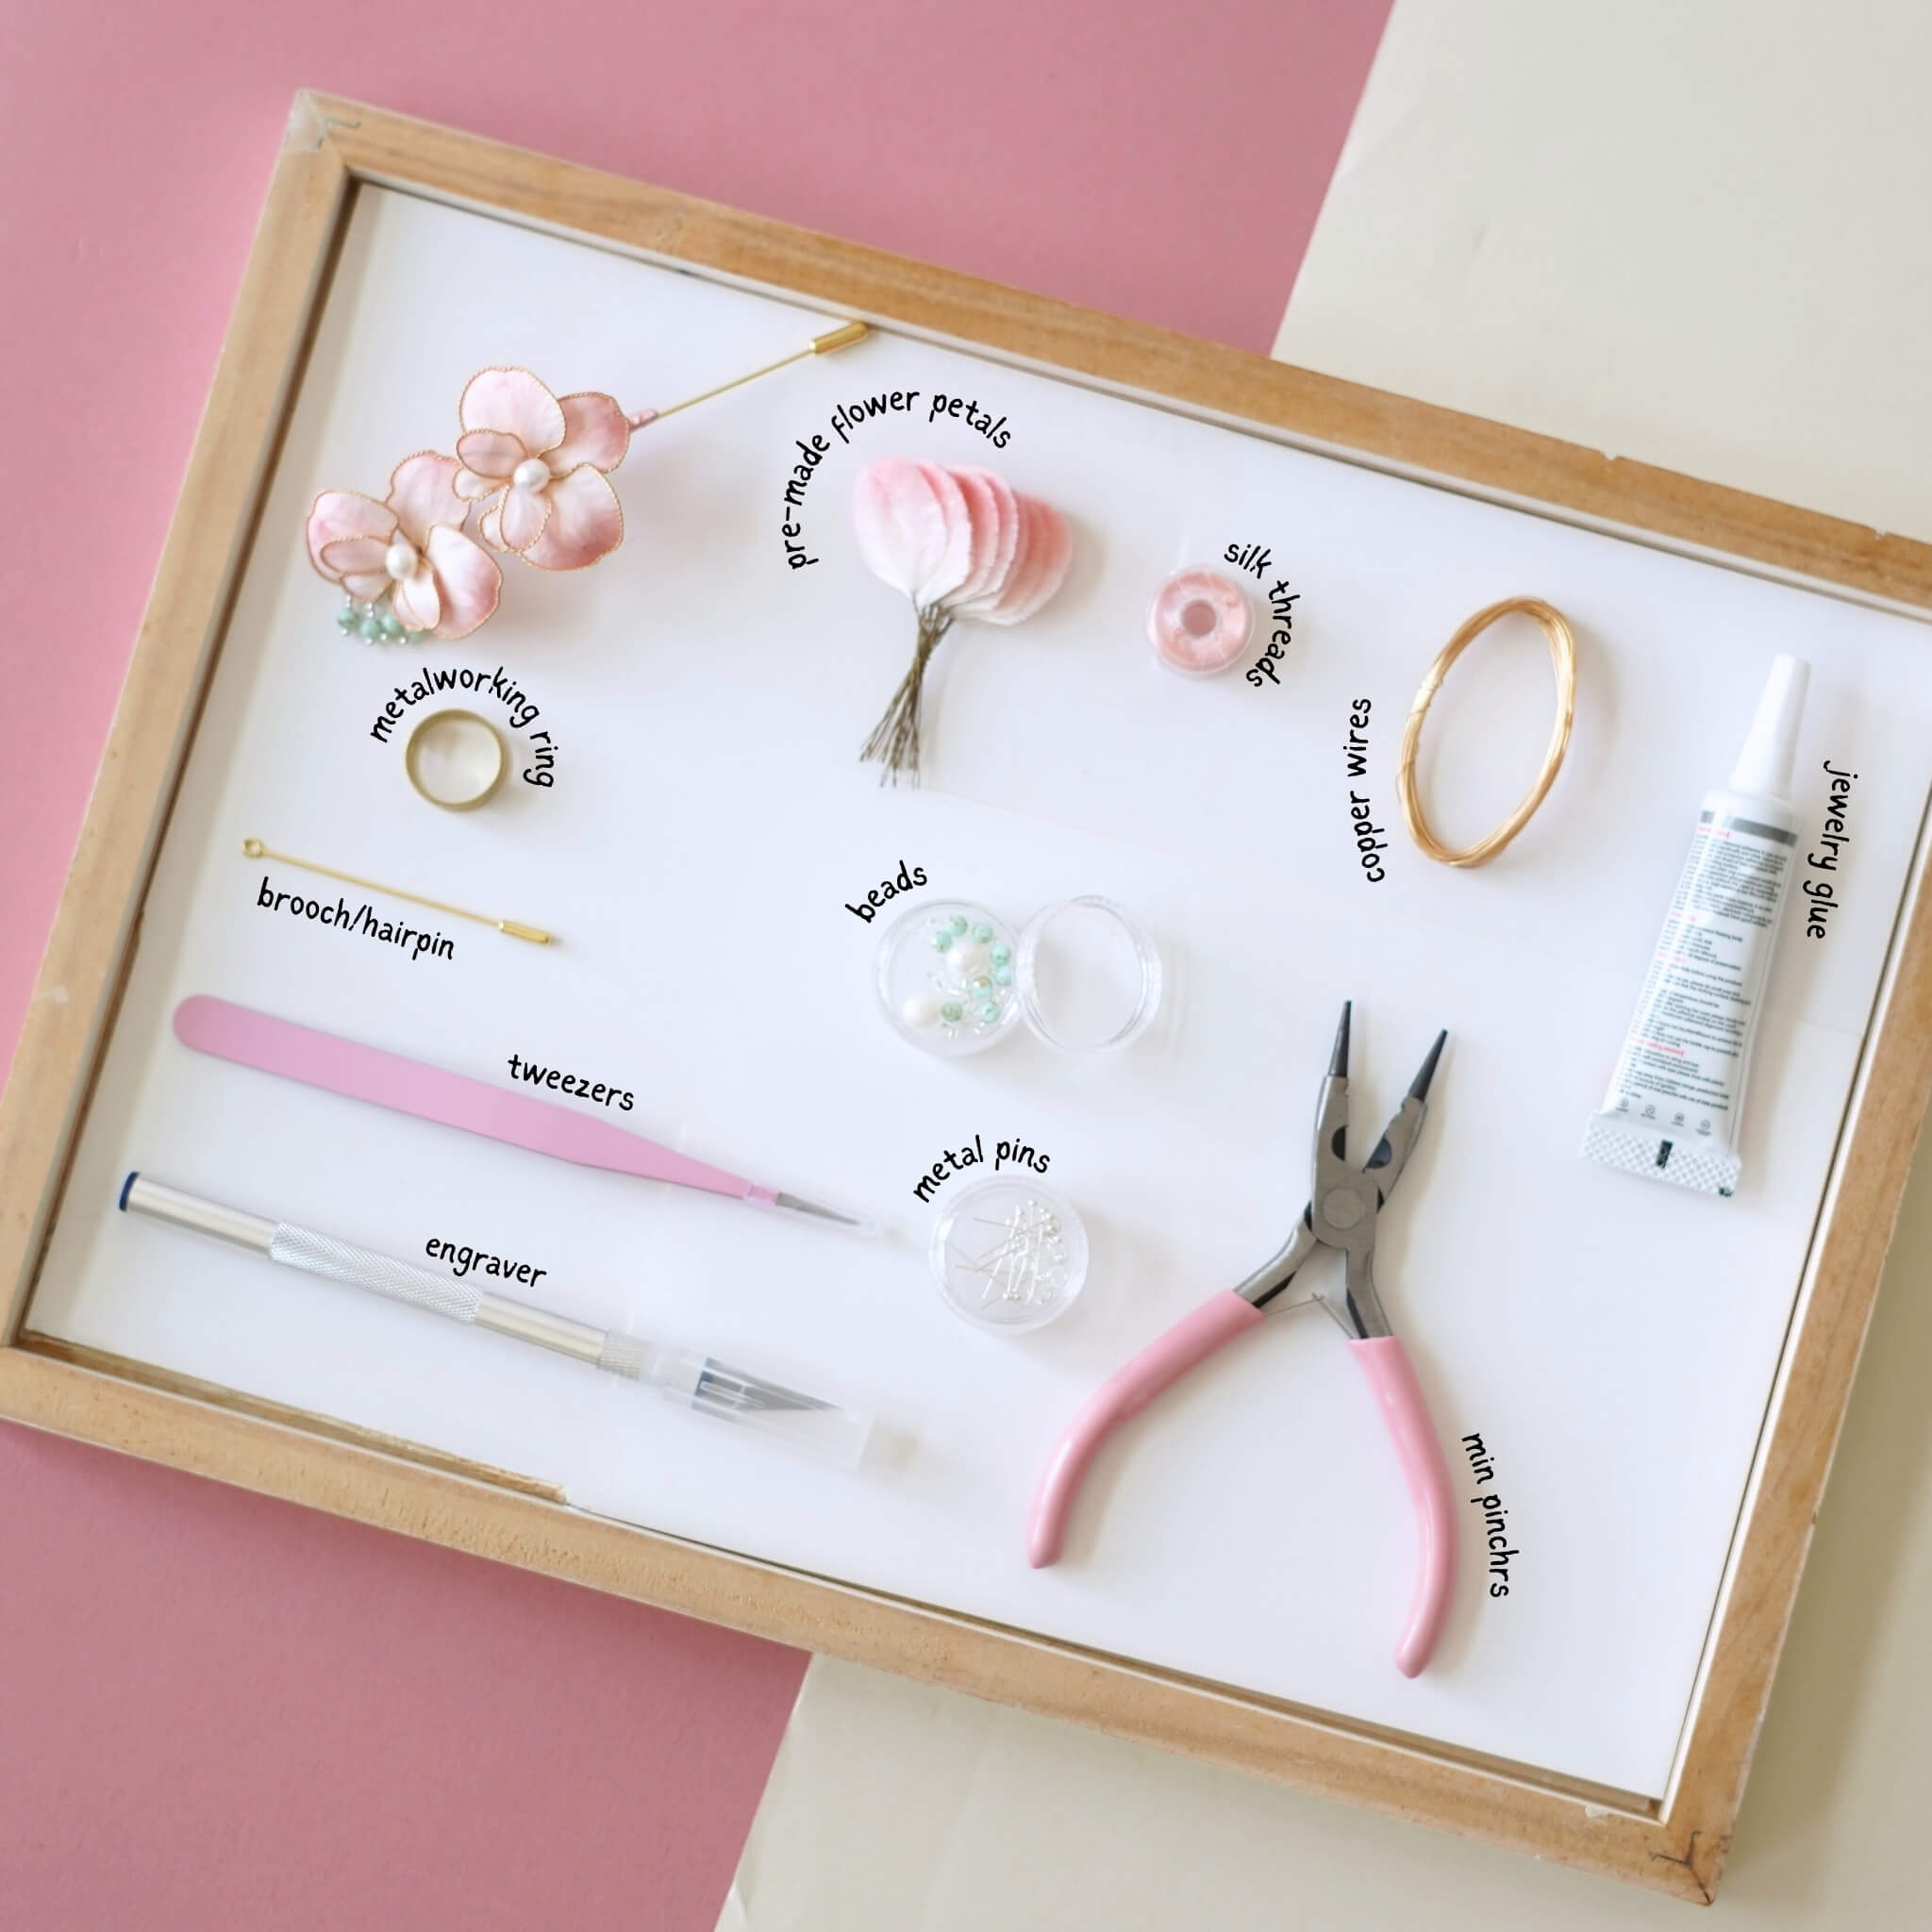
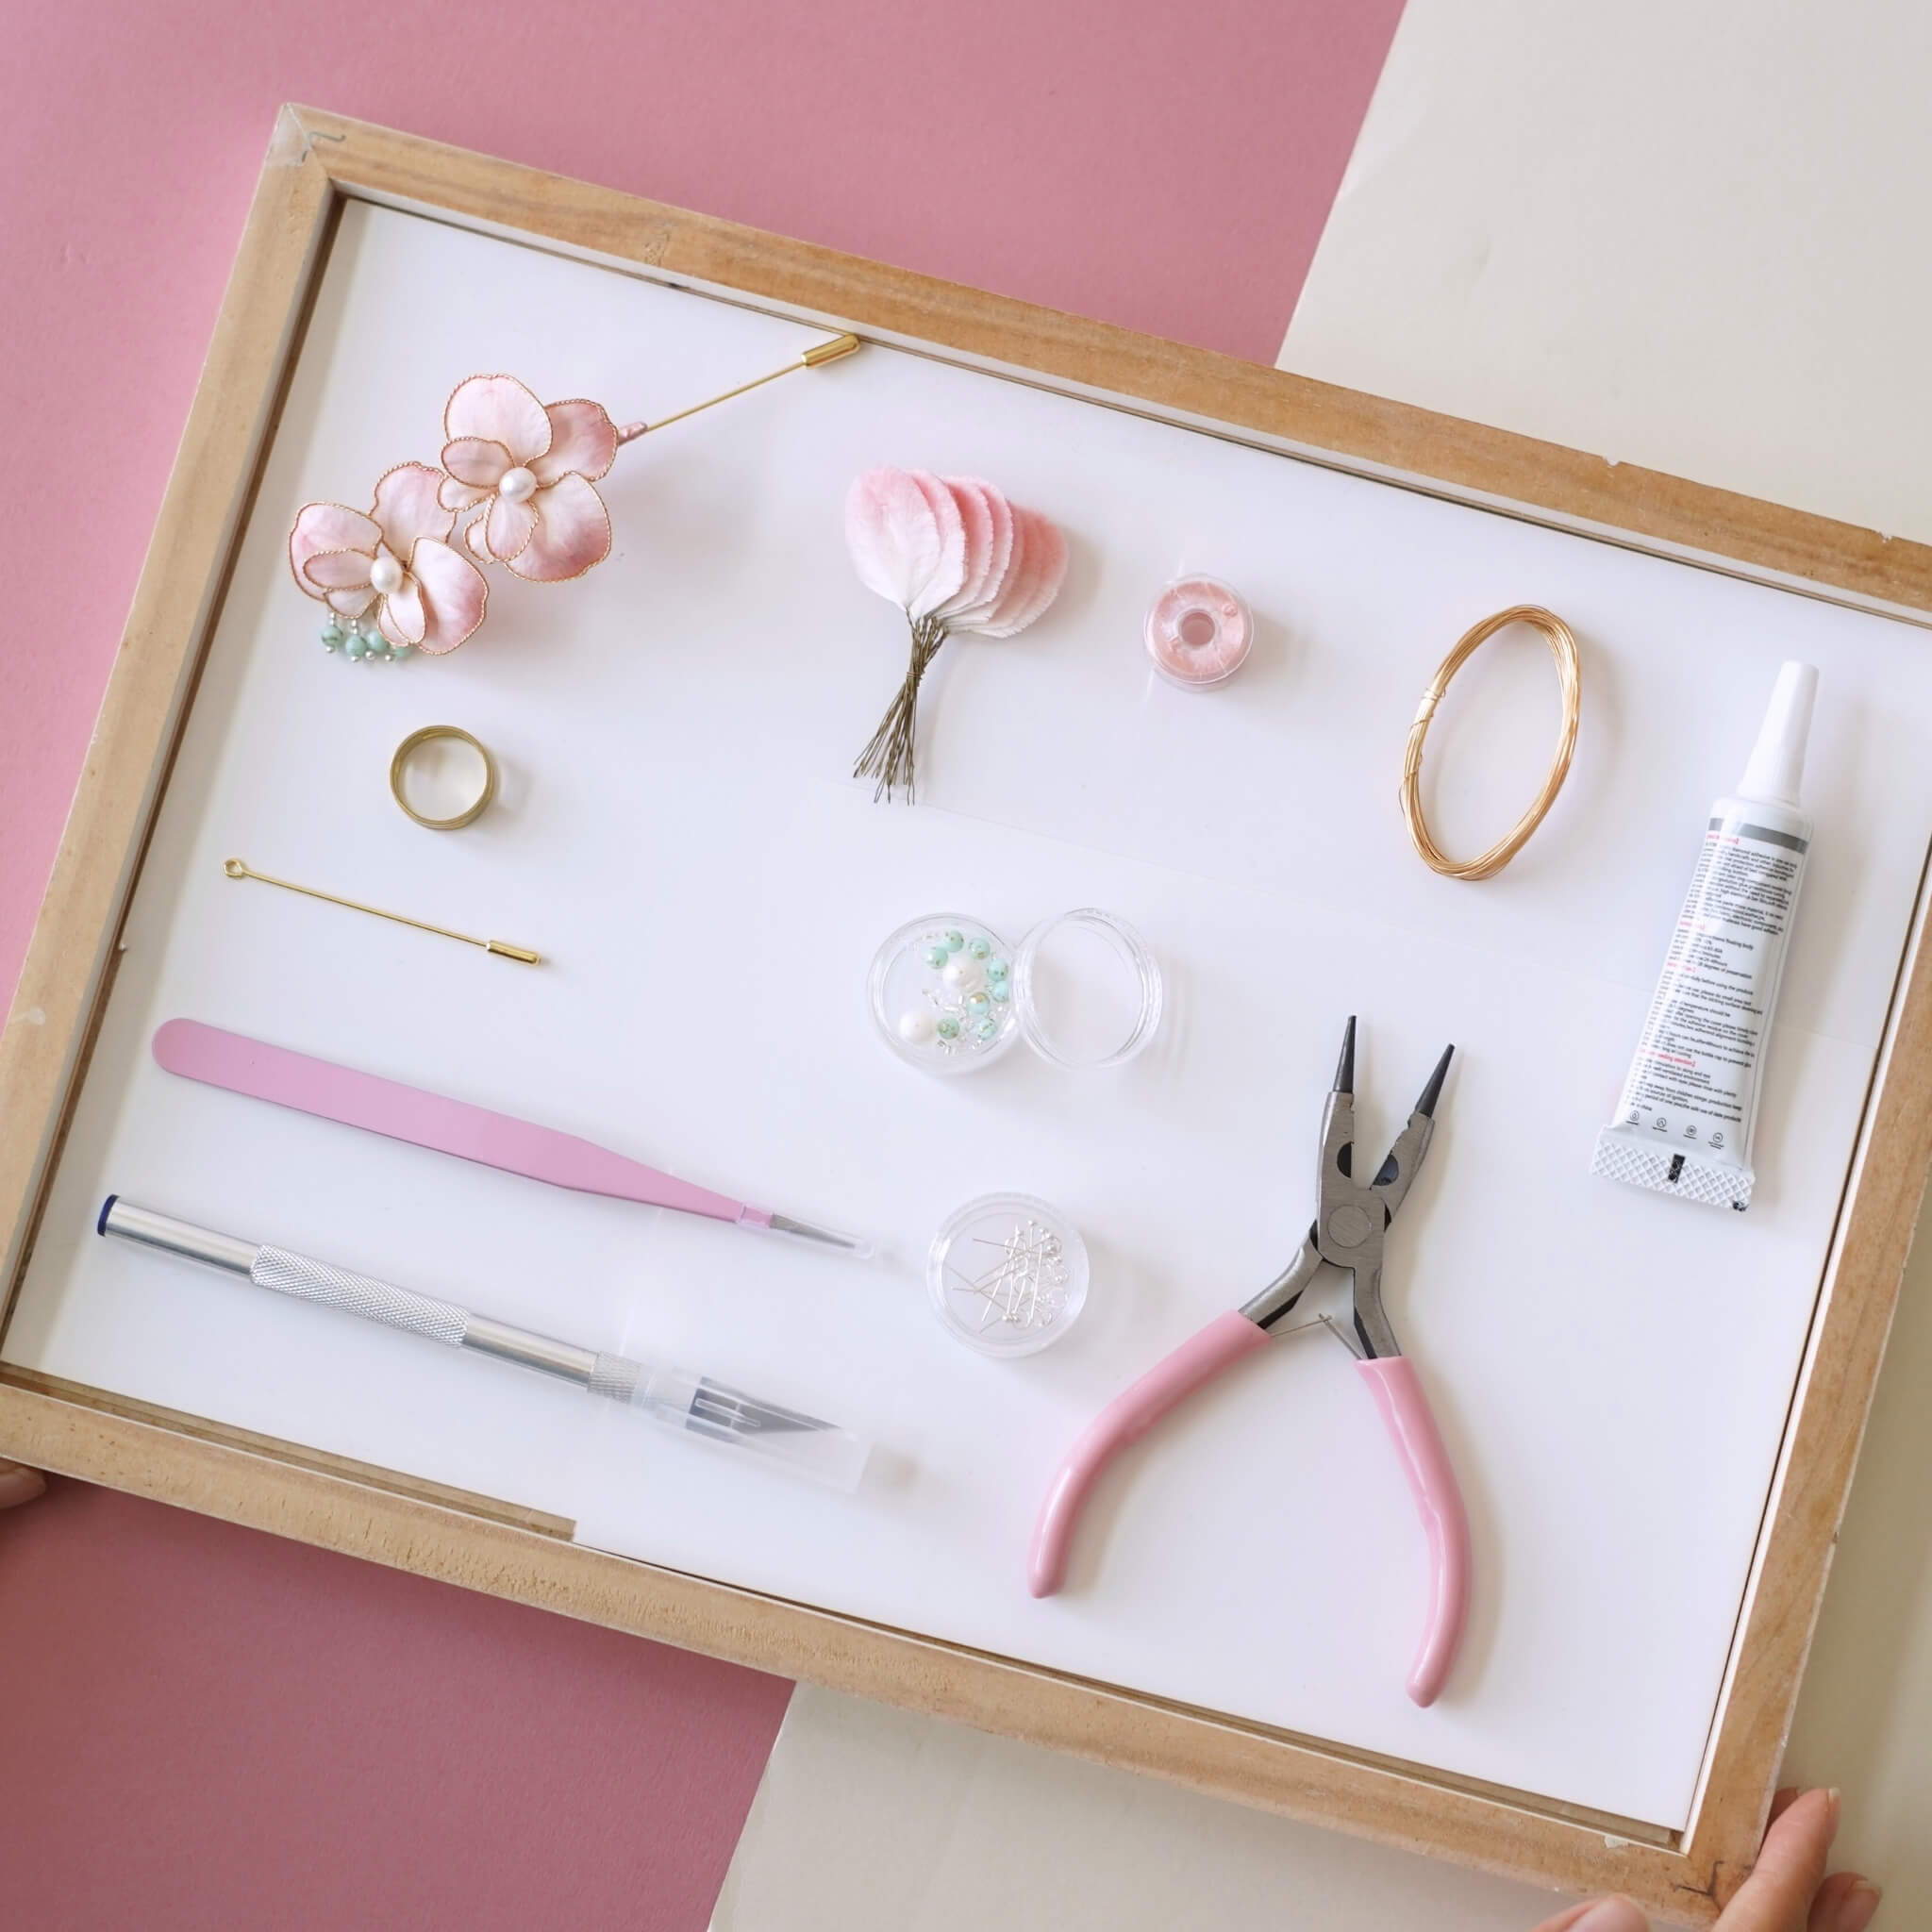
Preparation: What You’ll Need
If you’ve purchased our Ronghua Toolkit, you already have everything required!
If not, prepare the following tools:
- Tweezers
- At least 2 pairs of Scissors
- Hair spray or diluted white glue ( with water or alcohol, 1:1.15–1:1.2 ratio)
Full Tutorial Video
Step 1. Flatten the Petals
First, use the flat iron to press all the silk strips flat. Press them once more so the strips become thinner and lighter.

Step 2. Shape the Petals
Then trim the length of the silk strips, making the light-colored ones slightly shorter than the dark ones.

After adjusting the length, trim the edges of each strip into an inverted triangle shape—wide at the top and narrow at the bottom. Round the top edges slightly and cut a small notch at the tip. Shape all the remaining strips in the same way.

Pour some hairspray into a bowl and soak the silk strips until they are fully softened. Or you can use diluted white glue with water or alcohol (1:1.15/1:1.2 ratio).

Use tweezers to remove any excess hairspray, then gently curve each strip and fold the edges inward slightly. Insert the strips upright to dry, keeping the curvature consistent. The dark petals can have a slightly deeper curve than the light ones. Once all the strips are shaped, set them aside to dry while preparing the next steps.
Step 3. Prepare the Wire
Next, prepare a 30 cm piece of copper wire. Start wrapping thread at the center of the wire, wrapping forward three to four turns and then back in the opposite direction. Fold the wrapped wire in half and continue wrapping down to the bottom before tying off. Trim the excess wire and lightly burn away any frayed ends with a lighter. Set this piece aside.

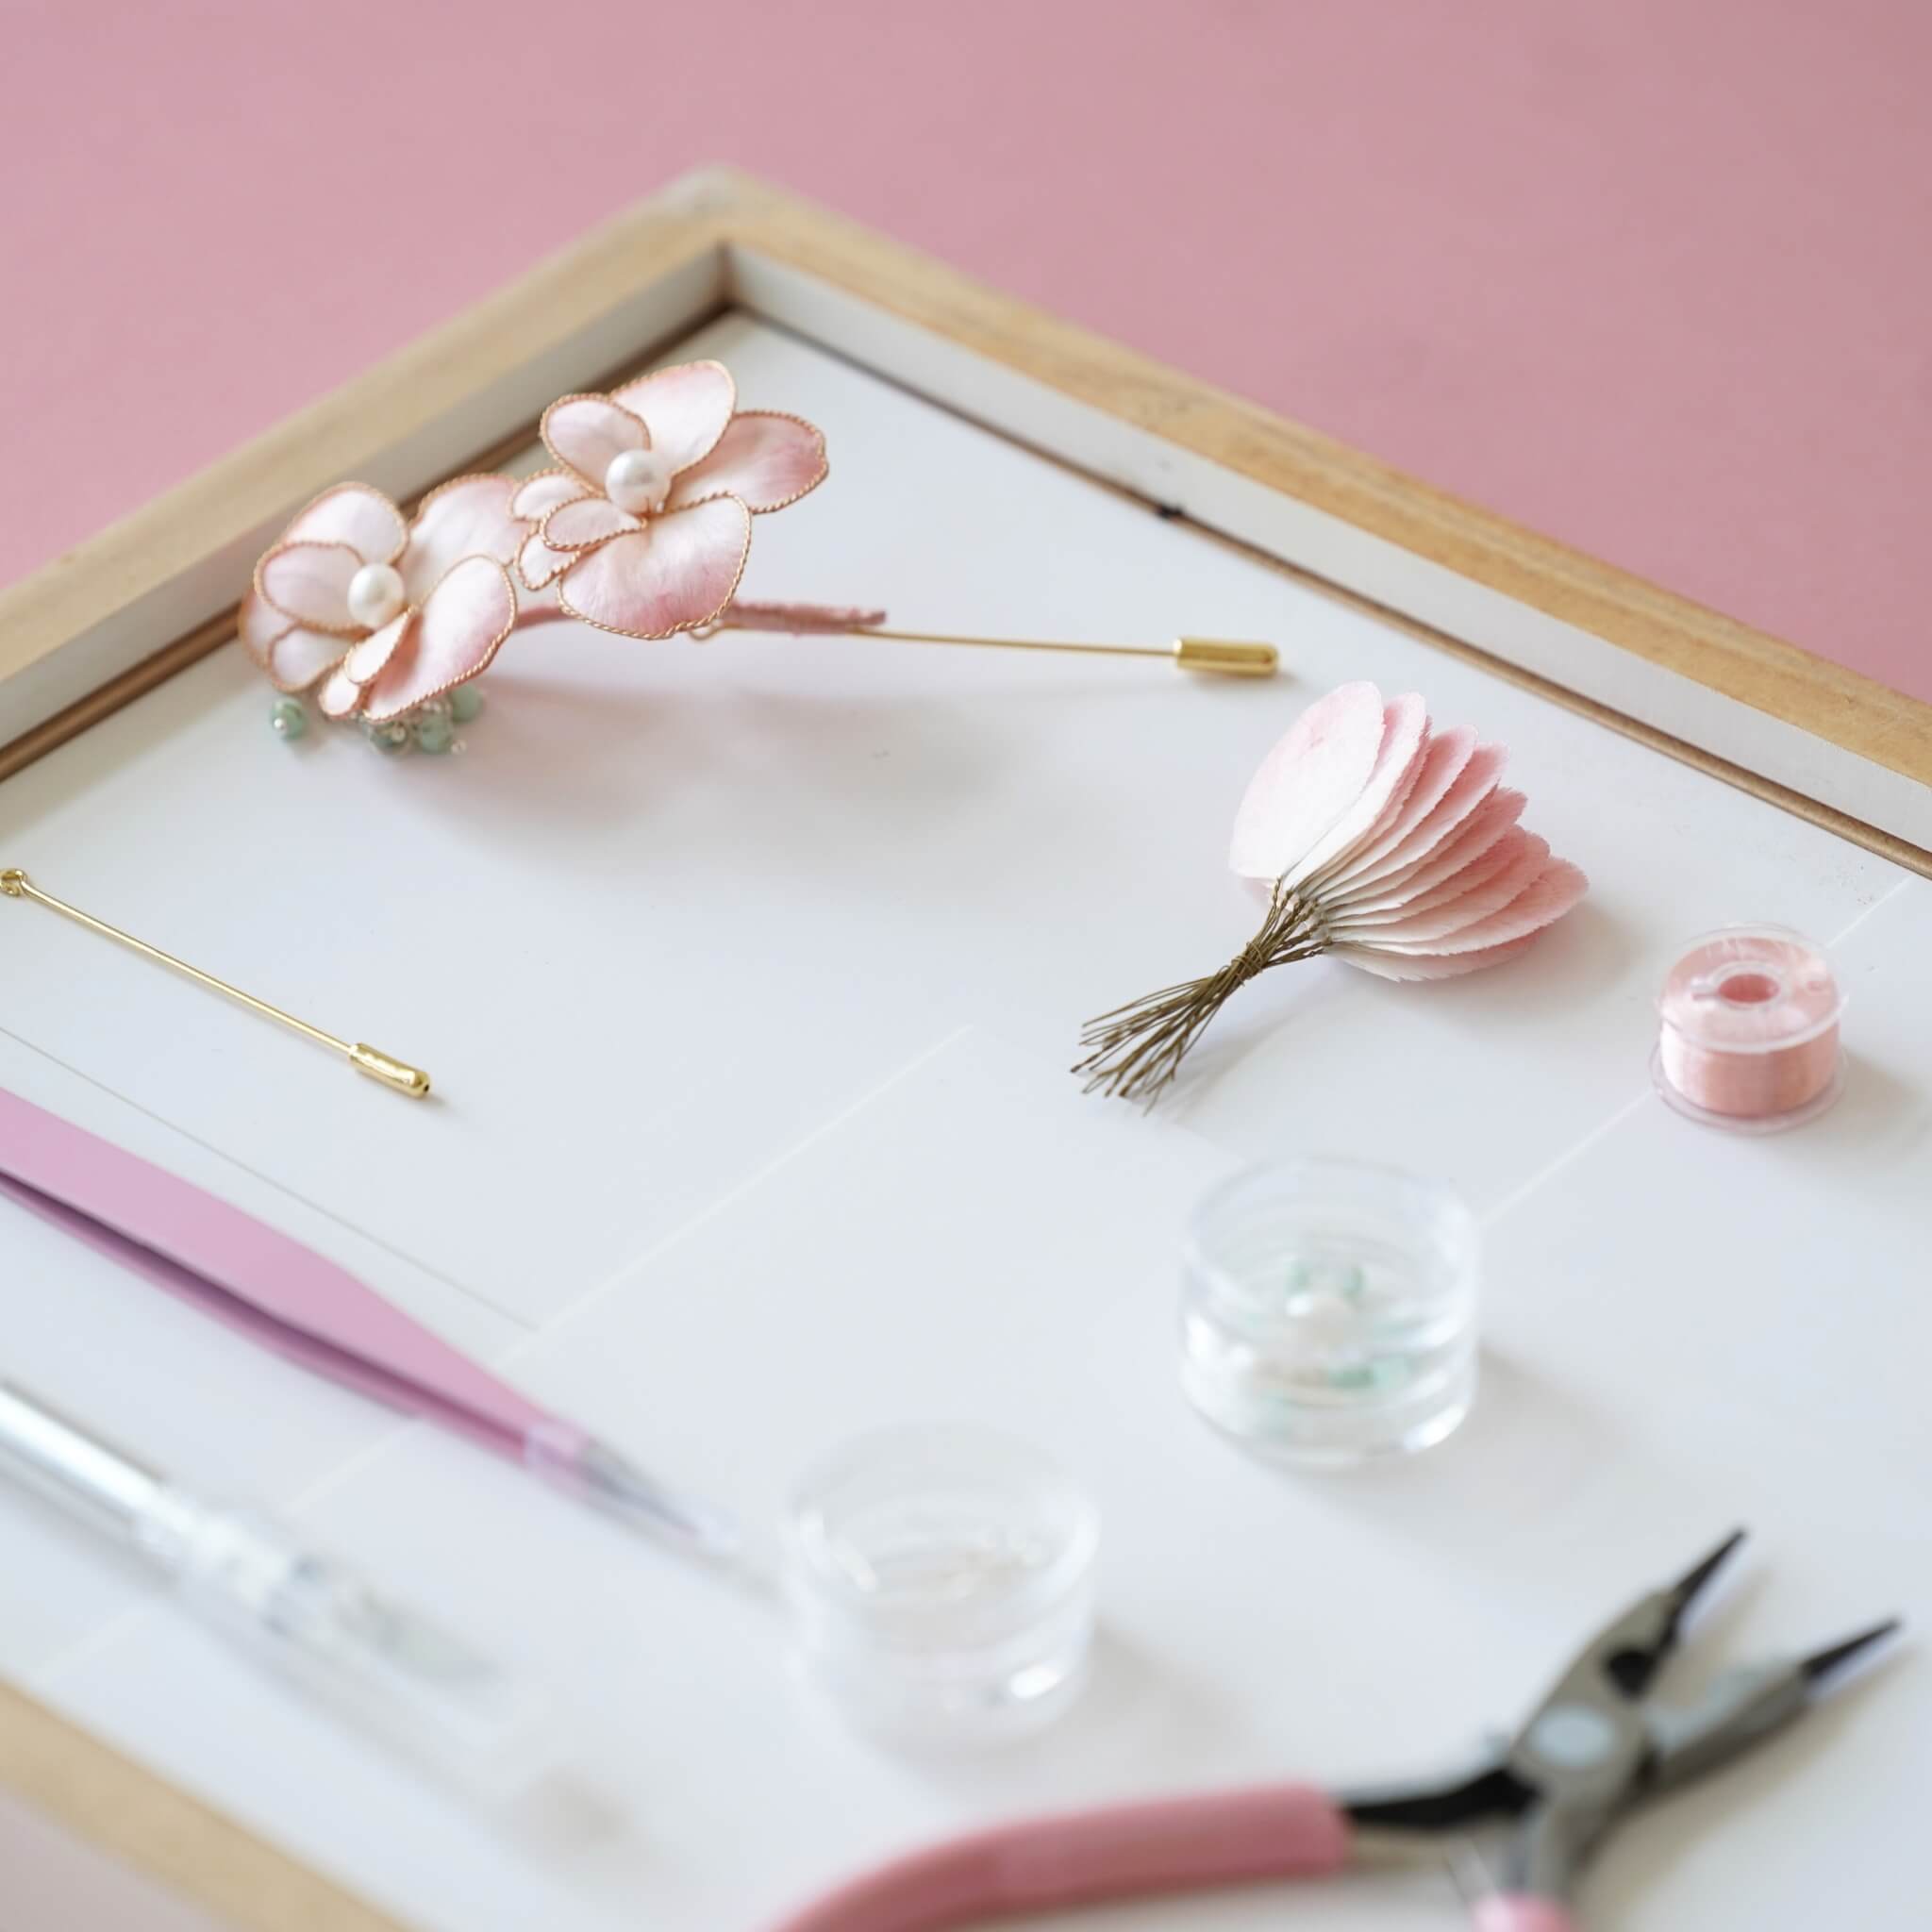
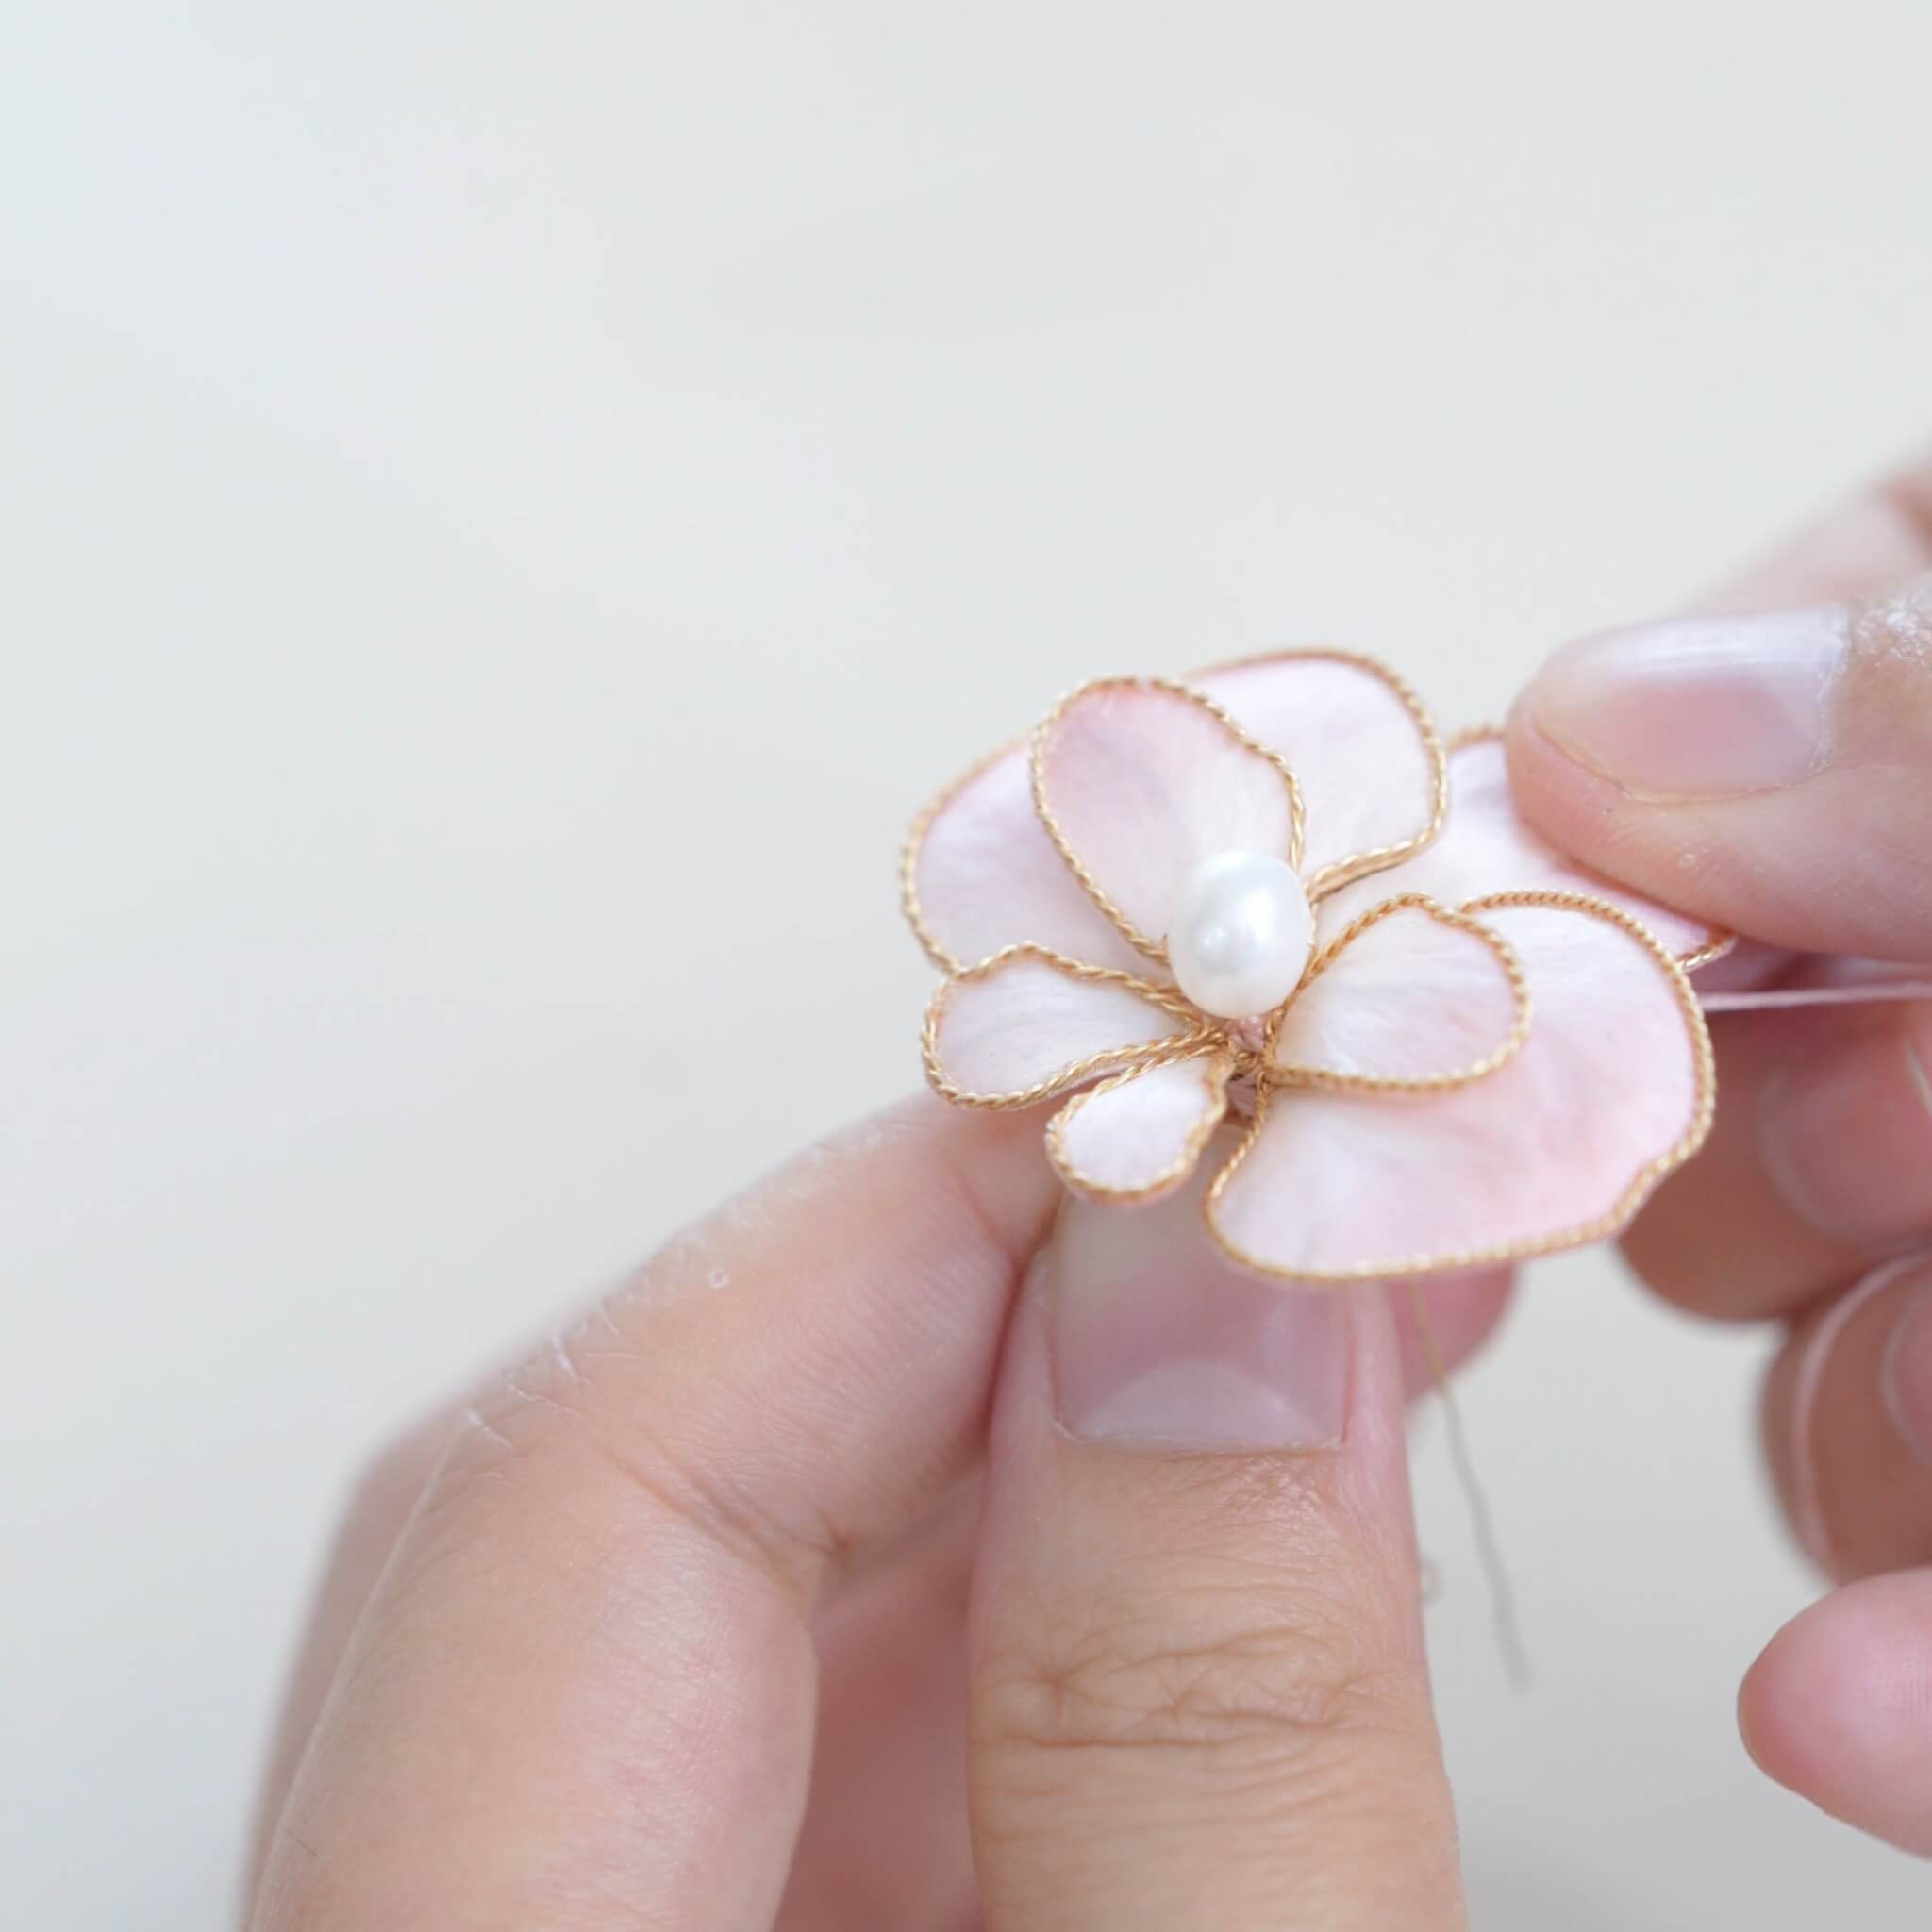
Step 4. Make the Flower Center
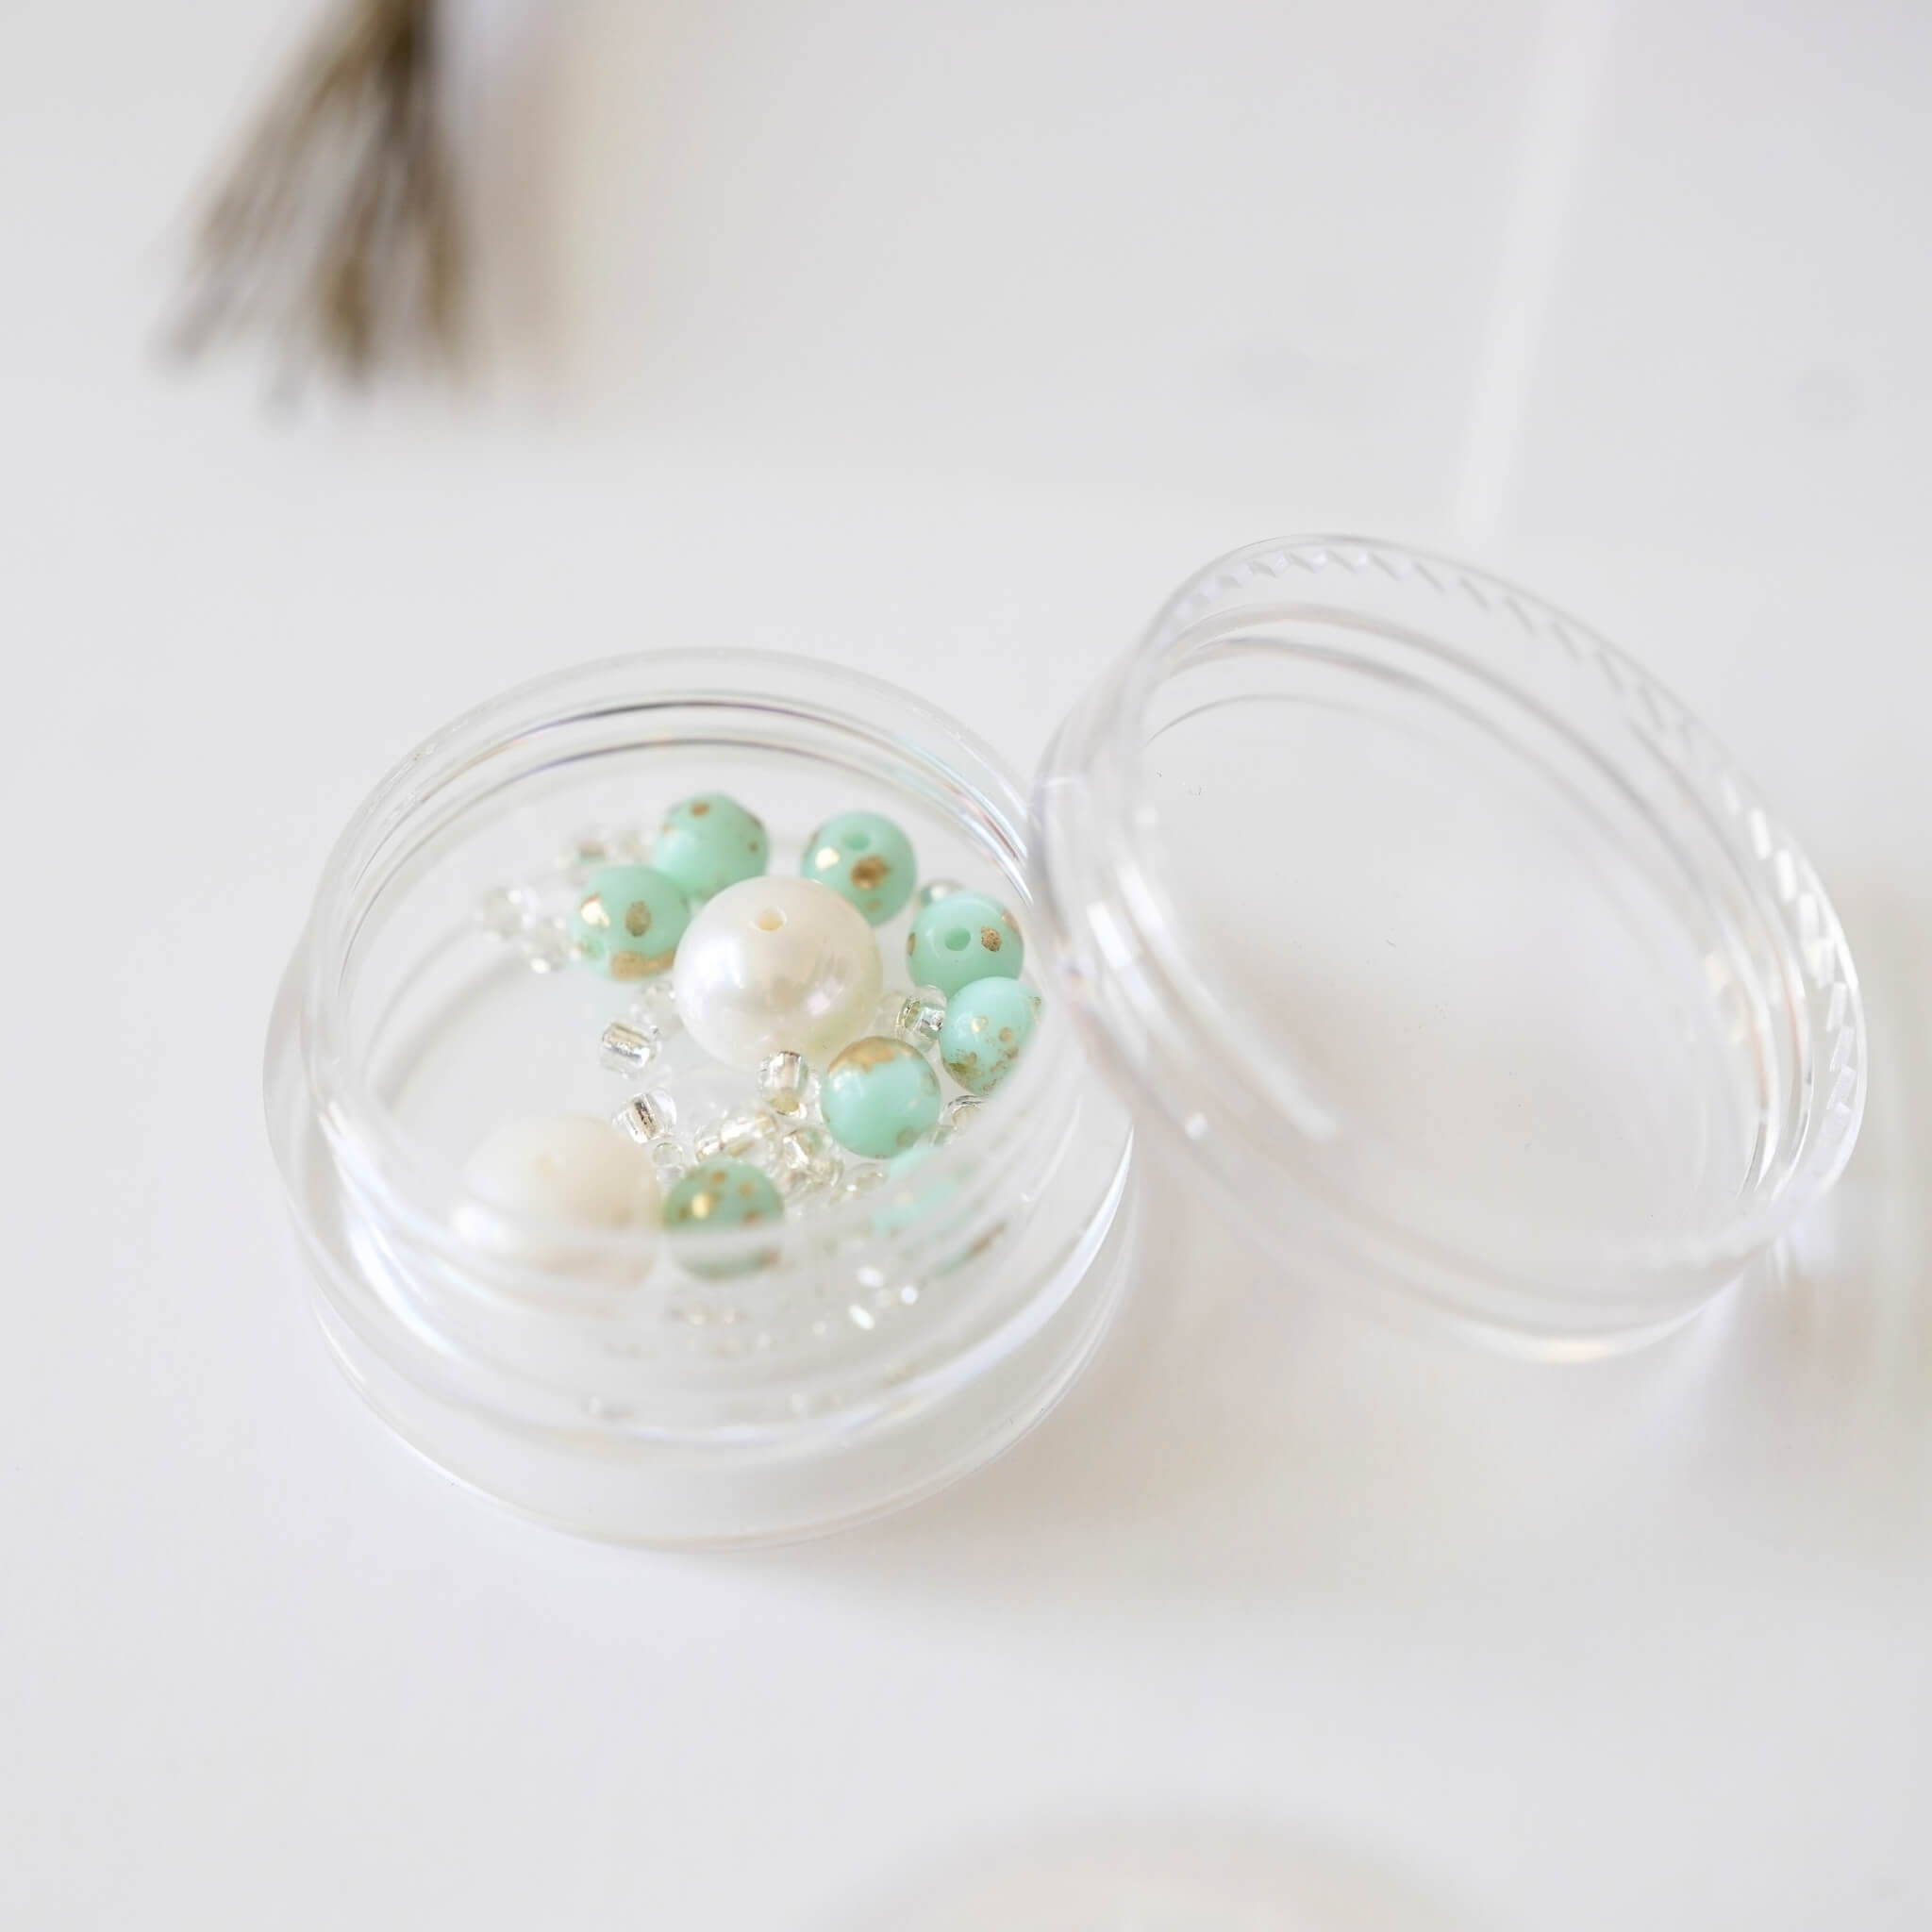
To make the flower center, untie the silk threads and cut open the knotted section. Count out eight strands of silk, fold them in half, and cut. Repeat this process four times. Secure the silk with a short piece of copper wire, twisting it tightly. Use a brush to fluff the silk evenly on all sides.

Measure and keep about 1.2 cm of length, trimming off the rest so the center is neat and compact.

Apply a small amount of jewelry glue to the center of the flower center. Use two silk threads to secure the core in place, then begin assembling the light-colored petals.
Step 5. Assemble the Daisy
Align them carefully and pull the threads tight. The first layer of light petals should be spaced slightly apart and evenly distributed.

The second layer should be placed closer together, filling the gaps.

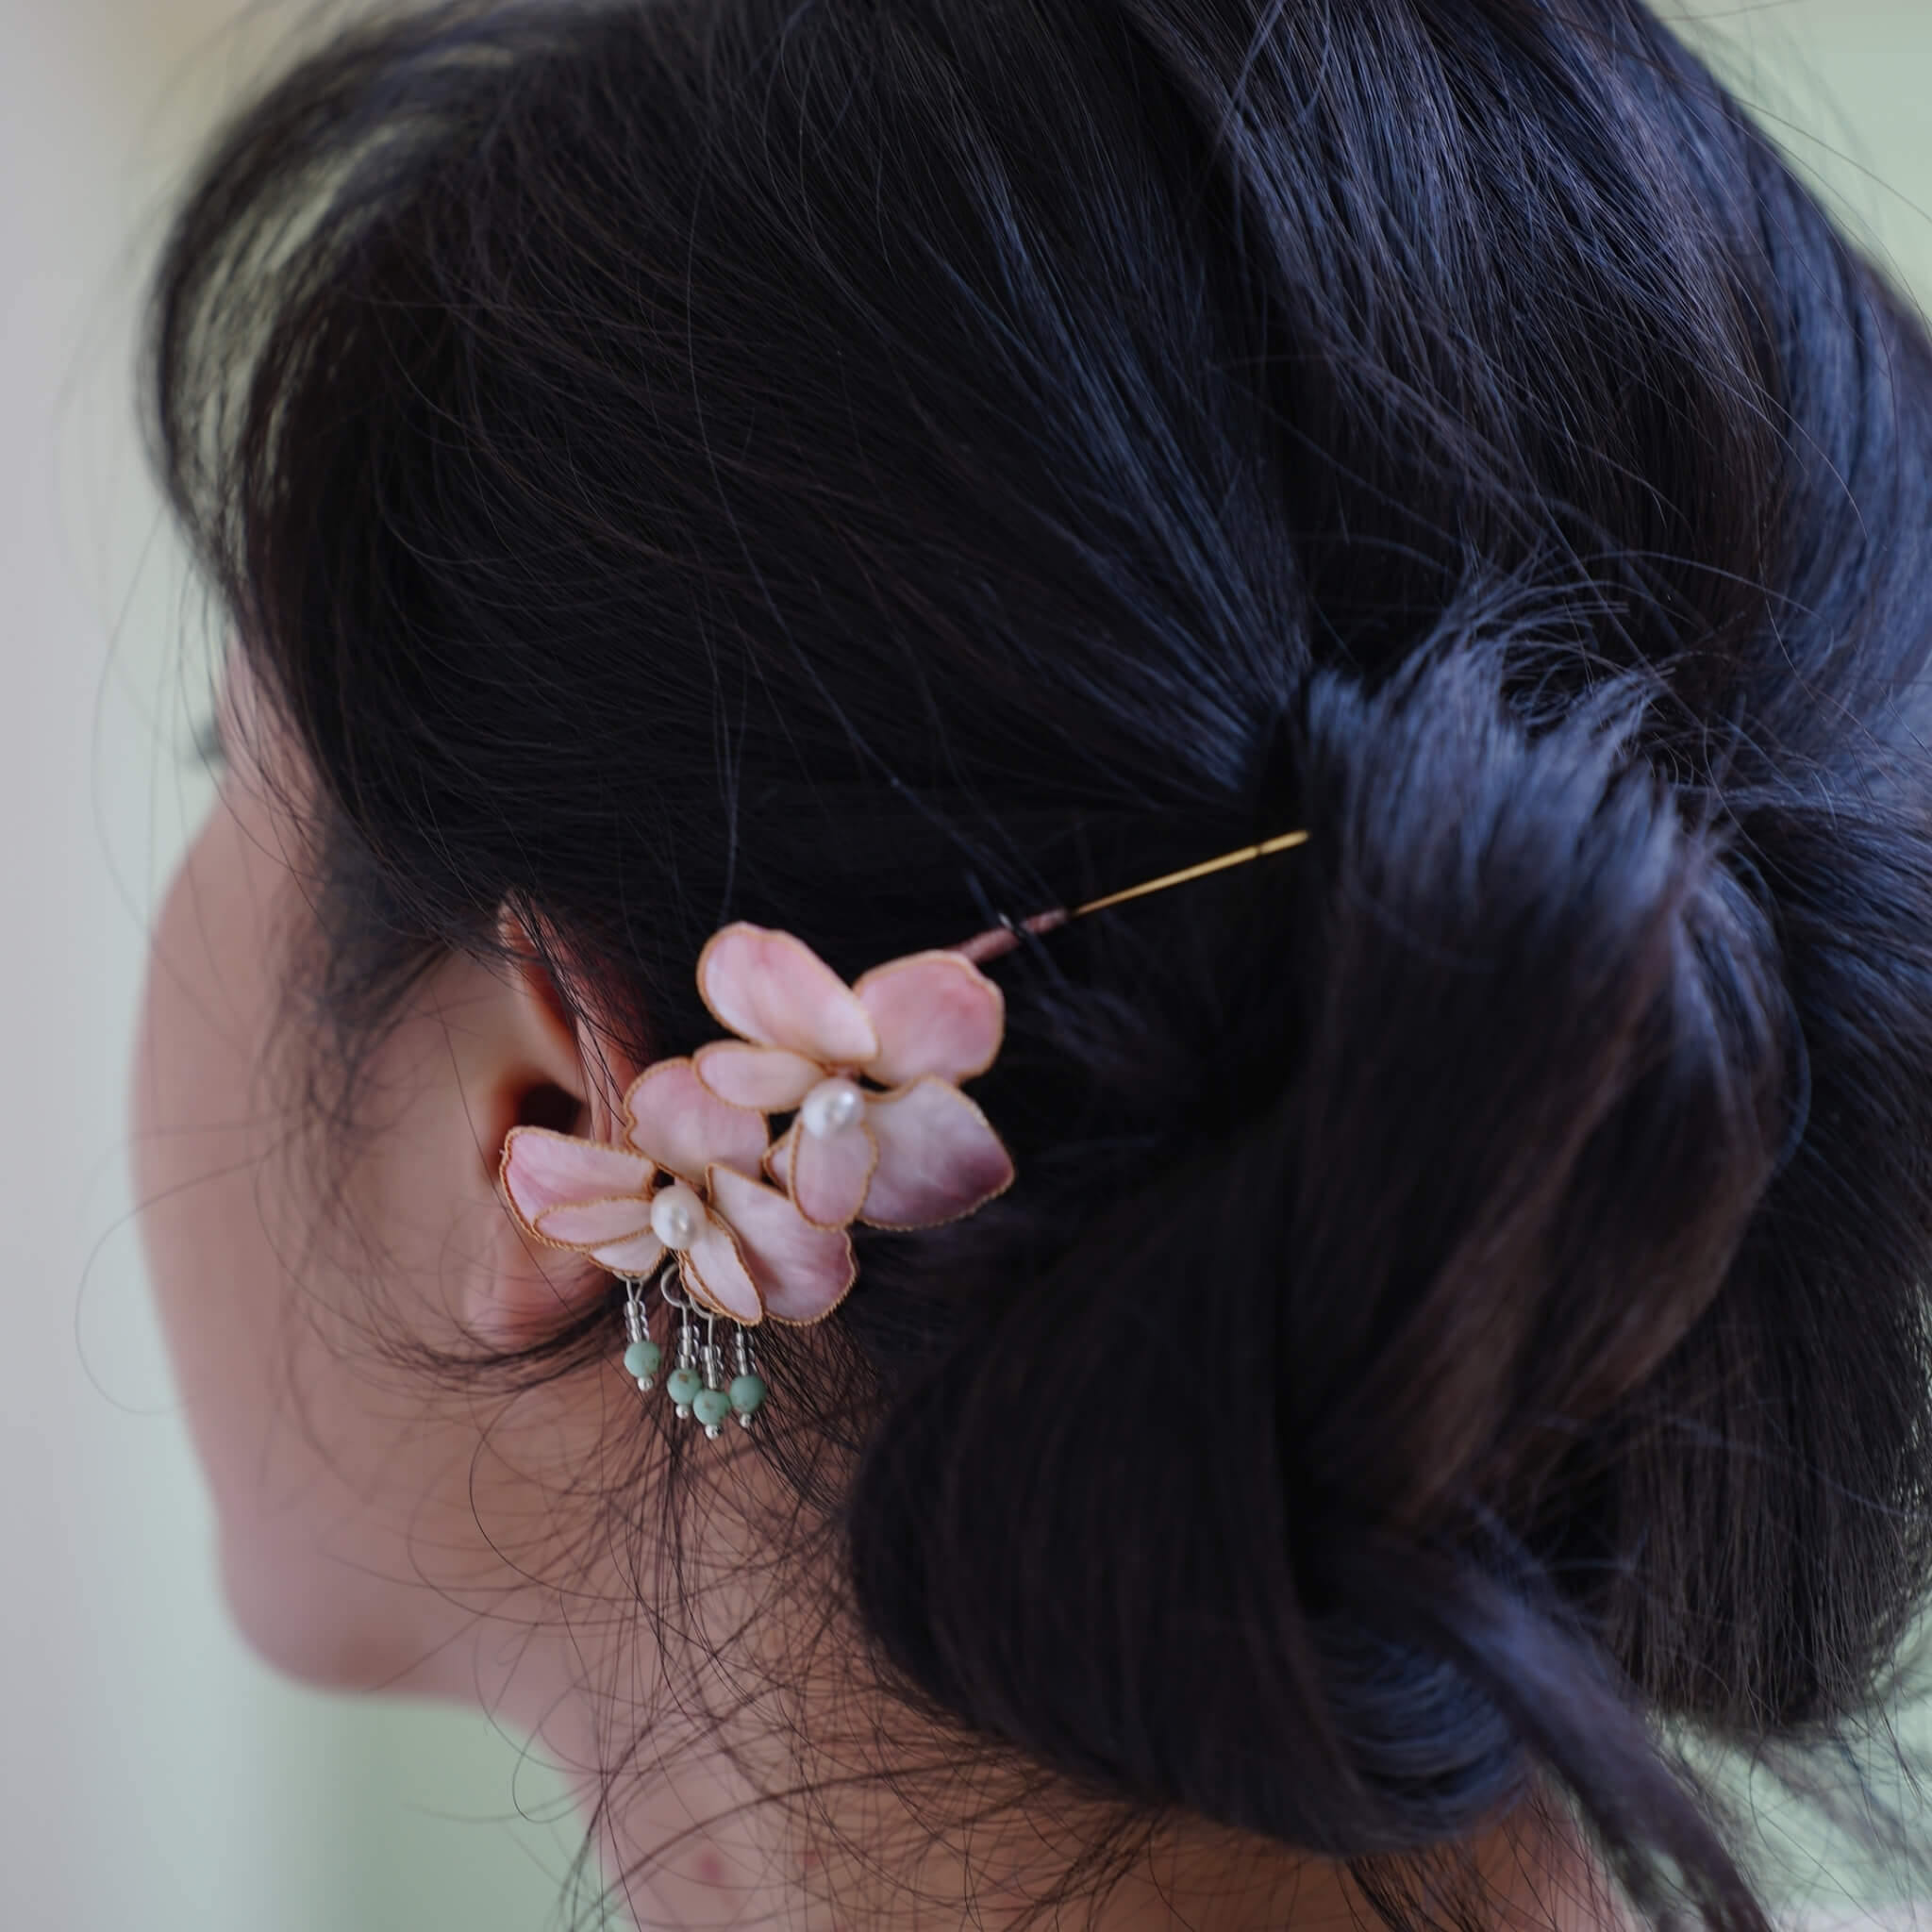
Step 6. Attach the Daisy to the Jewelry Base
Insert the prepared copper wire into the flower and wrap the silk threads tightly, adjusting the petal positions as needed. Wrap the copper wire around in circles, applying glue as you go to ensure a firm hold. The wire should be wrapped tightly with no gaps, but avoid pressing the two petal layers too closely together.

If you are using glue for the first time, pierce a small opening in the nozzle. Apply glue to the base of the flower and allow it to dry before trimming off any excess wire at the bottom. Prepare the flower base and adjust its shape as needed.
Apply UV glue to the bottom of the flower and attach it to the base, filling any empty areas with glue. Use an LED lamp to cure the glue thoroughly, repeating if necessary.

After confirming the glue is fully set, apply a small amount of glue to the center of the base, place the ring in position, and cure again.

Once the glue has completely dried, the ring is finished.


Einen Kommentar hinterlassen
Alle Kommentare werden vor der Veröffentlichung moderiert.
Diese Website ist durch hCaptcha geschützt und es gelten die allgemeinen Geschäftsbedingungen und Datenschutzbestimmungen von hCaptcha.