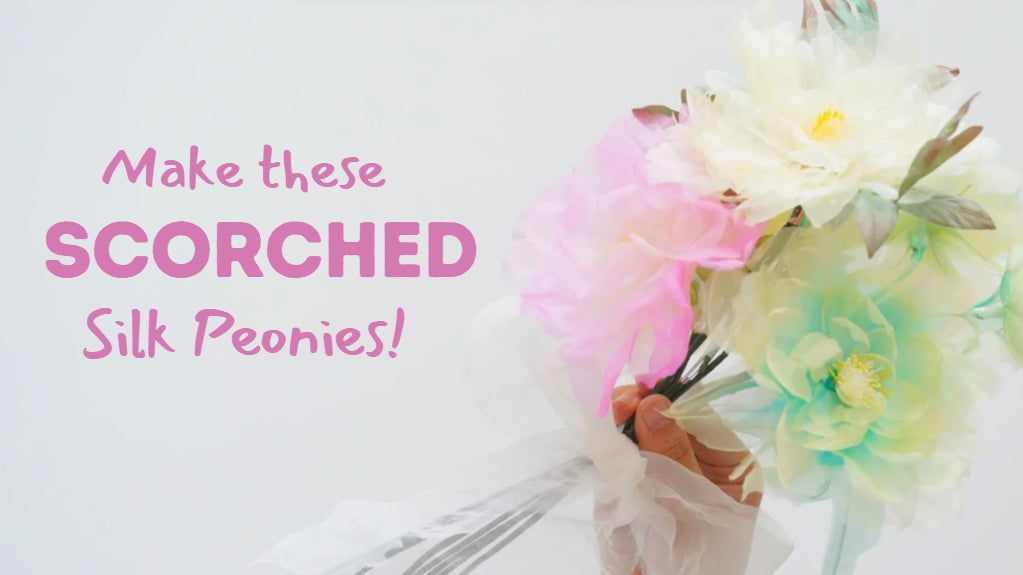
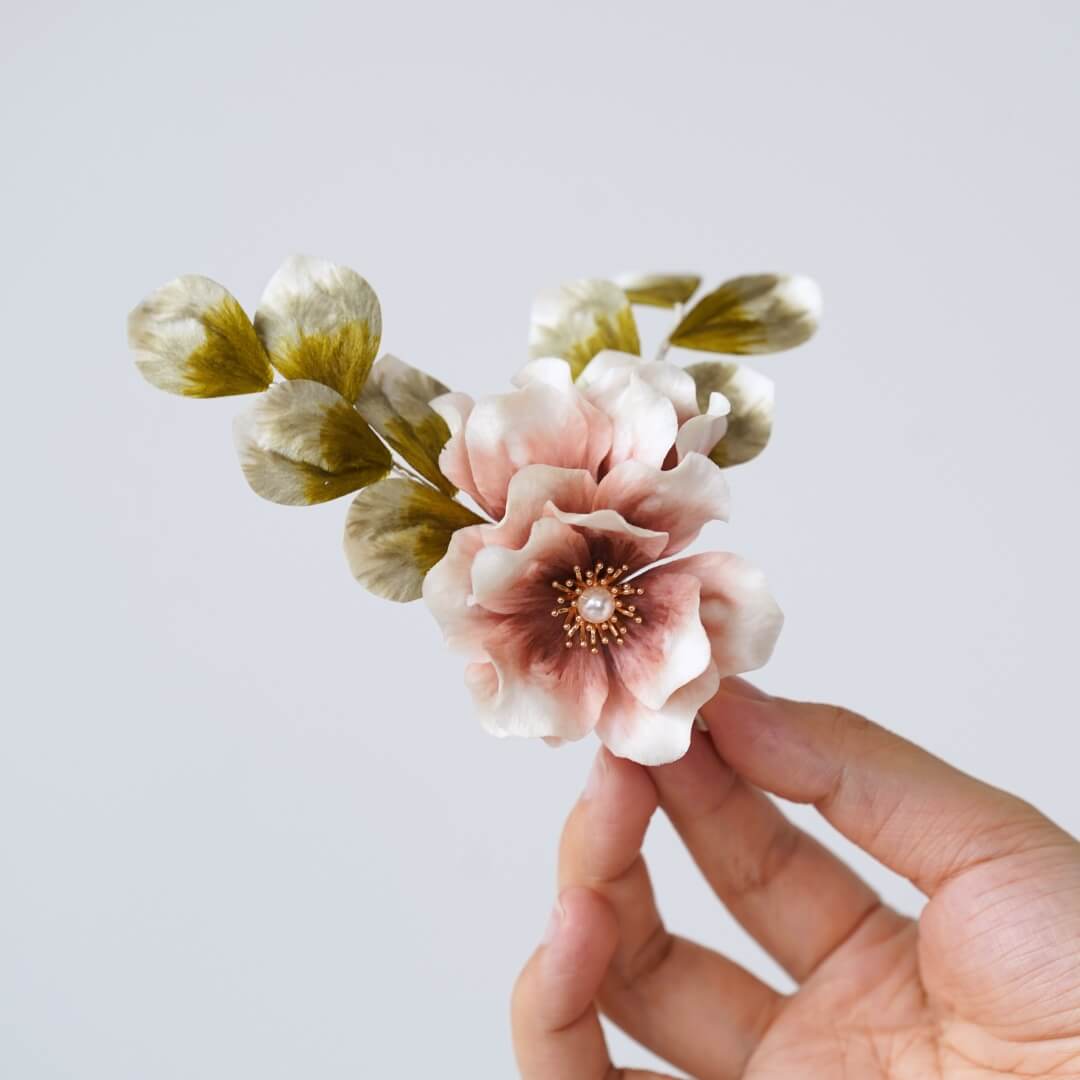
Learn how to craft your own stunning scorched silk peonies with this step-by-step tutorial!
Step 1: Stiffen the Fabric 00:00~03:06
Use NANPAO resin glue to stiffen the fabric so it holds its shape during shaping. Mix glue with warm water in a 1:10 ratio, stir thoroughly until smooth with no lumps. Soak silk organza fabric completely in the mixture for 3–5 minutes. Gently wring out the fabric or hang to dry naturally to avoid wrinkles. Shake out the fabric before drying and lay it flat. If wrinkles appear after drying, use an iron or fabric press to smooth it out.

Step 2: Trace and Cut Petals 03:07~06:35
Use a printable petal template (you can resize it freely). Measure out enough fabric for your largest petal, then fold it 7–8 times. Trace the petal shapes using a heat-erasable pen. Each flower usually needs three different petal sizes, but you can mix and match. Cut out all traced shapes, including the calyx. To remove pen marks, gently press with a warm plate or iron—they’ll disappear with heat.

Step 3: Prepare the Dyes 06:36~11:40
Only a tiny amount of dye powder is needed—less is more! Mix dye powder in a small bottle (about 10ml) with clean water, shake well. Suggested combinations: Light yellow = yellow + 1 drop green Leaf green = green + a tiny bit of yellow Pink = deep pink + just a hint of blue. Always test on paper first, and keep the color light—you can always layer for depth.

Step 4: Dye the Petals 11:41~19:02
Before dyeing, spray the petals with water to keep them moist for better blending. Lay petals flat on a tray or waterproof sheet. Dye tips: Use light yellow as a base color. Add green to the petal bases for depth. Add pink to the tops. Always blot excess moisture before switching colors or brushes. Smaller petals = more water, lighter color. Petals should dry flat after dyeing.

Step 5: Shape the Petals with a Flower Iron 19:03~27:00
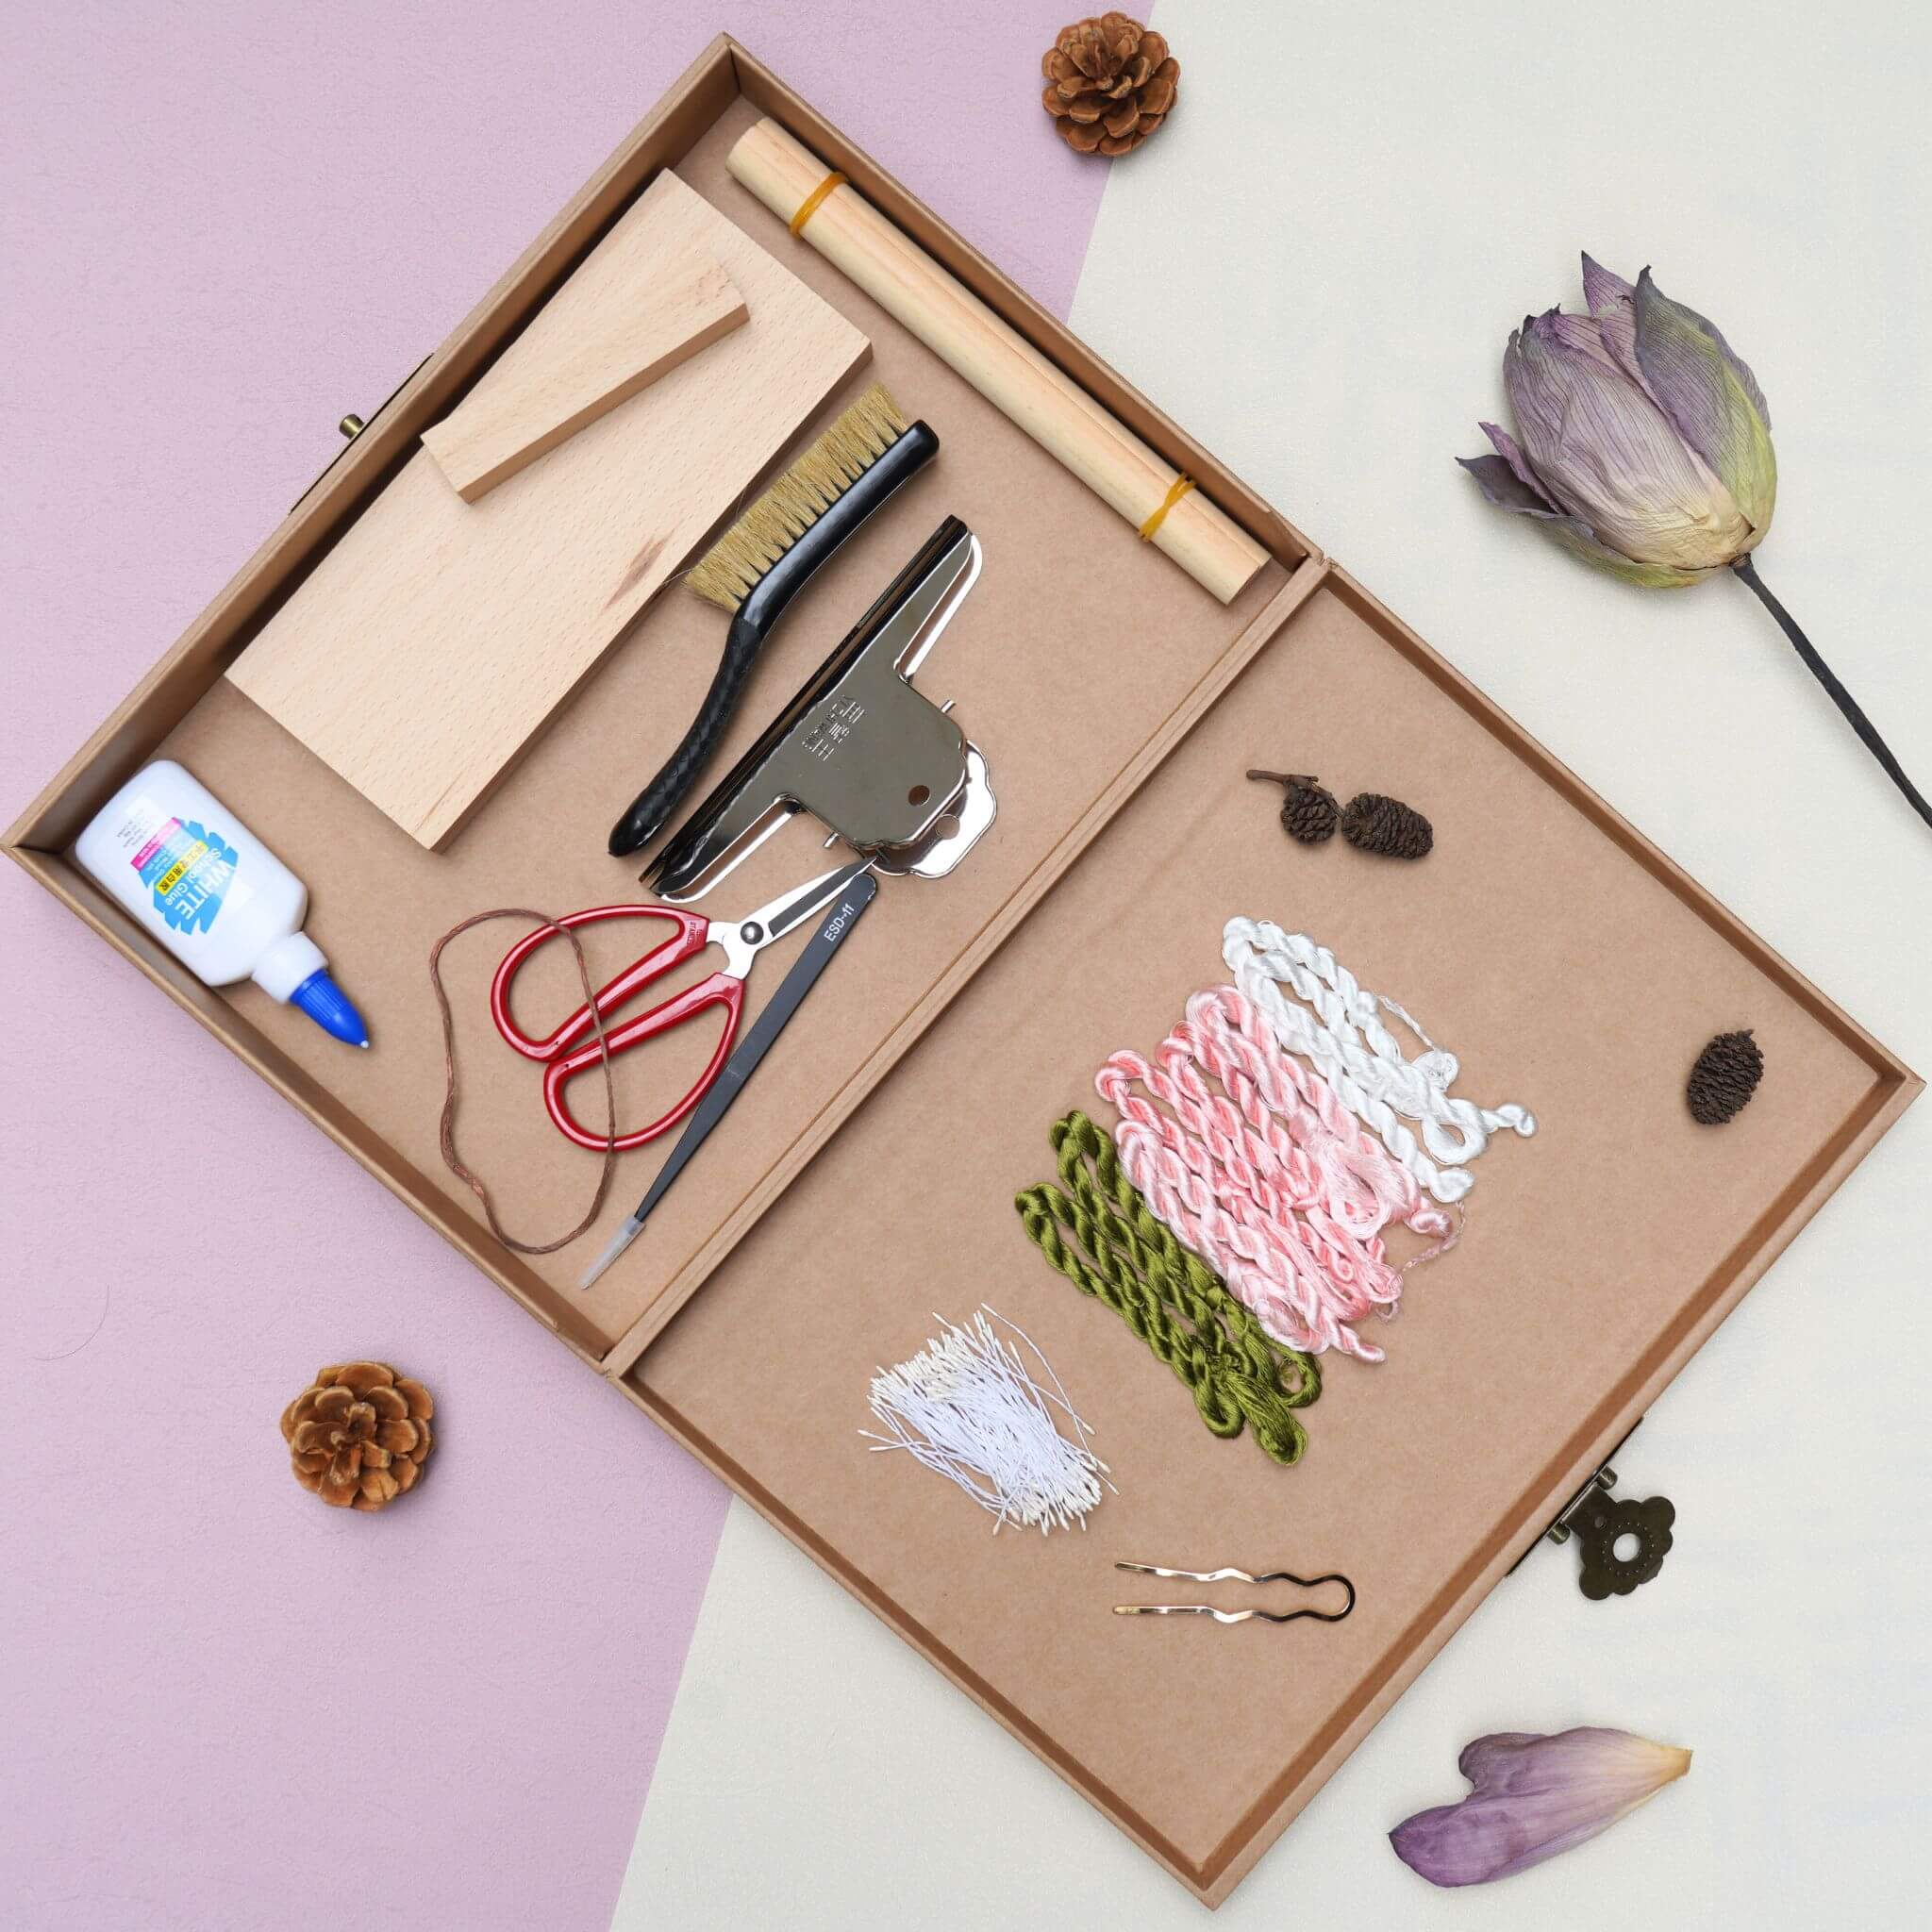
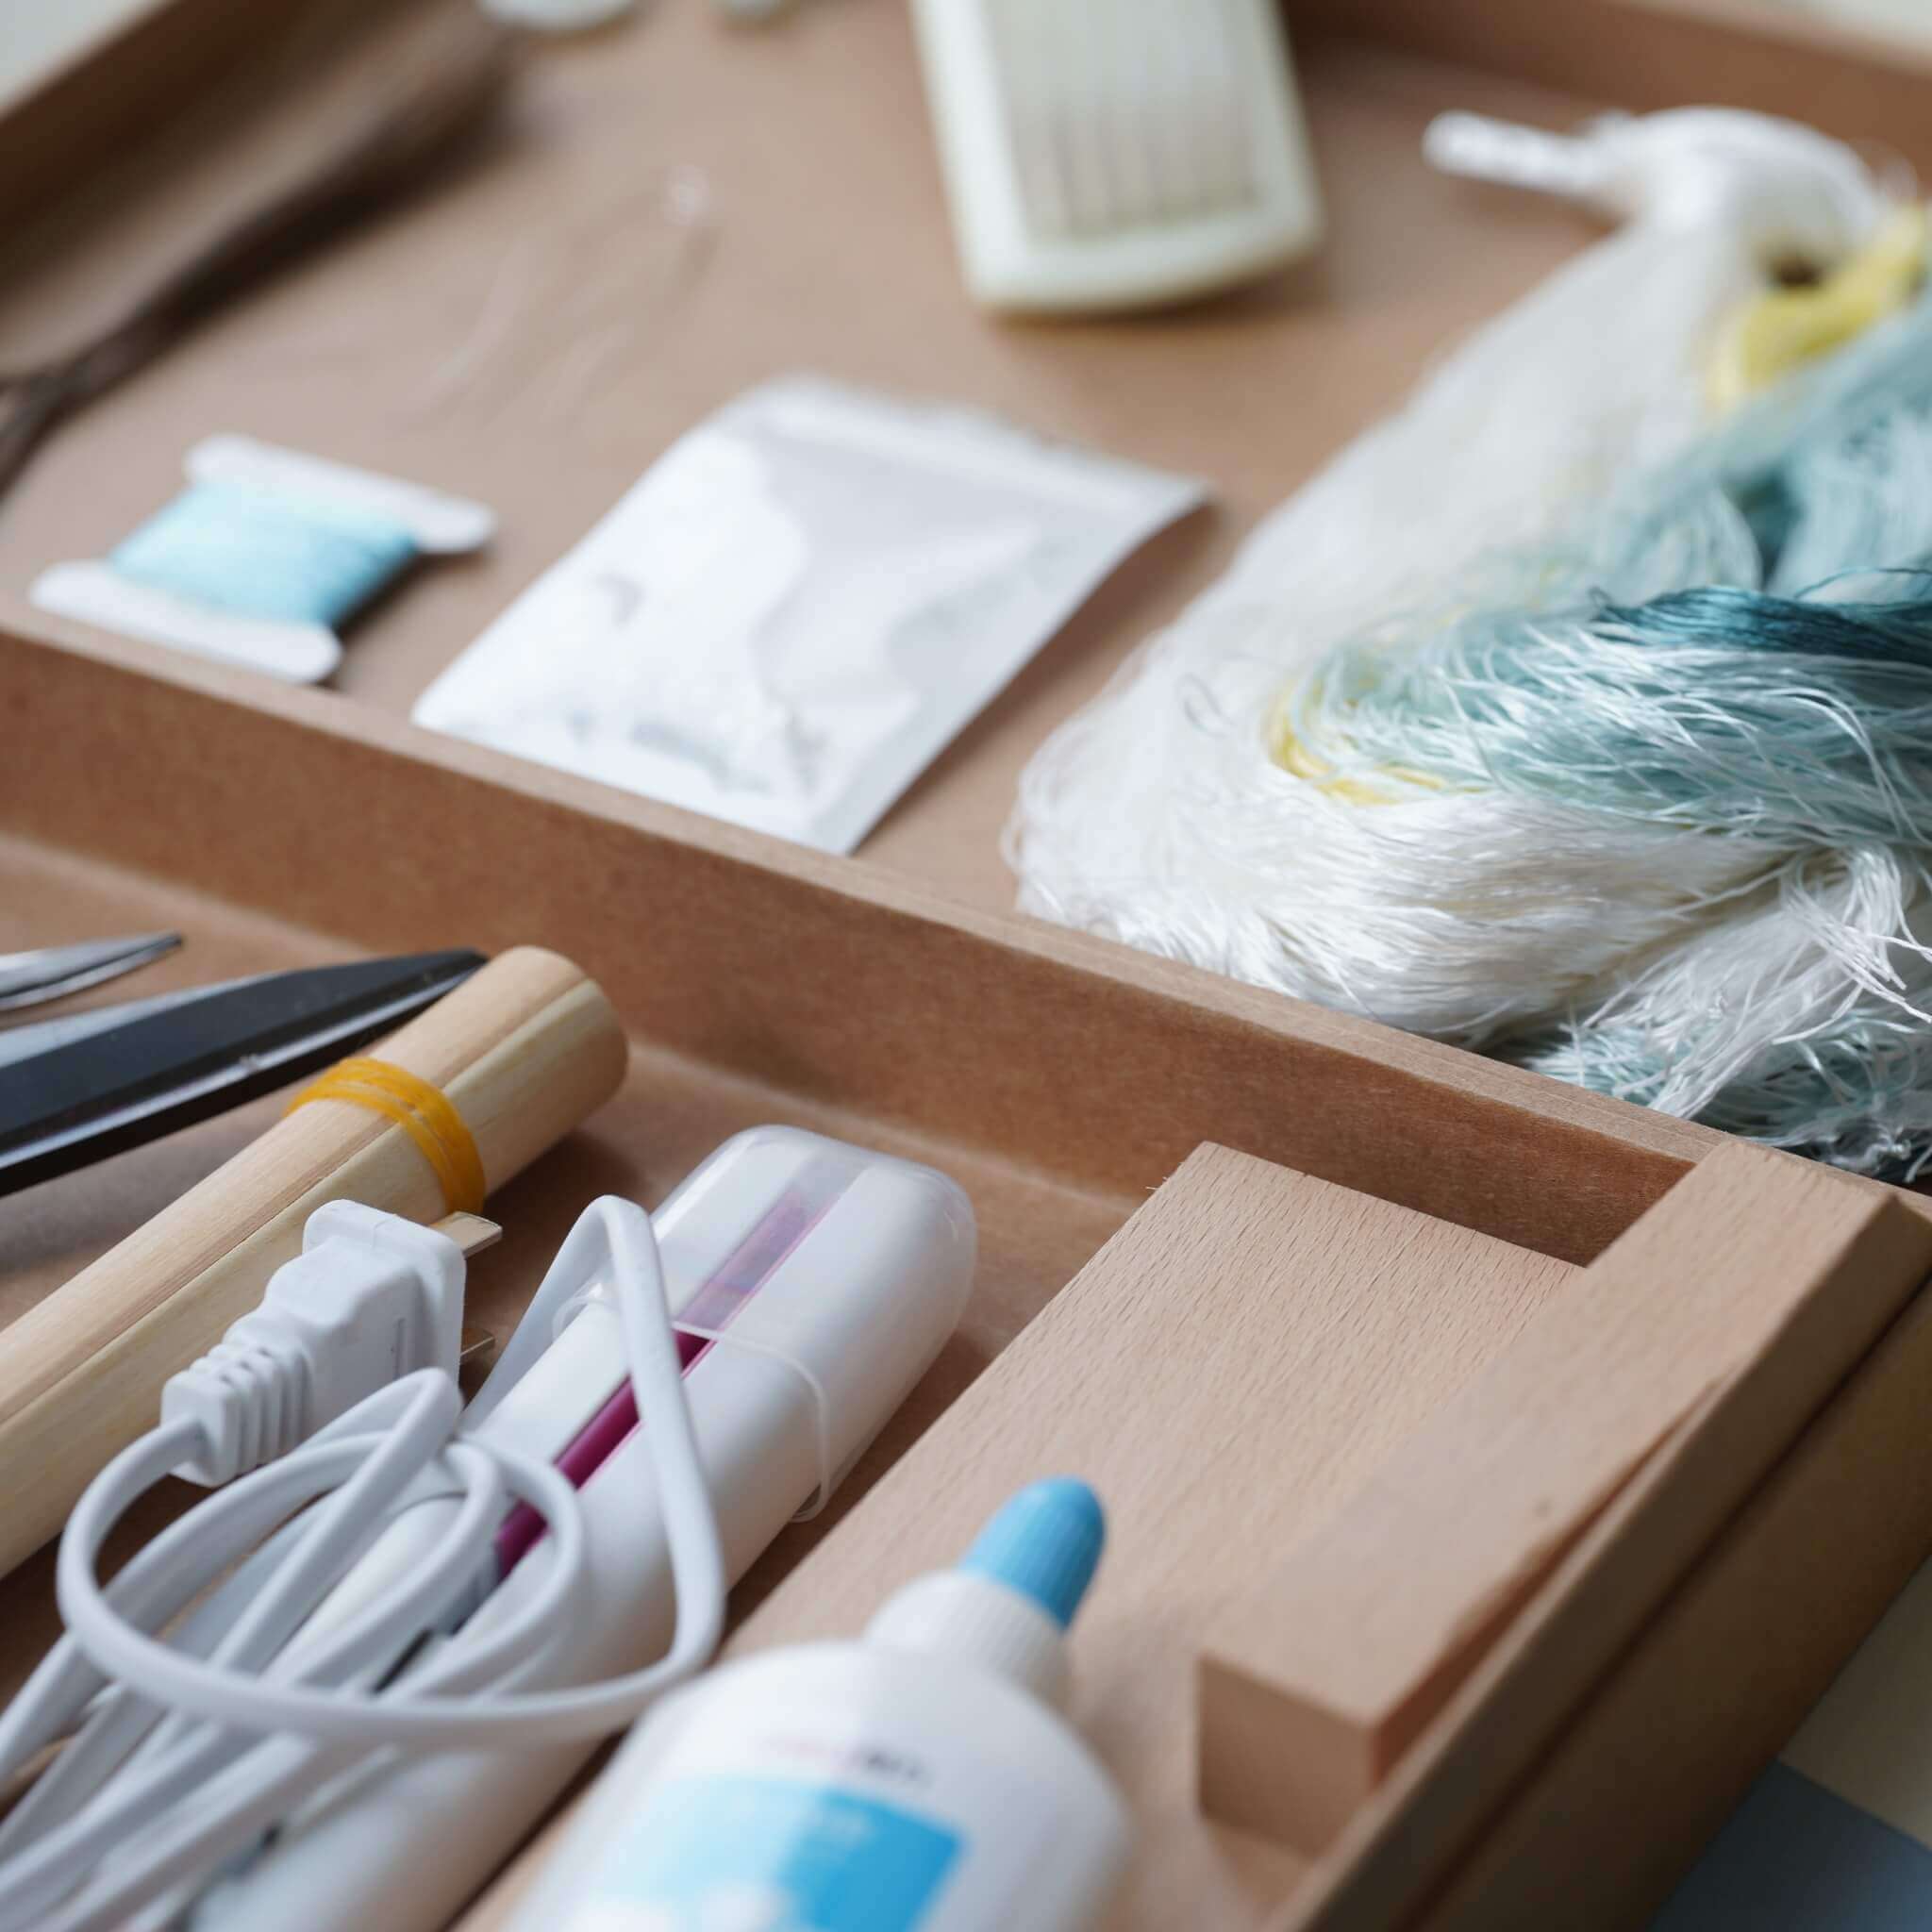
Tools: electric flower iron, interchangeable heads, sponge mat, heat-proof silicone pad, and a piece of white fabric to test temperature. To test: spray water on the fabric, touch with the heated iron, then feel with your hand. Use larger round heads for outer petals—light pressure for soft curves. Use smaller heads and more pressure for inner petals with tighter curves. Optional: press texture lines on the back of petals for a natural look. Don’t heat the smallest inner petals—they stay flat.

Step 6: Prepare the Leaves 27:01~31:05
Use floral wire as the leaf spine; glue between two fabric leaf layers. Some leaves may need two wires, one on each side. Use a knife-shaped iron tip to trace along the wire edge. Gently bend with your hands to shape the leaf.

Step 7: Make the Flower Center 31:06~35:40
Fold three light-colored stamens in half. Thread a piece of copper wire through the middle and twist to secure. Surround the center with cut deep yellow stamens. Trim the base and apply glue. Attach the smallest petals around the stamen, slightly higher than the center. Press with tweezers to secure. Add the second and third layers, staggering the petals for a natural effect.
Step 8: Assemble the Flower 35:41~end
As shown in the below section of the tutorial video.
Use floral wire to reinforce outer petals—glue the wire along the edge between two petals. Wrap the flower stem with a thin fabric strip. Attach all petal layers from inner to outer. Glue the calyx to the bottom (cut a cross-slit to insert).
 Attach the leaves and wrap the stem completely. Color the flower stem using green dye. If the fabric doesn’t take color well, it's because of the glue. In that case, dye first, then assemble.

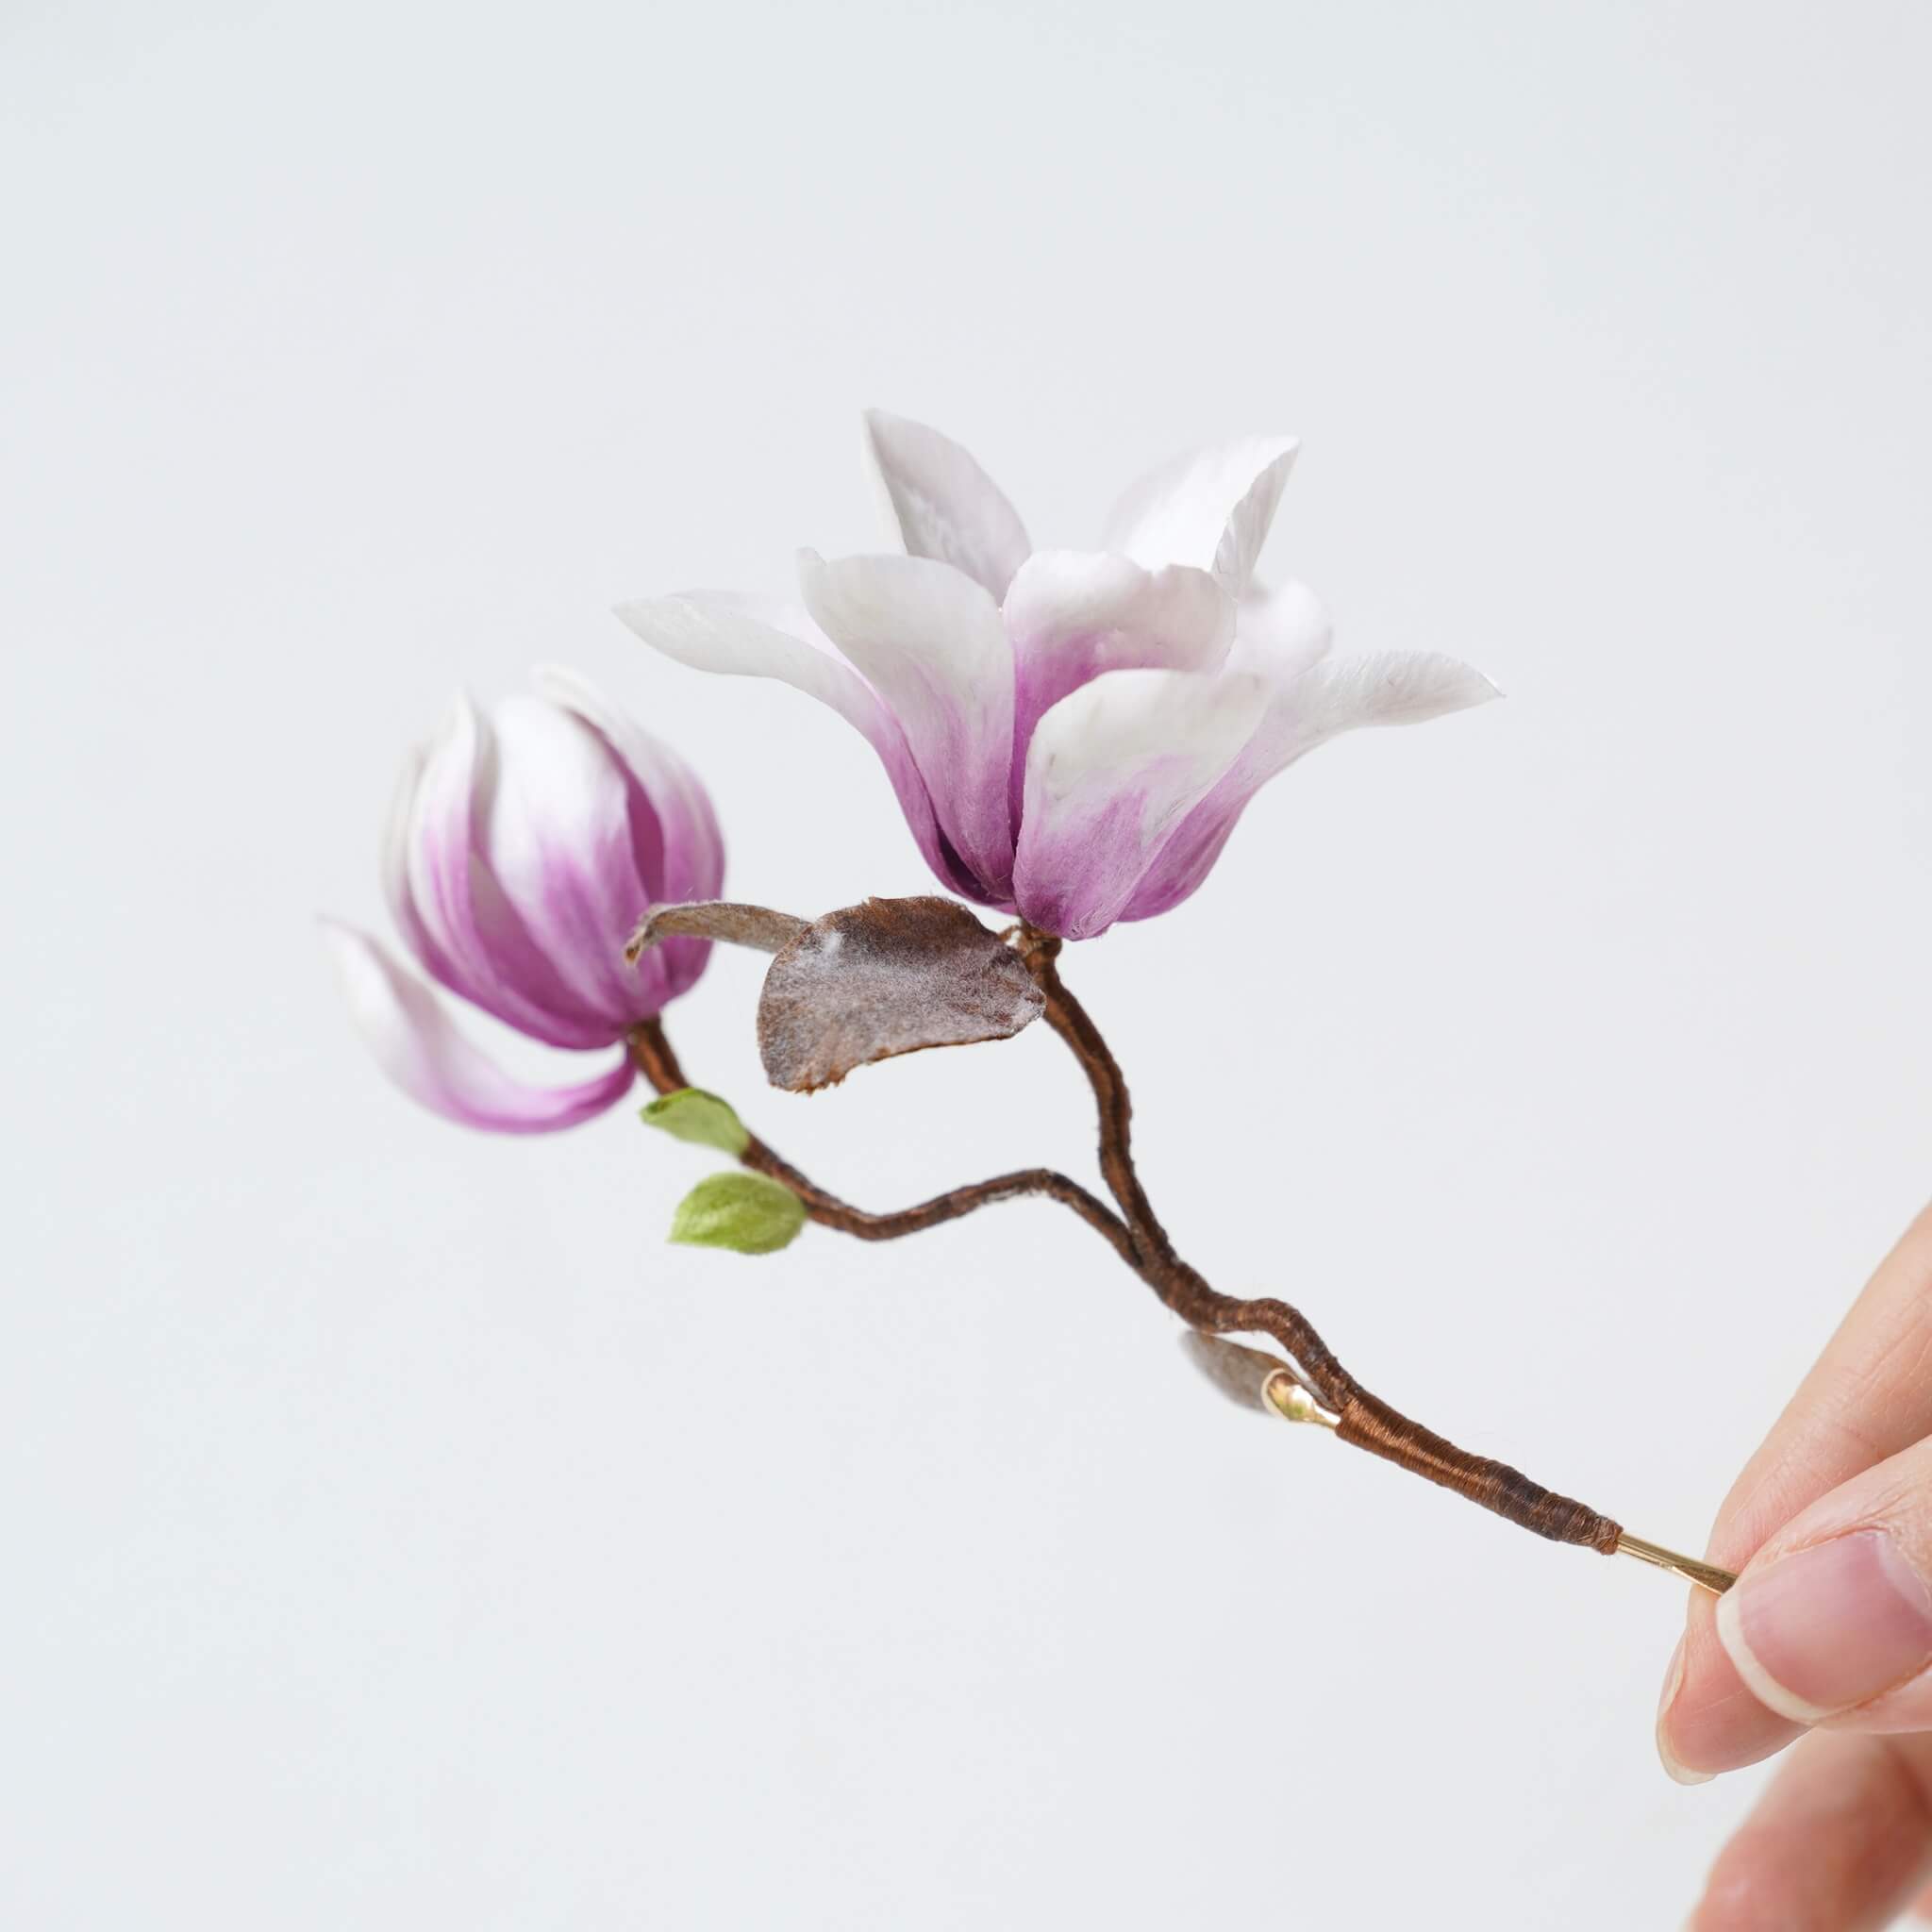
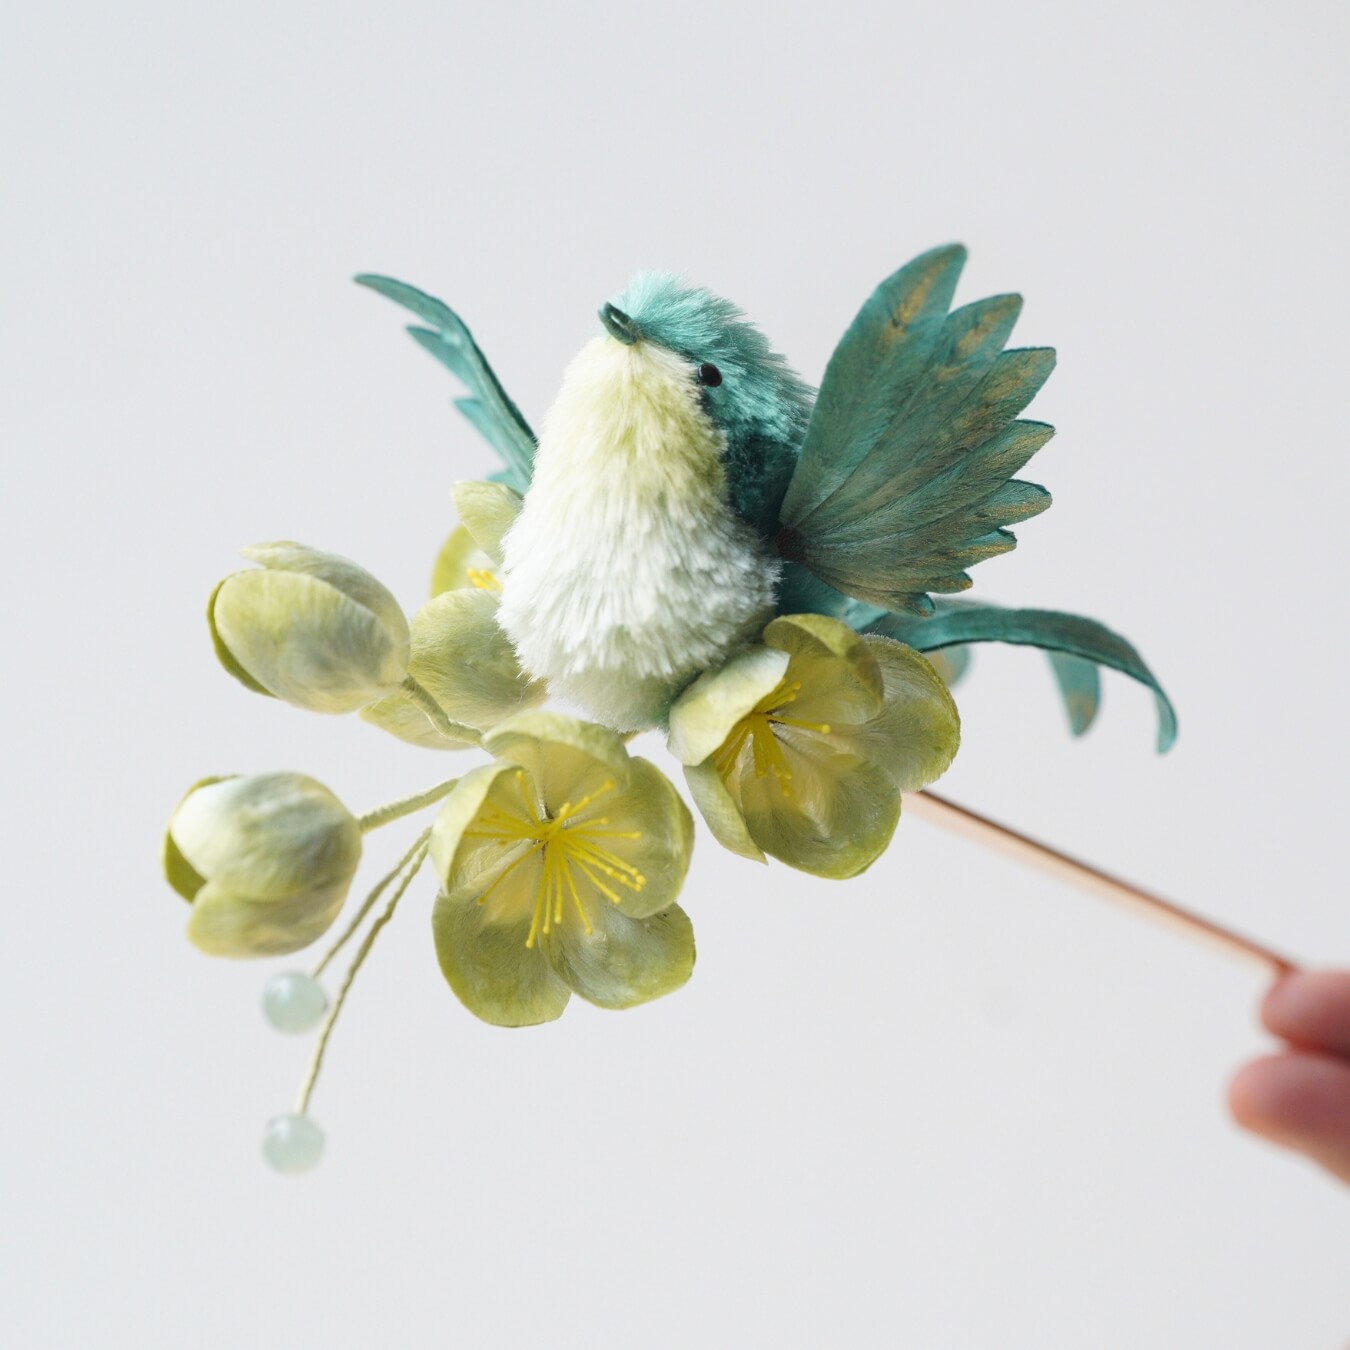
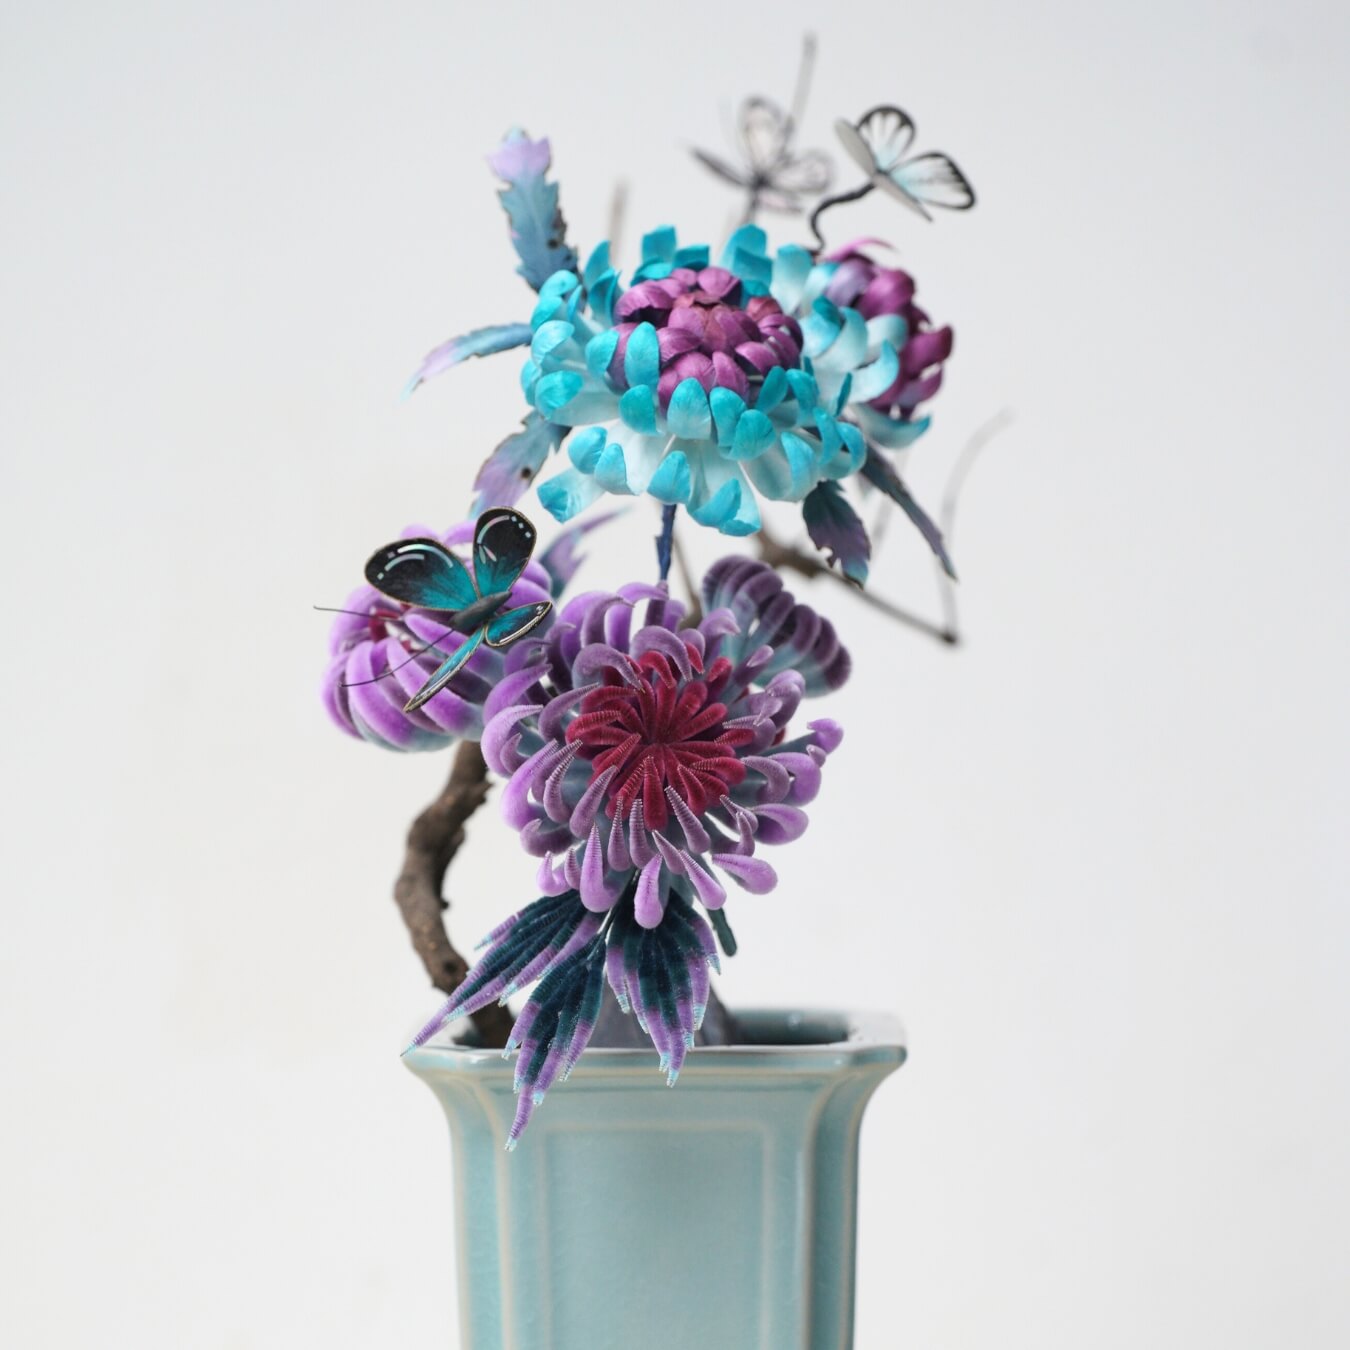
 And that's it — your scorched silk peonies are done! The process is the same for other flowers; only the color and size change. Now it's your turn—give it a try!
If you finished your DIY product, welcome to show your awesome work to us and get coupons for the rest of our DIY kits!
INS@lanseichina
Pinterest@lanseichina





Hinterlasse einen Kommentar
Alle Kommentare werden vor der Veröffentlichung moderiert.
Diese Website ist durch hCaptcha geschützt und es gelten die allgemeinen Geschäftsbedingungen und Datenschutzbestimmungen von hCaptcha.