

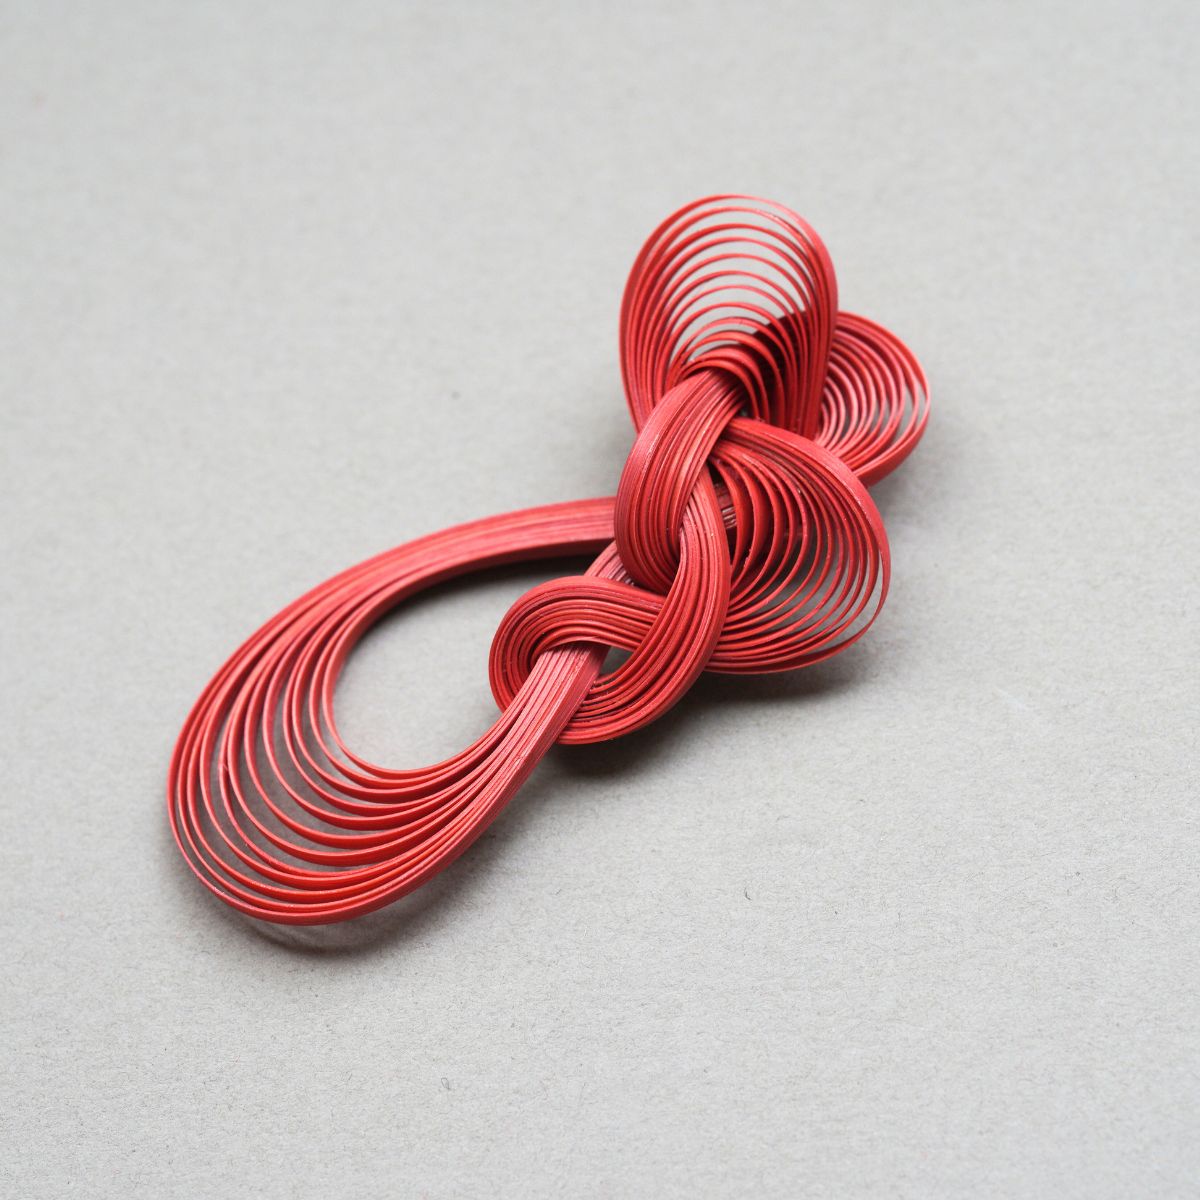


Red plum blossoms bloom in the cold, delicate yet resilient. This piece focuses on their vivid color and refined form, capturing the quiet strength and elegance of plum blossoms as they appear against winter branches.
Preparation: What You’ll Need
If you’ve purchased our Ronghua Toolkit, you already have everything required!
If not, prepare the following tools:
- Bristle brush (Medium to soft hardness)
- Flat iron (the one you use to straighten your hair)
- Tweezers
- At least 2 pairs of Scissors
- wooden sticks / pencils / chopsticks
- Hair spray or diluted white glue (1:1.15–1:1.2 ratio)
- Big clips (around 15cm)
- Twisting boards and wooden blocks (for even tension)
- Anti-slip powder (optional but helpful)
Full Tutorial Video
Step 1. Align and Arrange the Silk Threads
Start by untying your silk threads. Locate the knot at one end of each bundle and cut it open carefully. You can use these colors for your plum blossoms.

Step 2. Group and Prepare the Threads
Each silk bundle consists of tiny strand-like structures — these are your individual strands.
Align all strands neatly and tie them around a thin stick, keeping the ends even. Avoid uneven lengths — this ensures consistent texture later on.

Step 3. Make Silk Rows
Repeat the above process to create three silk rows in total. Remember to refer back to the data provided in the diagram for the following rows, as each will differ slightly. Below are the finished silk rows we made.

Step 4. Brush the Silk Rows
Fix one silk row onto your stand using big metal clips - if you don't have the wooden ronghua stand, that's totally fine! You can refer to our video about alternative solutions to the stand. Hold the ends of the threads with one hand and brush gently but firmly from top to bottom. Don’t lift the brush midway. A light mist of water will prevent static. You can apply some pressure — silk threads are stronger than they look! Make sure to brush both the front and back sides until the row looks smooth and fluffy.

Everyone uses a different brush and hand speed, so the time it takes to complete this step is also different. Taking my situation as a reference, it took me about 10 minutes to brush this silk row. When you feel the hair is soft and fluffy, you can stop and check. When there is no complete linear distinction between the threads, it's ready:)

Step 5. Attach Copper Wires
When you feel that the silk is brushed enough, secure its tail with another big clip to your table or anything that can help stretch it taut. Take out one copper wire from the folded end of the row and straighten it. Twist the folded part into a spiral of about 3 cm. Clamp the silk threads between two copper wires and twist the opposite side tightly. Pull both wires taut and continue twisting until they merge into one. Remember, the twisting direction for the left and right end are opposite.
The spacing should be as shown in step 1.
If you have anti-slip powder, it will be much easier to dip your fingers in it and twist it.
We highly recommend you watch the video tutorial for this step:)
Once done, remove the silk row from the stand and lay it flat.
Step 6. Cut the Silk Strips
Trim the row’s end neatly, then cut between each pair of copper wires to create even silk strips. When cutting, the scissors must be placed in the middle of two copper wires, otherwise the width of the silk strips will be inconsistent.
If threads stick to your scissors, clean them — it’s usually caused by static or residue. Cut quickly and cleanly for smooth edges. Don't touch the wire or it may get displaced.

Step 7. Center and Twist the Strips
Align the copper wire to the middle of each strip using a flat surface or wooden block.
Once centered, twist both hands in opposite directions to tighten.

Next, place the copper part between the twisting boards and continue twisting in the same direction. Stop when the wire feels firm — twisting too far may cause it to break. How do you know if it is tightened enough? If tightened properly, the copper wire should only faintly show. If the copper wire is very visible, it’s not tight enough.

Use a fine comb or dense brush to brush them again. Light shedding during brushing is normal. If there’s a lot of shedding, the copper wire wasn’t rubbed tightly.
Step 8. Flatten the Strips
Fold the strips in half and twist them. Heat the flat iron and press the strip from back to front. Always iron in this direction, never straight down from top to bottom. After ironing, the petal will look slightly shiny.

Once flattened, soak them in shaping liquid, or gently brush the liquid on if you’re worried about shrinkage.
Prepare your setting solution:
- Use either hair spray, or
- Diluted white glue with water or alcohol (1:1.15 or 1:1.2 ratio)
Soak the flattened silk strips, let them absorb the solution, then scrape off the excess.

Step 9. Shape the Petals
Start by shaping the petals. From the base, turn the tweezers outward to create a gentle curve. Once the main curve is formed, lightly scrape the edges inward so the petal takes on a small, spoon-like shape. After shaping, place the petal on the bristles of a brush and let it air-dry. Repeat this process for all petals.

When the petals are completely dry, trim the edges. This step is very straightforward, similar to paper cutting. Follow the natural outline of each petal and simply smooth the edges—just avoid leaving any sharp or pointed tips.
Step 10. Make the Stamens
Next, let’s make the flower stamens using fishing line. Take a piece of regular fishing line about 15 cm long and wrap it around your thumb. Remove it and pinch the center tightly. Use a short piece of copper wire to wrap around the pinched center, then fold the fishing line in half and twist the copper wire firmly to secure it. Cut open all the folded loops.
Place a sheet of white paper under your work to protect the table, then use the marker from the kit to color the fishing line yellow. The number of stamens depends on your project: for a hairpin, 7–8 are enough; for a floral arrangement, prepare around 15–20.

Step 11. Make the Flowers
Now begin assembling the flowers. Take the dark brown wrapping thread from the kit and wrap it once around the stamens to secure them. Then add petals one by one, wrapping the thread once each time you add a petal. Red plum blossoms usually have 5–10 petals, but variation is key to a natural look. Mix five-petal flowers with smaller three-petal ones and a few larger seven-petal blossoms to mimic how plum flowers grow on branches.

Once a flower is complete, continue wrapping the thread downward along the wire, keeping it tight so no wire shows through. After wrapping about 1 cm, split the wire slightly and tuck the thread between it to hold everything in place temporarily. Adjust the petals, and your plum blossom is finished. Repeat this process to make more flowers as needed—about 5–7 for a hairpin, or 15–20 for a full arrangement.
Next, we’ll make the small flower buds. Use lighter red silk strands for larger flowers, and darker red strands for smaller flowers and buds.

Plum branch tips are very thin, which is a defining feature, so this detail matters.
Take the stainless steel wire and wrapping thread from the kit. Align two stainless steel wires together and start wrapping from the middle. Using two threads at once makes the process faster. After wrapping about 2 cm, fold the wrapped section in half. Shift the thread slightly upward and continue wrapping around the folded wire—this helps reduce the size of the opening at the tip.

As you work, periodically pinch the opening flatter with tweezers to keep it looking natural. Continue wrapping to about 5 cm, then split the wire, tuck the thread between it, and press it down with your ring finger. Wrap one more turn, then pass the thread through the gap to form a knot. If the knot isn’t tight enough, add a bit of white glue or jewelry glue.
Just like the flowers, these thin tips should vary in thickness and length. You can also make a slimmer version using only one stainless steel wire. If you have small pliers, you can flatten the tip further, though this step is optional. For a hairpin, three thin tips are enough; for an arrangement, prepare 15–20. Quickly seal the edges with a lighter, being careful not to burn them.
Step 12. Assemble the Piece
Now we can move on to the final assembly. Start with the thin tips, using several strands of thread together to work more efficiently.

First assemble small branches, then combine them into larger ones. Add the small buds next, and arrange the flowers so they gradually become larger and lighter in color from top to bottom. You can also add thin tips as branching points and adjust the design freely.
For floral arrangements, aluminum wire is needed as the main branch. If you’re making a hair accessory, you can skip this step. Use the aluminum wire as the core and attach the flower branches using the same wrapping method, keeping the wraps tight and dense so the wire doesn’t show. Once the main branch is secure, attach the remaining flowers. In this example, two aluminum-wire branches—one large and one small—are combined.

After finishing the wrapping stage, switch to floral tape. You can add glue if you want extra security. Shape the entire plum branch at this stage; adjustments are still easy to make. If you prefer a more sparse look, you can remove some flowers. Try to keep more areas wrapped with thread and less with floral tape, and make sure the taped section will be hidden inside the vase if you’re using one.

With that, the red plum floral arrangement is complete.
Step 13. Make Red Plum Hairpin
Next comes the red plum hairpin. Start by designing a branch shape you like. Once you’re satisfied, loosely secure the threads and use an old pair of scissors to cut the excess copper wire at an angle—never use your petal scissors for this, as copper wire will dull them.
Near the end of wrapping, fold the copper wire tail upward, keeping the fold close to the wrapped area. Wrap over the folded wire again and finish with a simple knot. To attach the branch to the hairpin, wrap a few rounds of thread around one end of the hairpin first, then add the branch. Secure it lightly at first, then wrap a second time more tightly and neatly, keeping the thread taut.

For a clean finish, place a folded piece of copper wire near the wrapping and continue wrapping over it. Cut off the excess thread, then use tweezers to pull the thread end through the small loop. Pull the copper wire out, which draws the thread end into the wrapped base and hides it. Trim off any exposed thread, adjust the branch shape, and your elegant red plum hairpin is complete.
You can watch our video tutorial for this step:)
We can’t wait to see your finished piece 🌸


Einen Kommentar hinterlassen
Alle Kommentare werden vor der Veröffentlichung moderiert.
Diese Website ist durch hCaptcha geschützt und es gelten die allgemeinen Geschäftsbedingungen und Datenschutzbestimmungen von hCaptcha.