


It's summertime! Are you ready for a fun summer project? The sunflower brooch is a small piece that instantly feels warm and uplifting. Inspired by real sunflowers turning toward the light, it combines bright layered petals with a soft textured center to create something lively and full of character.
Preparations: What You’ll Need
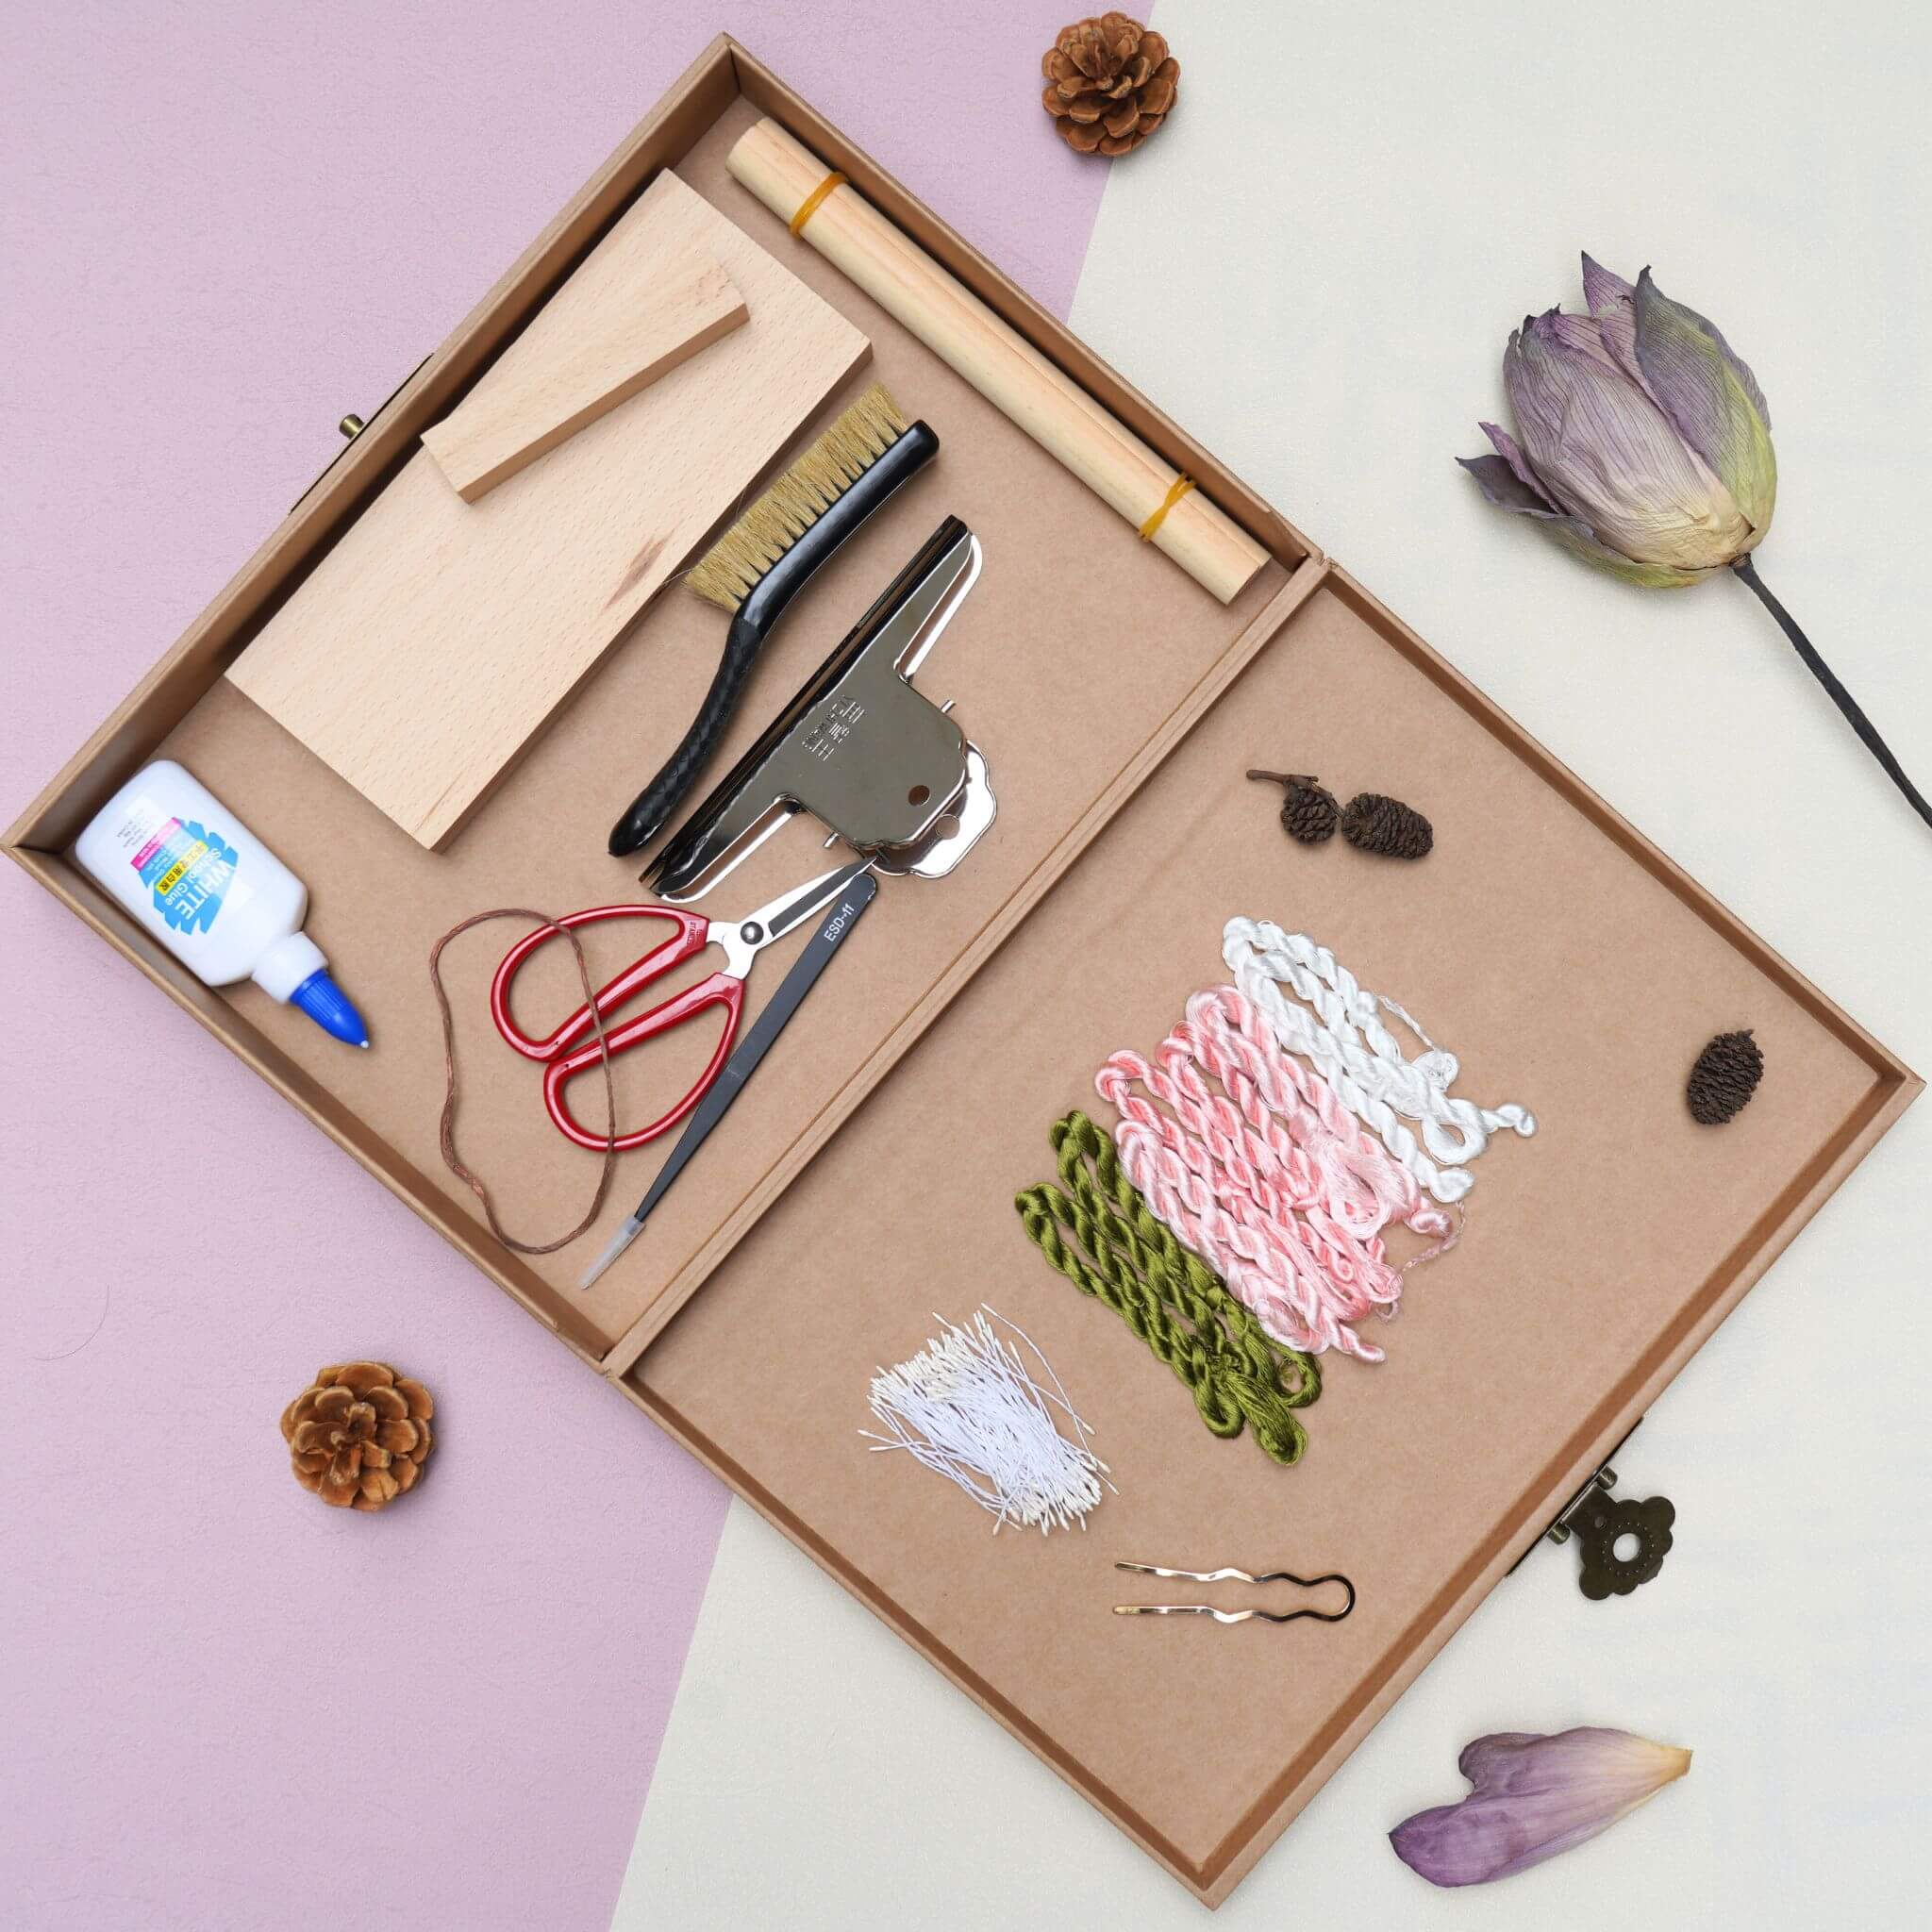
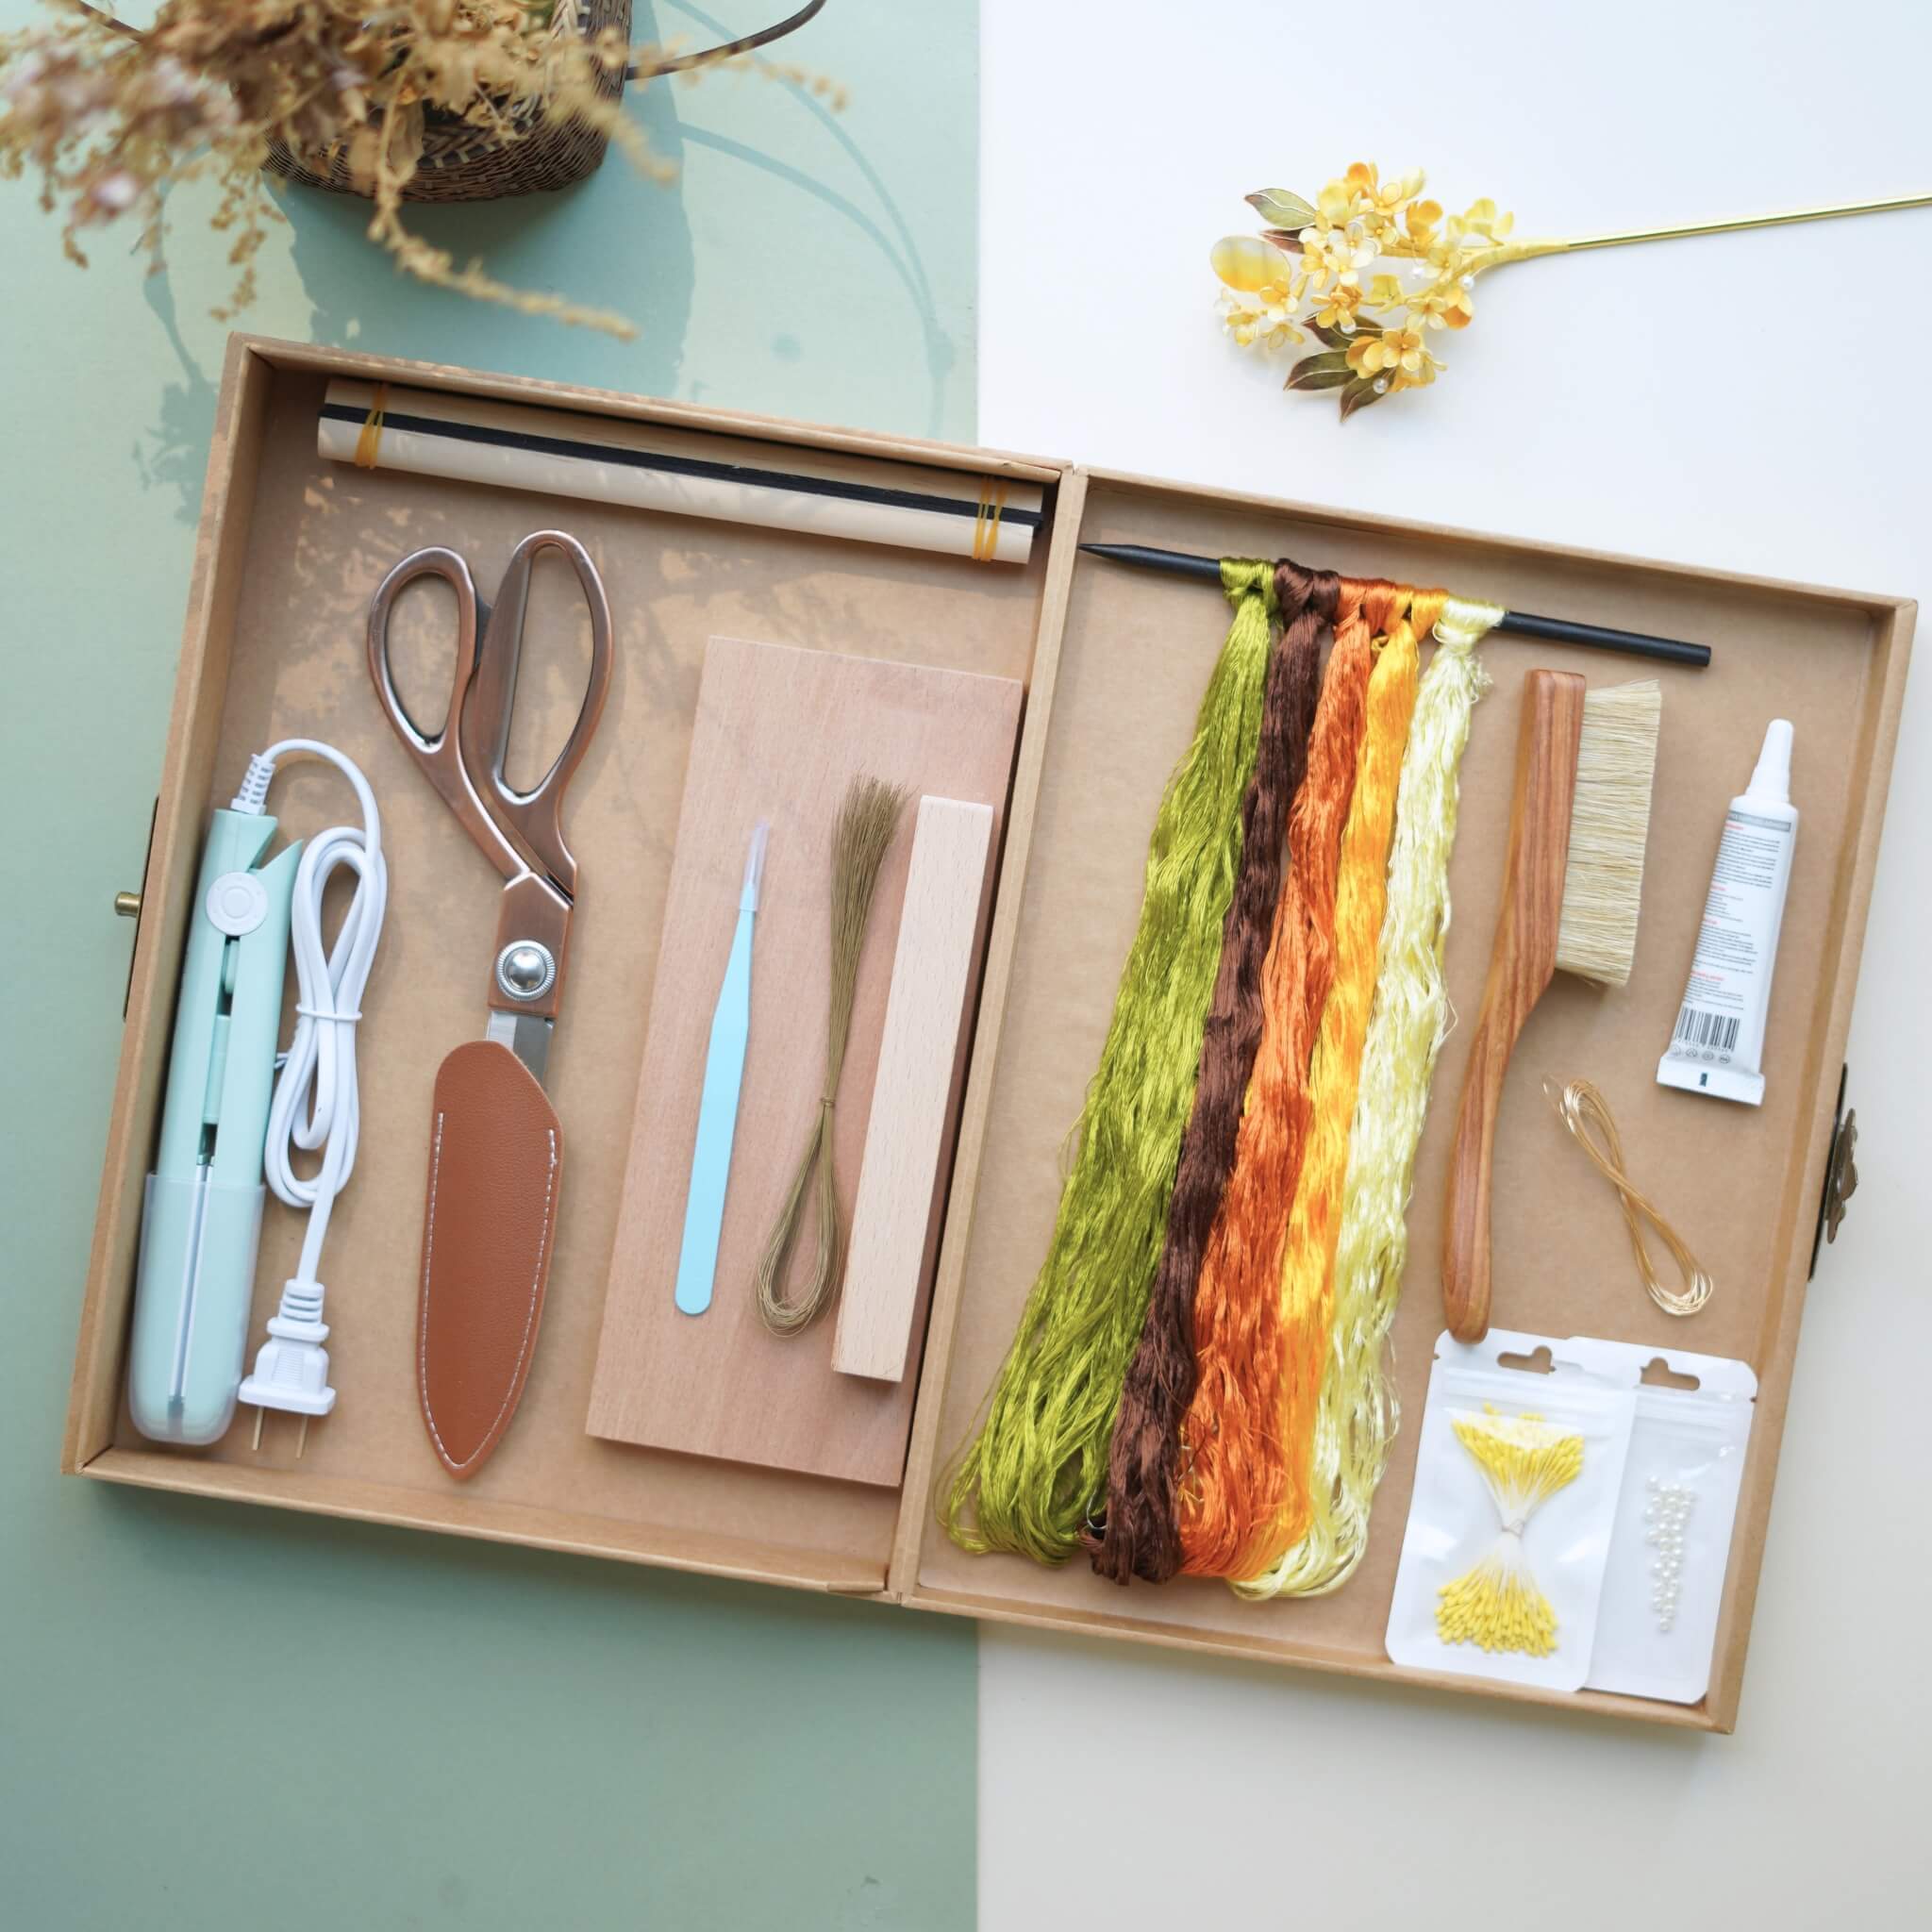
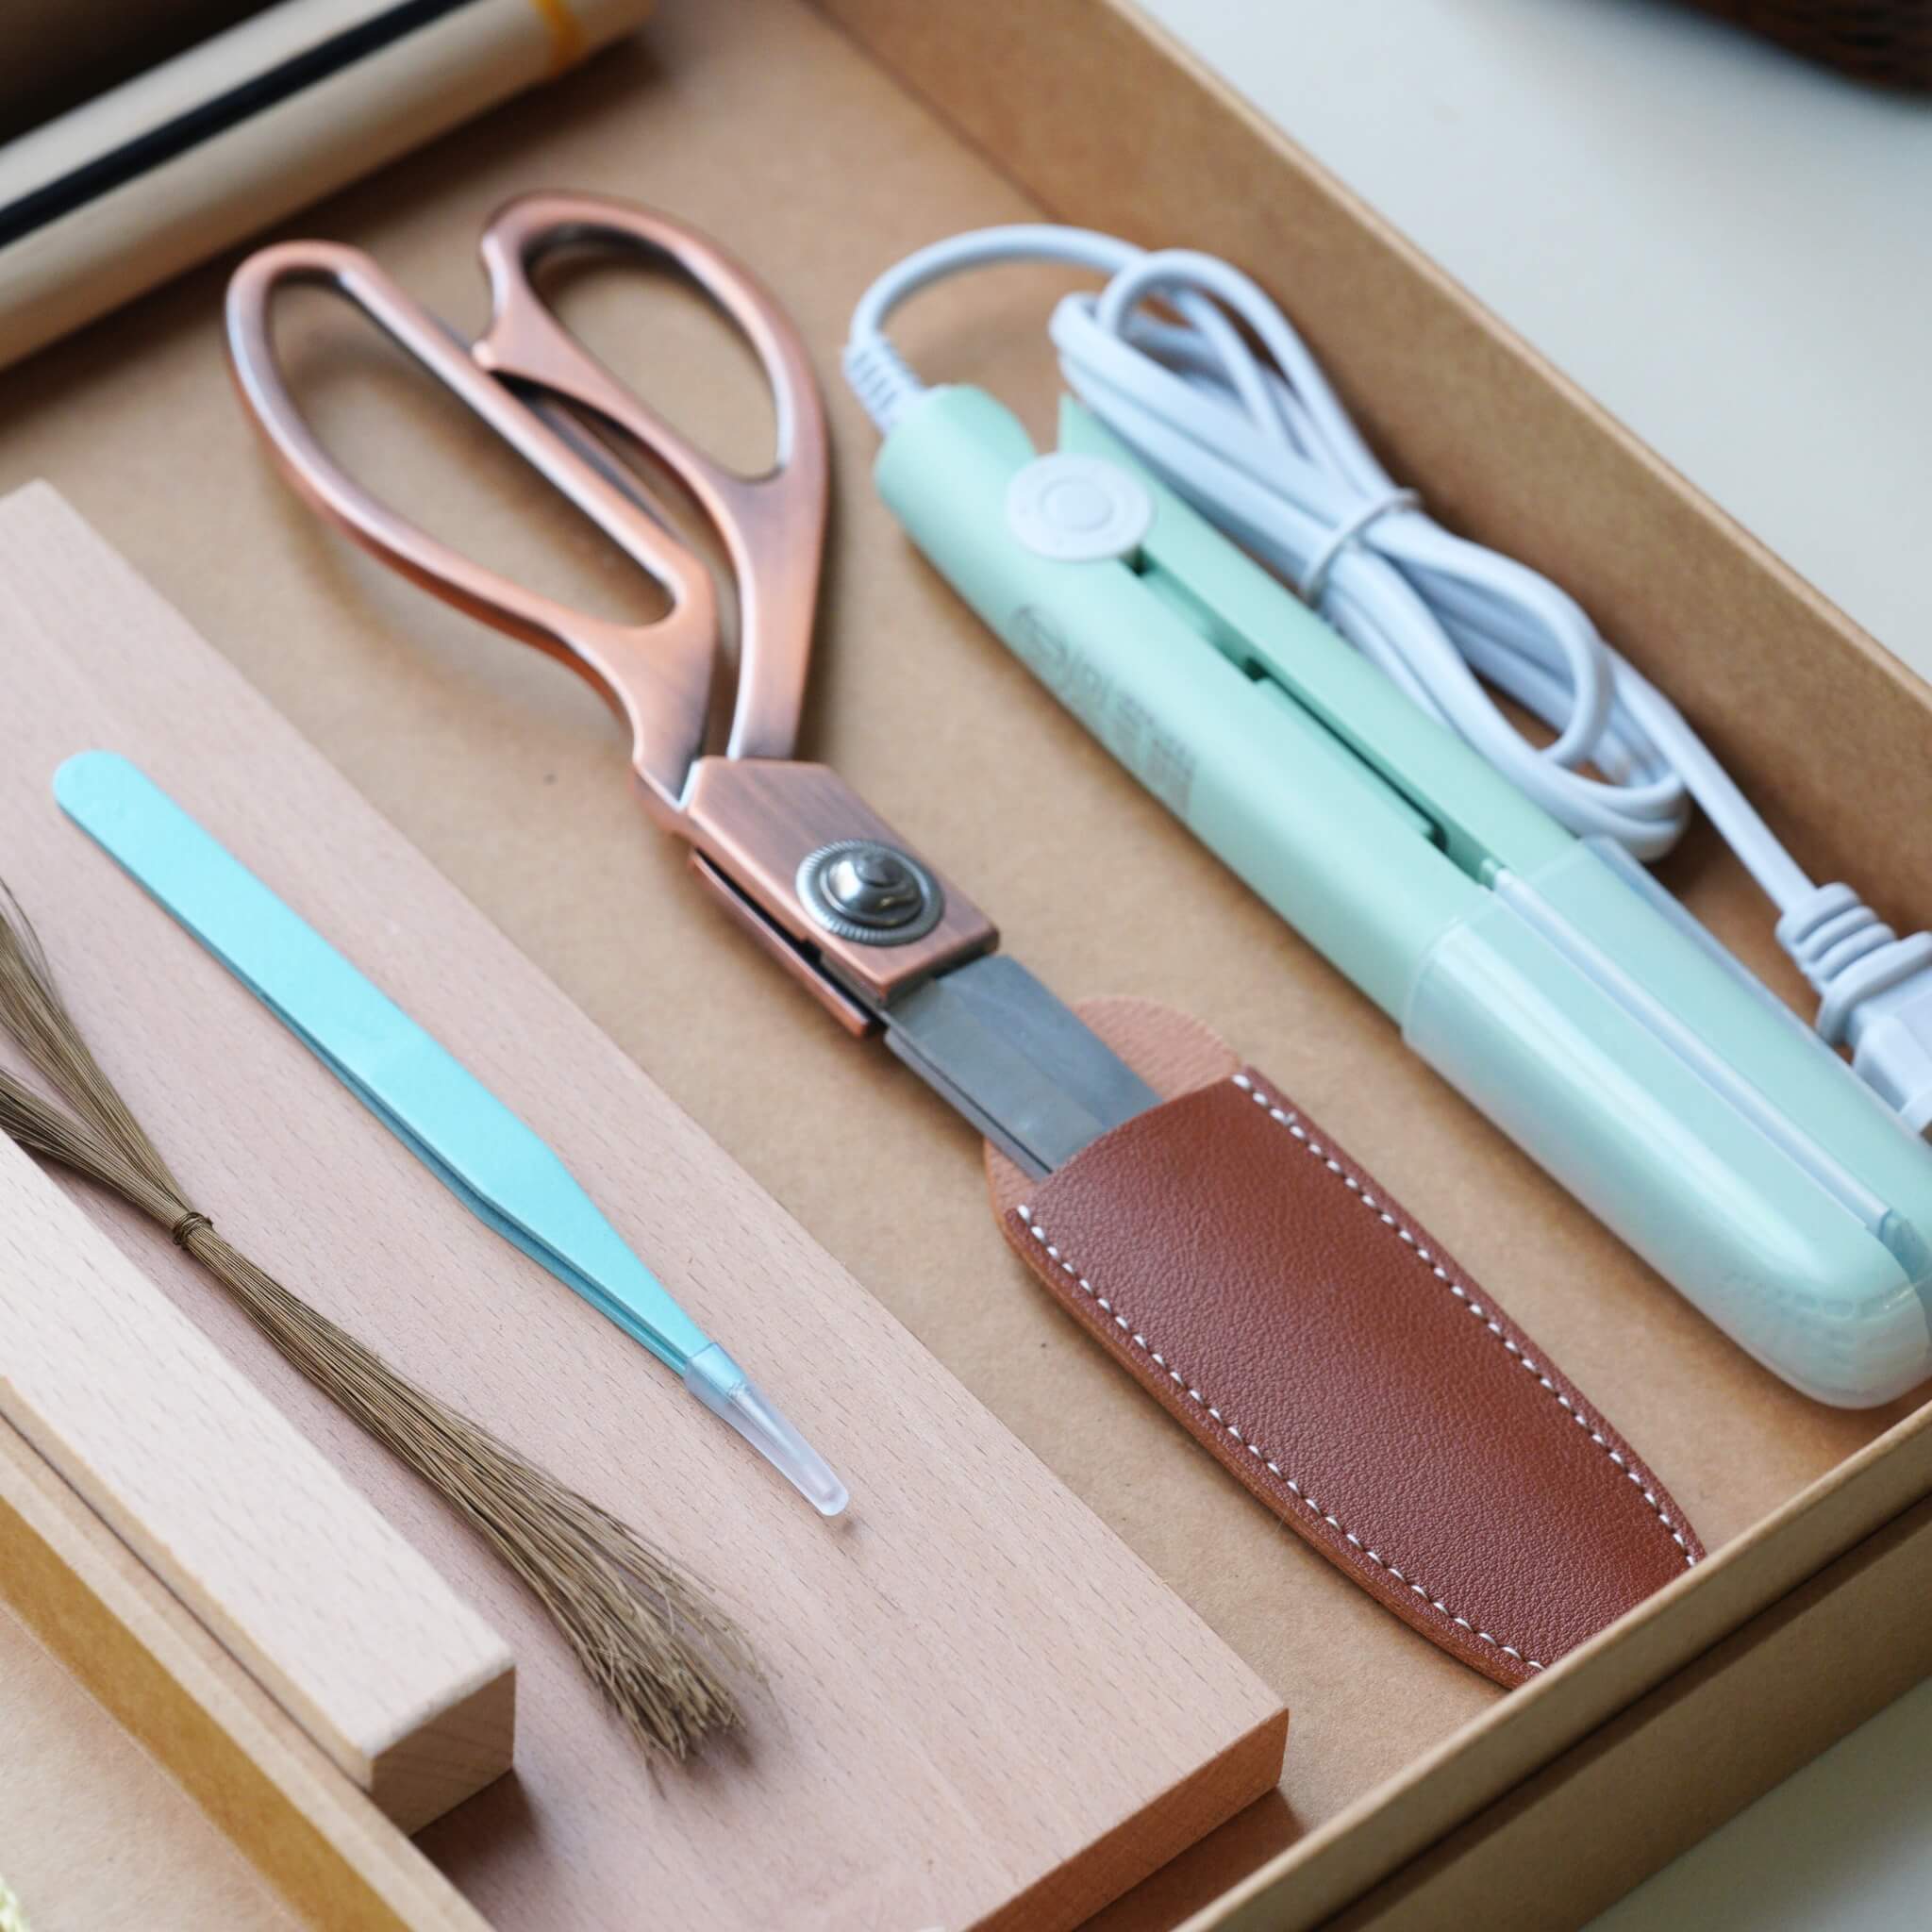
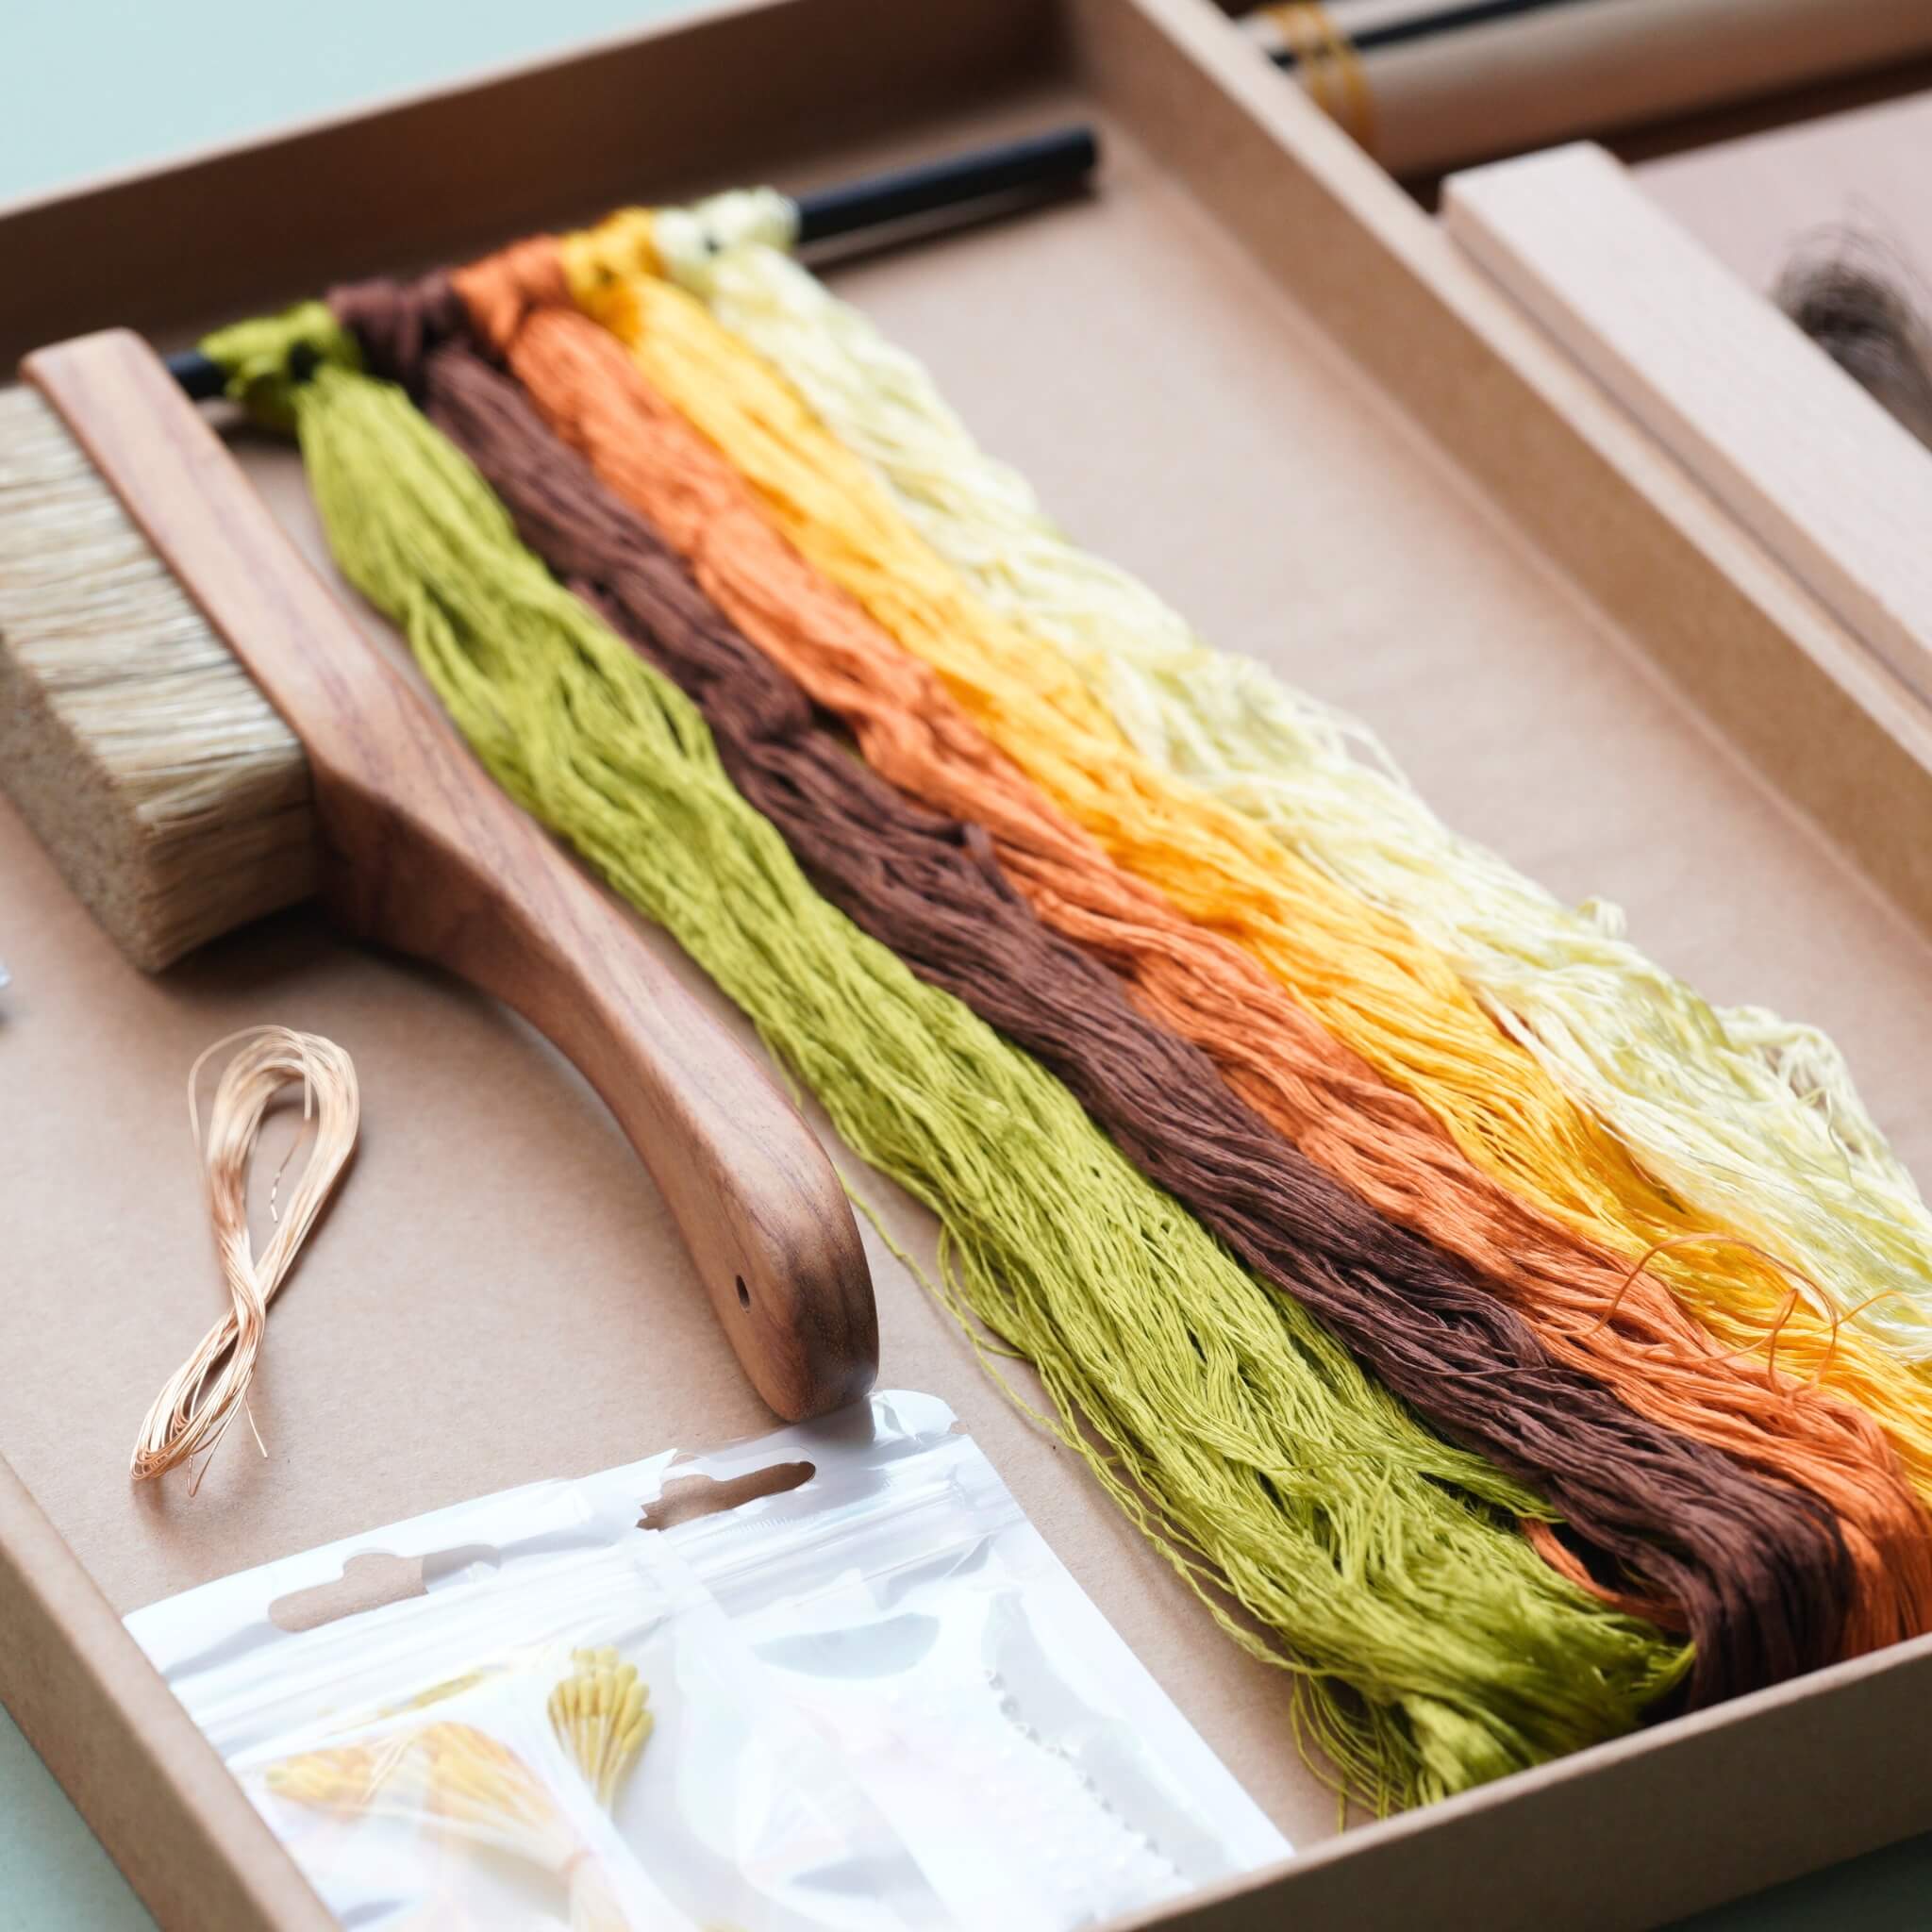
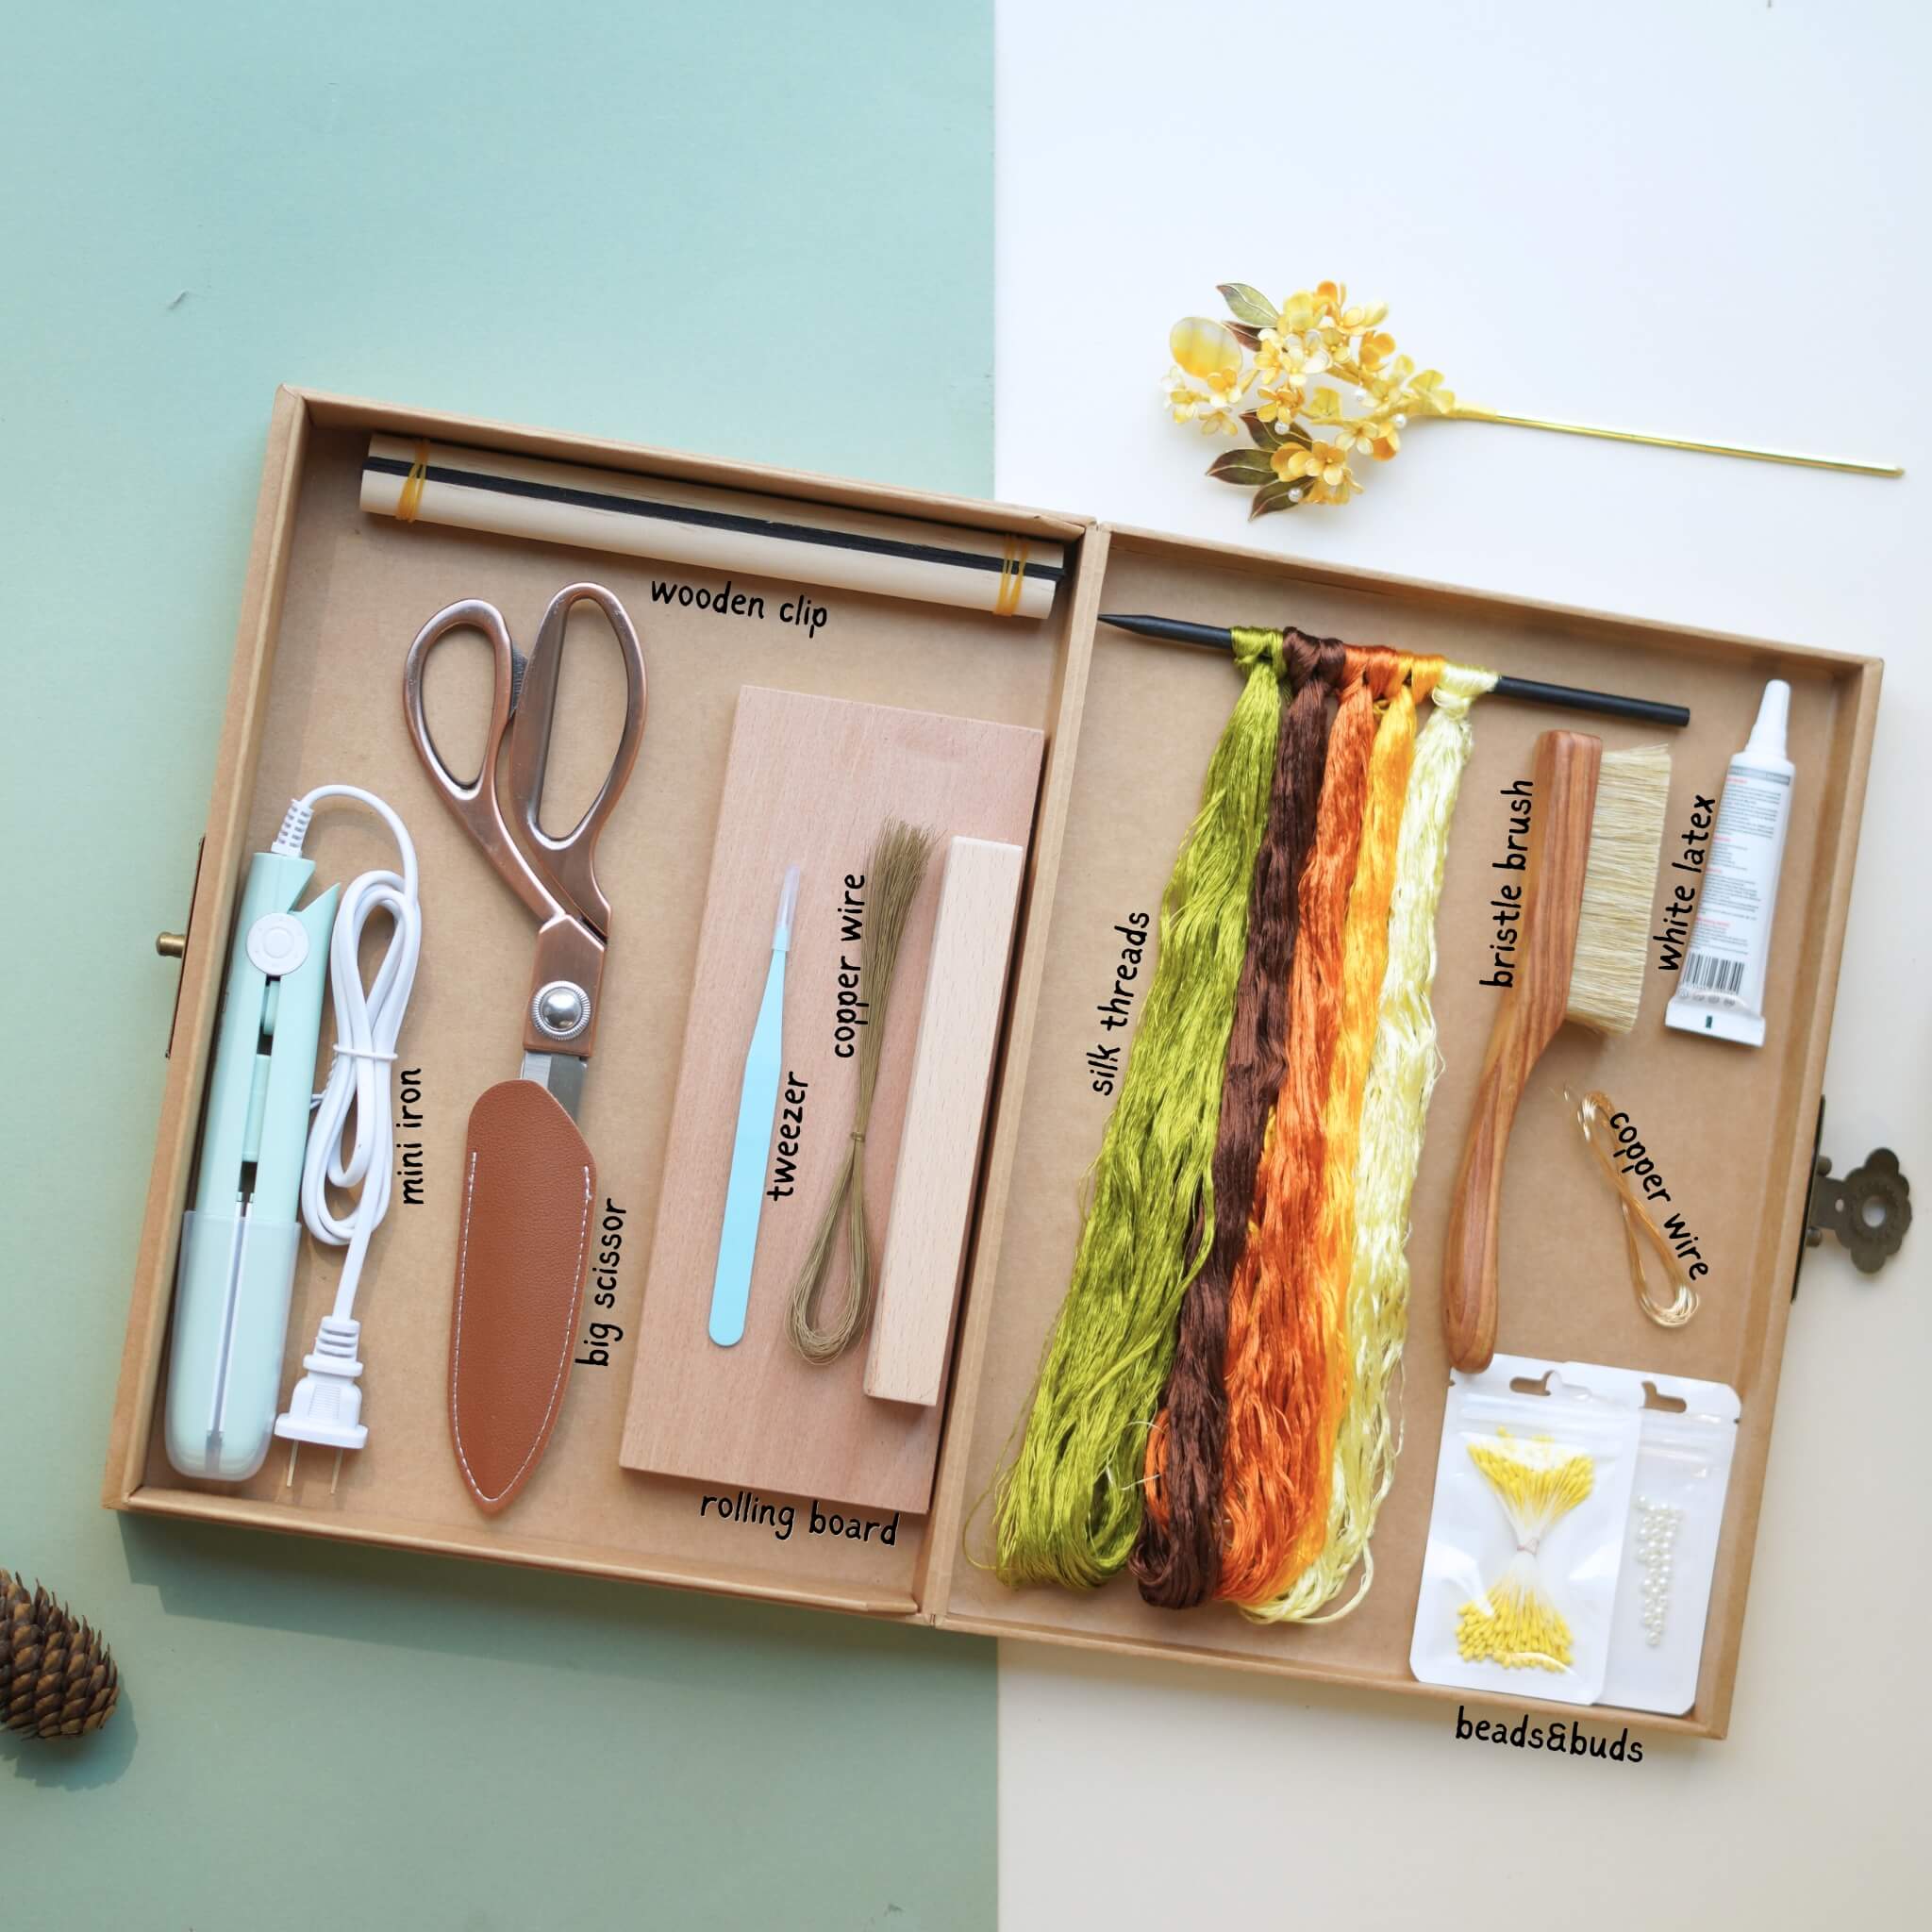
If you’ve purchased our Ronghua Toolkit, you already have everything required!
If not, prepare the following tools:
- Bristle brush (Medium to soft hardness)
- Flat iron (the one you use to straighten your hair)
- Tweezers
- At least 2 pairs of Scissors
- wooden sticks / pencils / chopsticks
- Hair spray or diluted white glue (1:2-1:3 with water or alcohol)
- Big clips (around 15cm)
- Twisting boards and wooden blocks (for even tension)
- Anti-slip powder (optional but helpful)
Full Tutorial Video
Step 1. Align and Arrange the Silk Threads
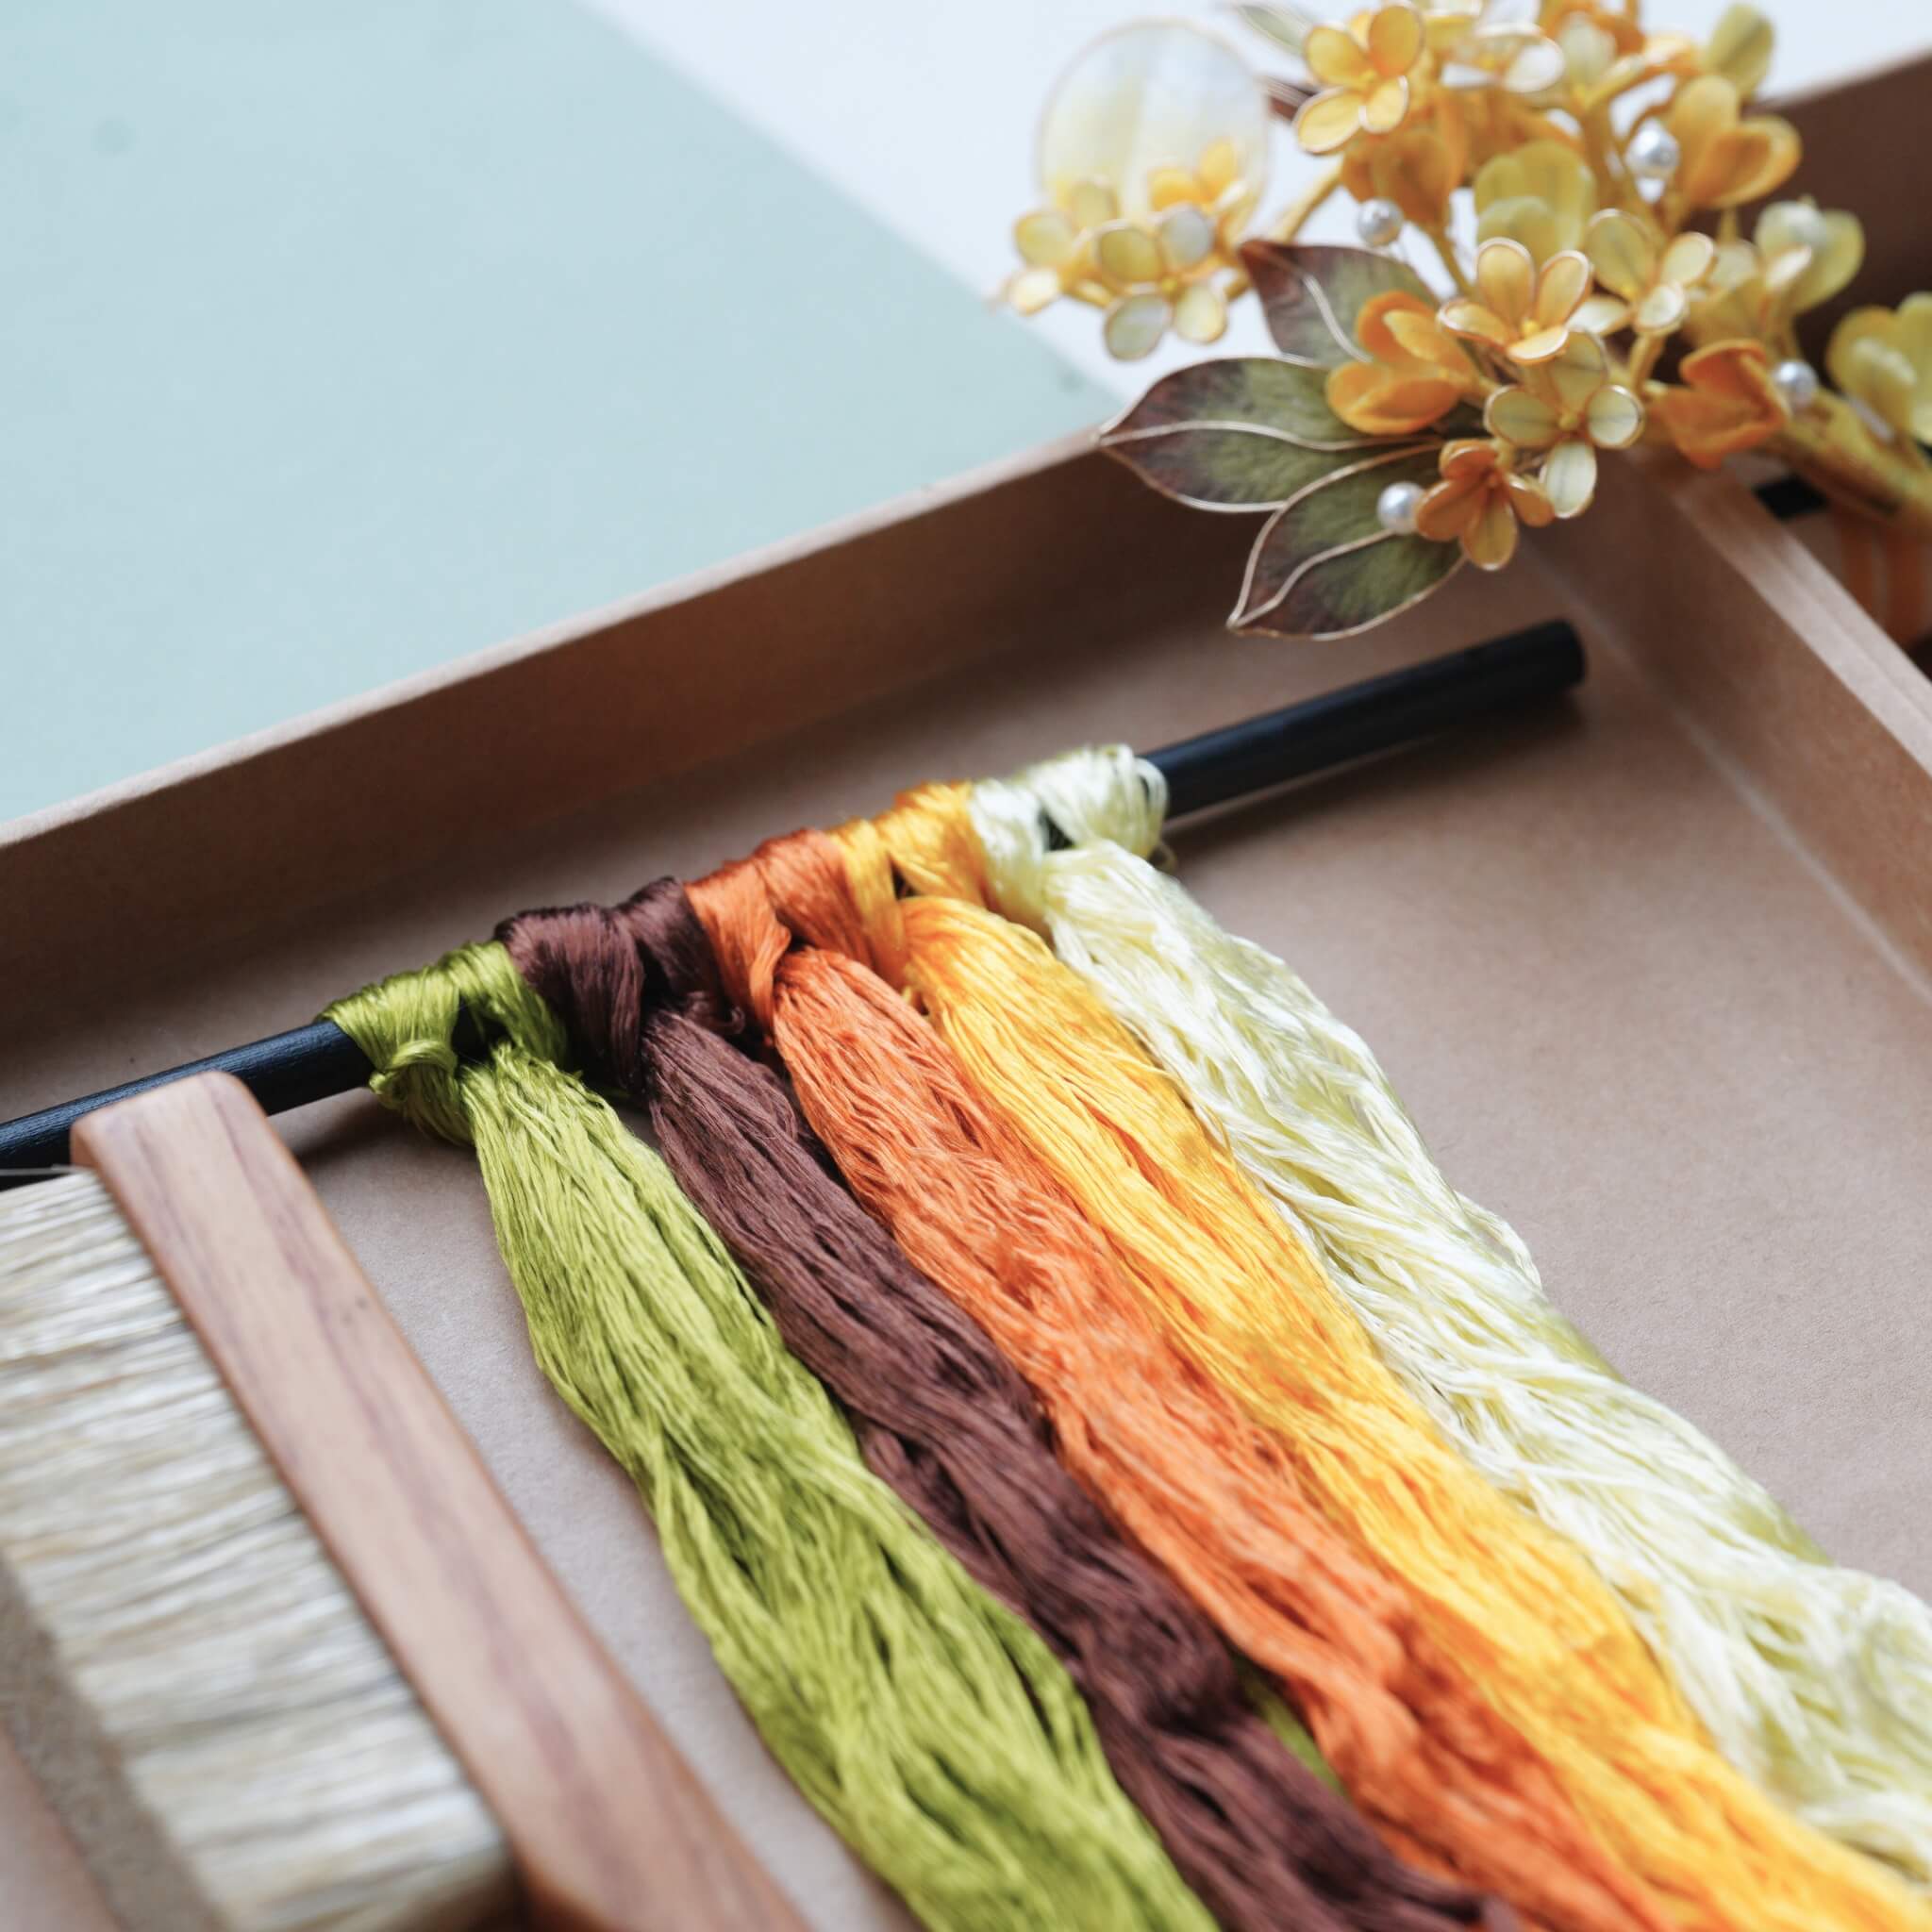
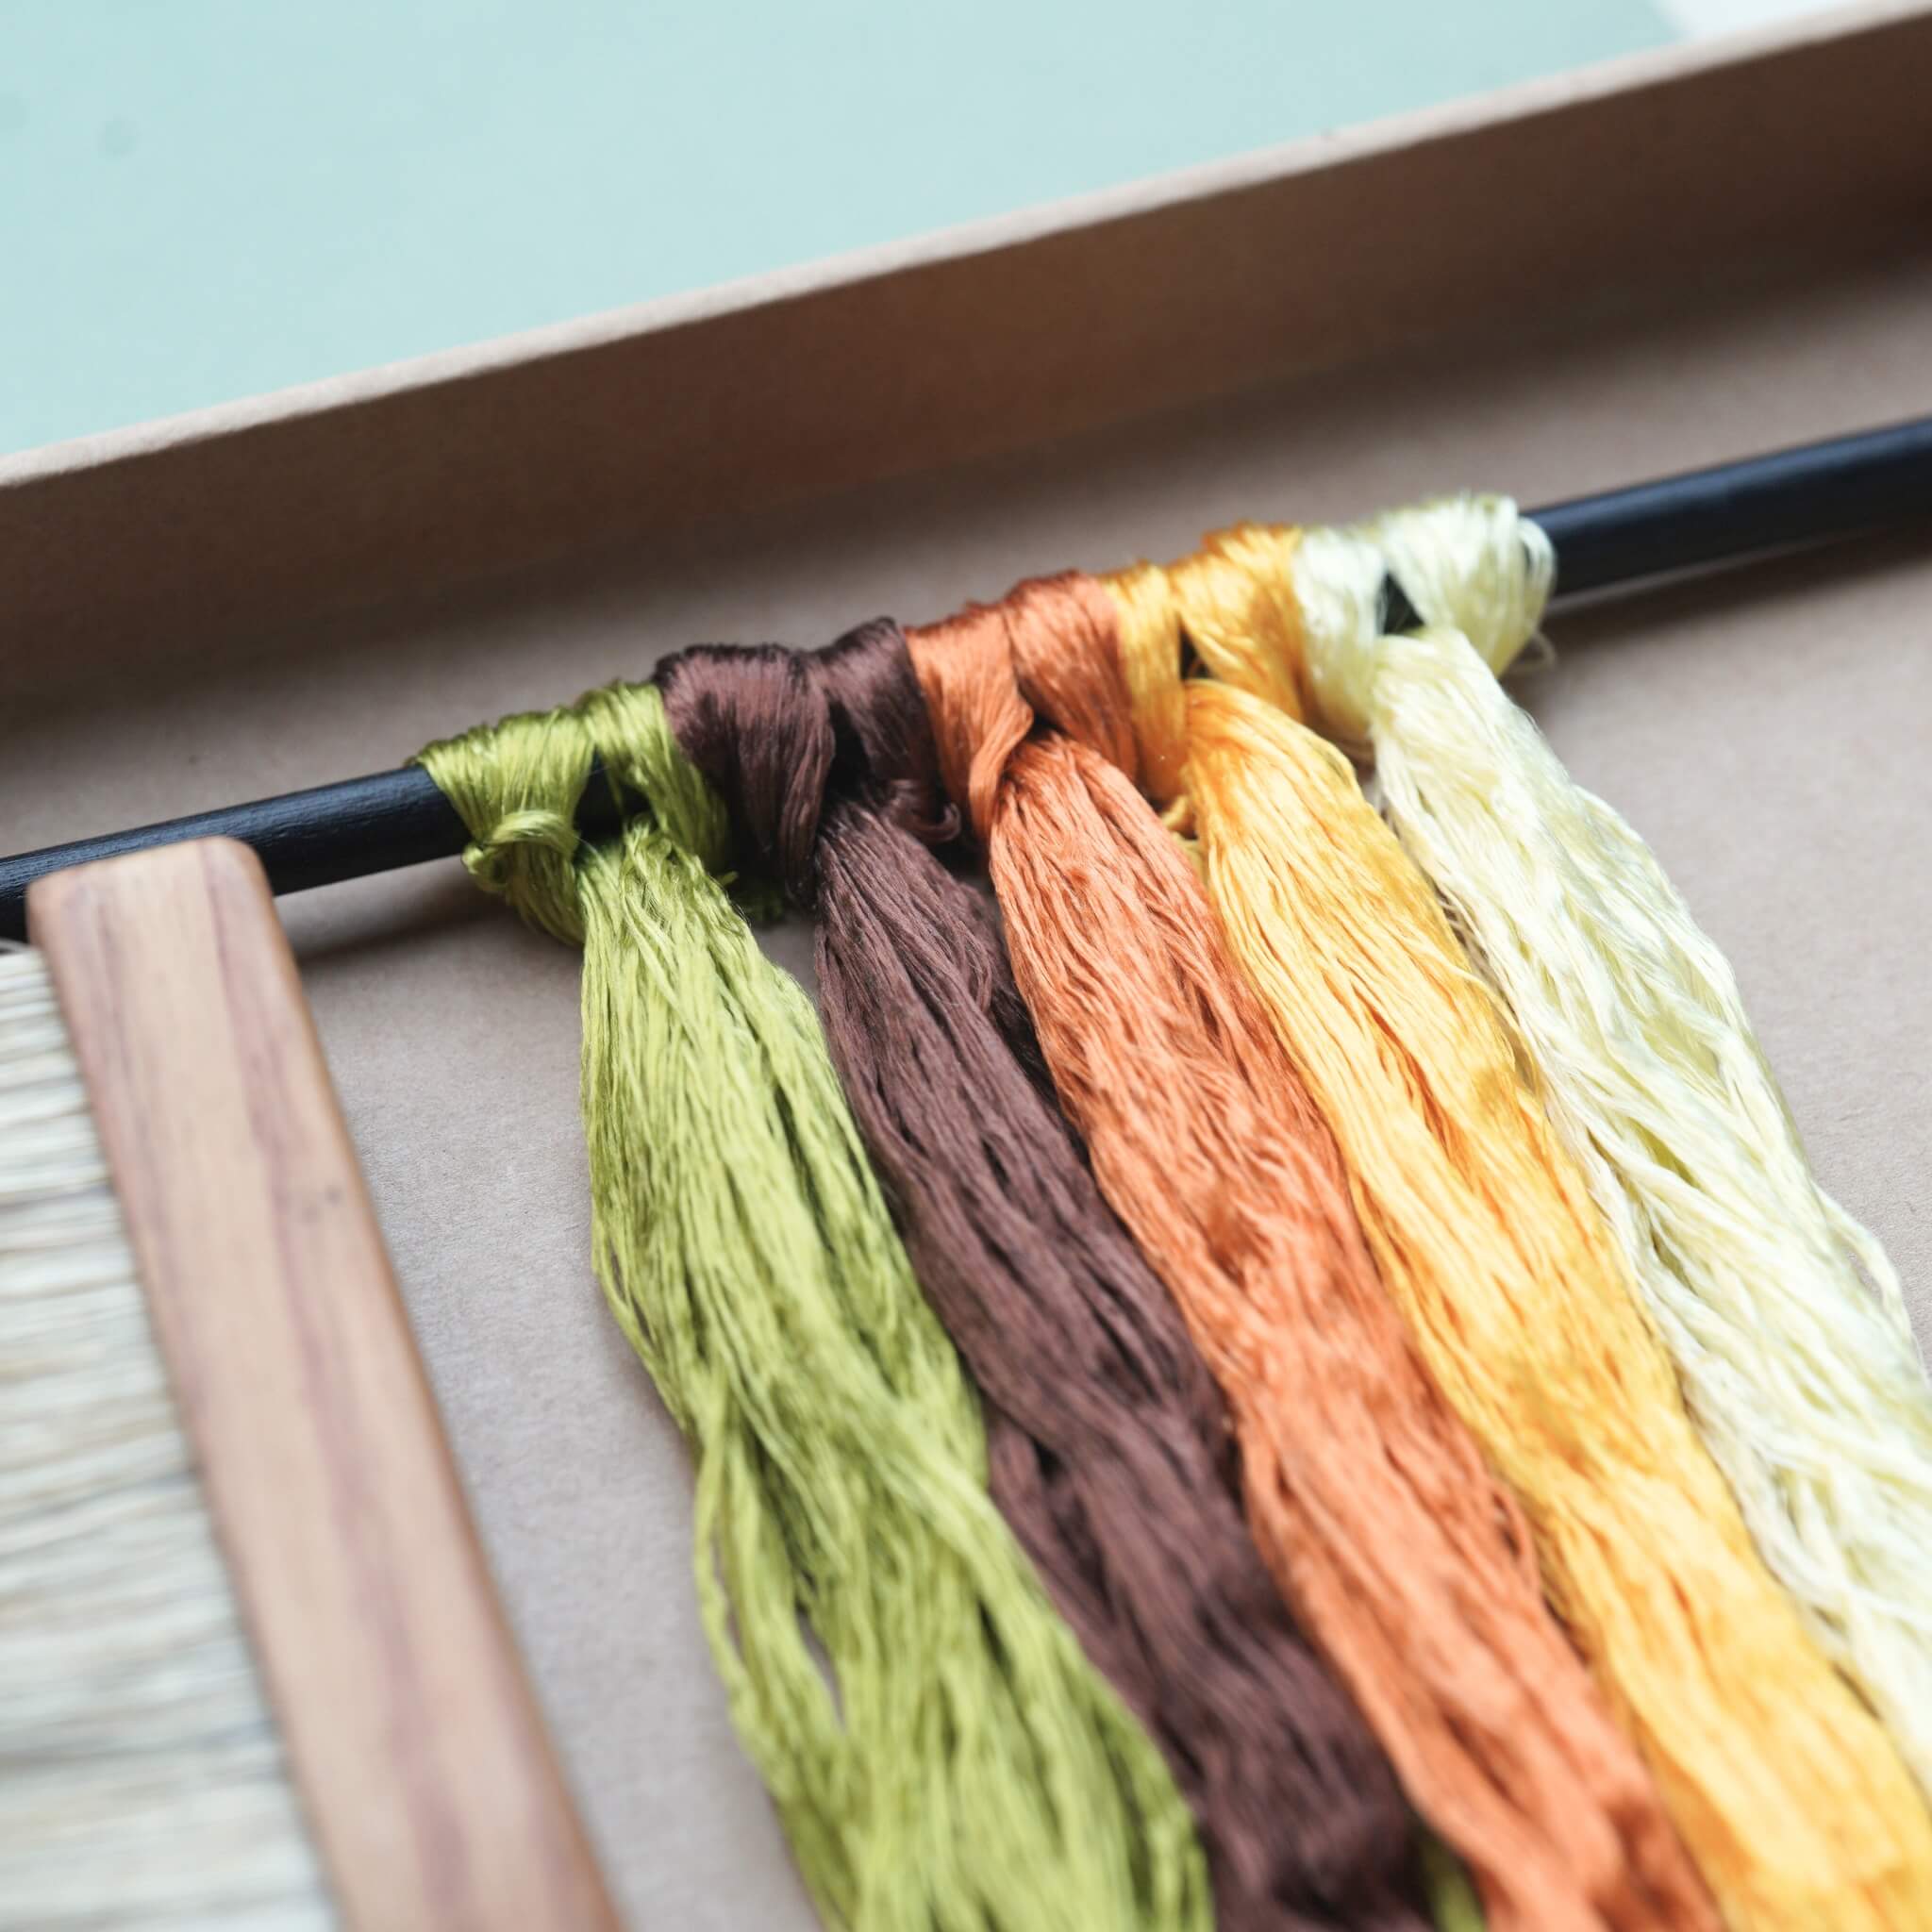
Start by untying your silk threads. Locate the knot at one end of each bundle and cut it open carefully. Refer to the diagram below for color combination details. Note that the green and blue silk threads all need to be cut in half.

Step 2. Group and Prepare the Threads
Each silk bundle consists of tiny individual strands. Align all strands neatly and tie them around a thin stick, keeping the ends even. Avoid uneven lengths to ensure a consistent texture when brushing.

Step 3. Make Silk Rows
Repeat the grouping process to create your silk rows. You will need separate rows for different components. Below are the finished silk rows that we made.

Step 4. Brush the Silk
Secure your silk rows to a stand. Use your bristle brush to comb the silk thoroughly. Brush from top to bottom until the silk is smooth, fluffy, and free of tangles. If static occurs, lightly mist the air with water.

Here's what it looks like after brushing:

Step 5. Attach Copper Wires
When you feel that the silk is brushed enough, secure its tail with another big clip to your table or anything that can help stretch it taut. Take out one copper wire from the folded end of the row and straighten it. Twist the folded part into a spiral of about 3 cm. Clamp the silk threads between two copper wires and twist the opposite side tightly.
Pull both wires taut and continue twisting until they merge into one. Remember, the twisting direction for the left and right end are opposite.
The spacing should be the same as shown in step 1.
You can watch our video tutorial for this step:)
Step 6. Cut the Silk Strips
Trim the excess silk from the ends of the row. Using your "silk-only" scissors, cut through the silk exactly in the middle of each wire twist to create individual silk strips. Do not use these scissors on wire, as it will ruin the edge and cause the silk to fray.

Step 7. Center and Twist the Strips
Align the copper wire to the center of each strip. Twist the wires by hand to secure, then place the strip between two twisting boards.

Roll the boards to tighten the wire until it is firmly embedded and almost invisible within the silk.

Step 8. Flatten the Strips
Fold the green/blue strips in half and twist the copper wire tightly. For the rest, just cut the excess wire off. Heat your flat iron and press the strip gently from bottom to top. Move slowly and evenly. Trim away any loose silk fibers for a clean look.

Then we need to strengthen the flattened strips.
Prepare your setting solution:
- Use either hair spray, or
- Diluted white glue with water or alcohol (1:1.2 or 1:3 ratio)

Step 9. Trim the Strips
Divide your petals of the same size into two groups; trim one group slightly shorter so there is a subtle, natural difference in length. Trim both ends of each petal into a softly rounded point.

For the leaves, use separate scissors to shape them into a slight heart-like form, then carefully trim small, serrated edges along both sides to give them a natural outline.

After trimming they should look like this:

Step 9. Shape the Strips
Clean away excess hairspray.
Inner Petals: Gently curve them outward, curl the top slightly inward, and fold the bottom inward just a little. Place upright to dry.

Outer Petals: The process is similar, but the base should remain flat instead of curling inward.

Leaves: Clean all hairspray from the leaves and gently curve them into shape. Ensure the left and right sides are not perfectly symmetrical; slight irregularities make the leaves appear much more organic and natural.

Step 10. Create the Flower Centers
Take one and a half bundles of brown silk thread. Fold the threads in half, cut them open, and repeat this several times to create a dense pile. Secure the bundle with 0.3 mm copper wire, twisting tightly.

Use a fine comb to brush the silk into a fluffy dome. Trim the center shorter so it is no more than half the length of your inner petals. Ensure it is smooth and even from all angles, with the front slightly rounded.

Step 11. Assemble the Flowers
Using four strands of silk thread, align the bases of the inner petals around the flower center, overlapping them layer by layer to form a full circle.

Assemble the longer, outer petals in the same way, placing them into the gaps of the first layer for fullness. Wrap the thread downward about 3 cm, secure it tightly, and trim the copper wire at an angle. Make two sunflowers—one large and one small.

Step 12. Prepare the Leaves and Stems
Attach a thicker copper wire underneath each leaf for support. Wrap the wire with silk thread and assemble downward about 1–2 cm. Altogether, you will have two flowers and three leaves to arrange.

Step 13. Assemble the Piece
Keep your silk thread smooth while wrapping. Combine the stems, adding 2–3 extra copper wires to reinforce the main stem. Stagger the flowers and leaves at different heights for a natural, layered look. If your thread runs short, overlap a new piece over the end of the old one and continue wrapping seamlessly. Wrap to the end, then wrap back upward to add strength. Fold the copper wires in half and continue wrapping to bind the stem securely.

To finish, use a folded piece of 0.3 mm copper wire. Wrap your silk thread over it several times, then thread the silk through the wire loop. Gently pull the wire loop out to trap the end of the thread inside the wrapping. Trim the excess thread.
You can watch our video tutorial for this step:)
Step 14. Attach the Accessory
Place your brooch pin neatly behind the sunflower. Secure it firmly by wrapping it multiple times with silk thread, finishing with the same loop-pull method used in Step 15. Lightly brush hairspray over the wrapped thread areas. Once the hairspray dries completely, the thread will hold securely and resist loosening.

Your Sunflower Brooch is now complete! 🌻


Einen Kommentar hinterlassen
Alle Kommentare werden vor der Veröffentlichung moderiert.
Diese Website ist durch hCaptcha geschützt und es gelten die allgemeinen Geschäftsbedingungen und Datenschutzbestimmungen von hCaptcha.