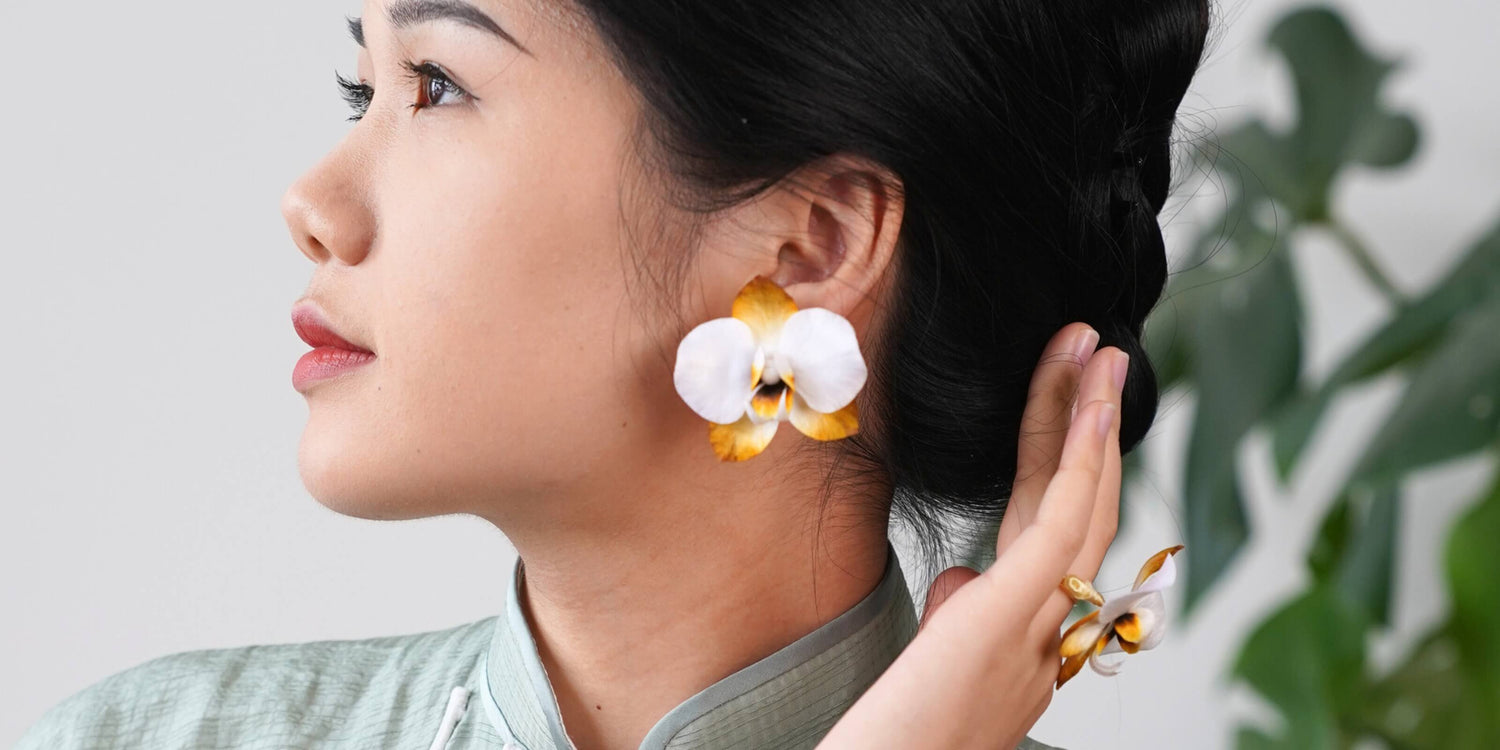
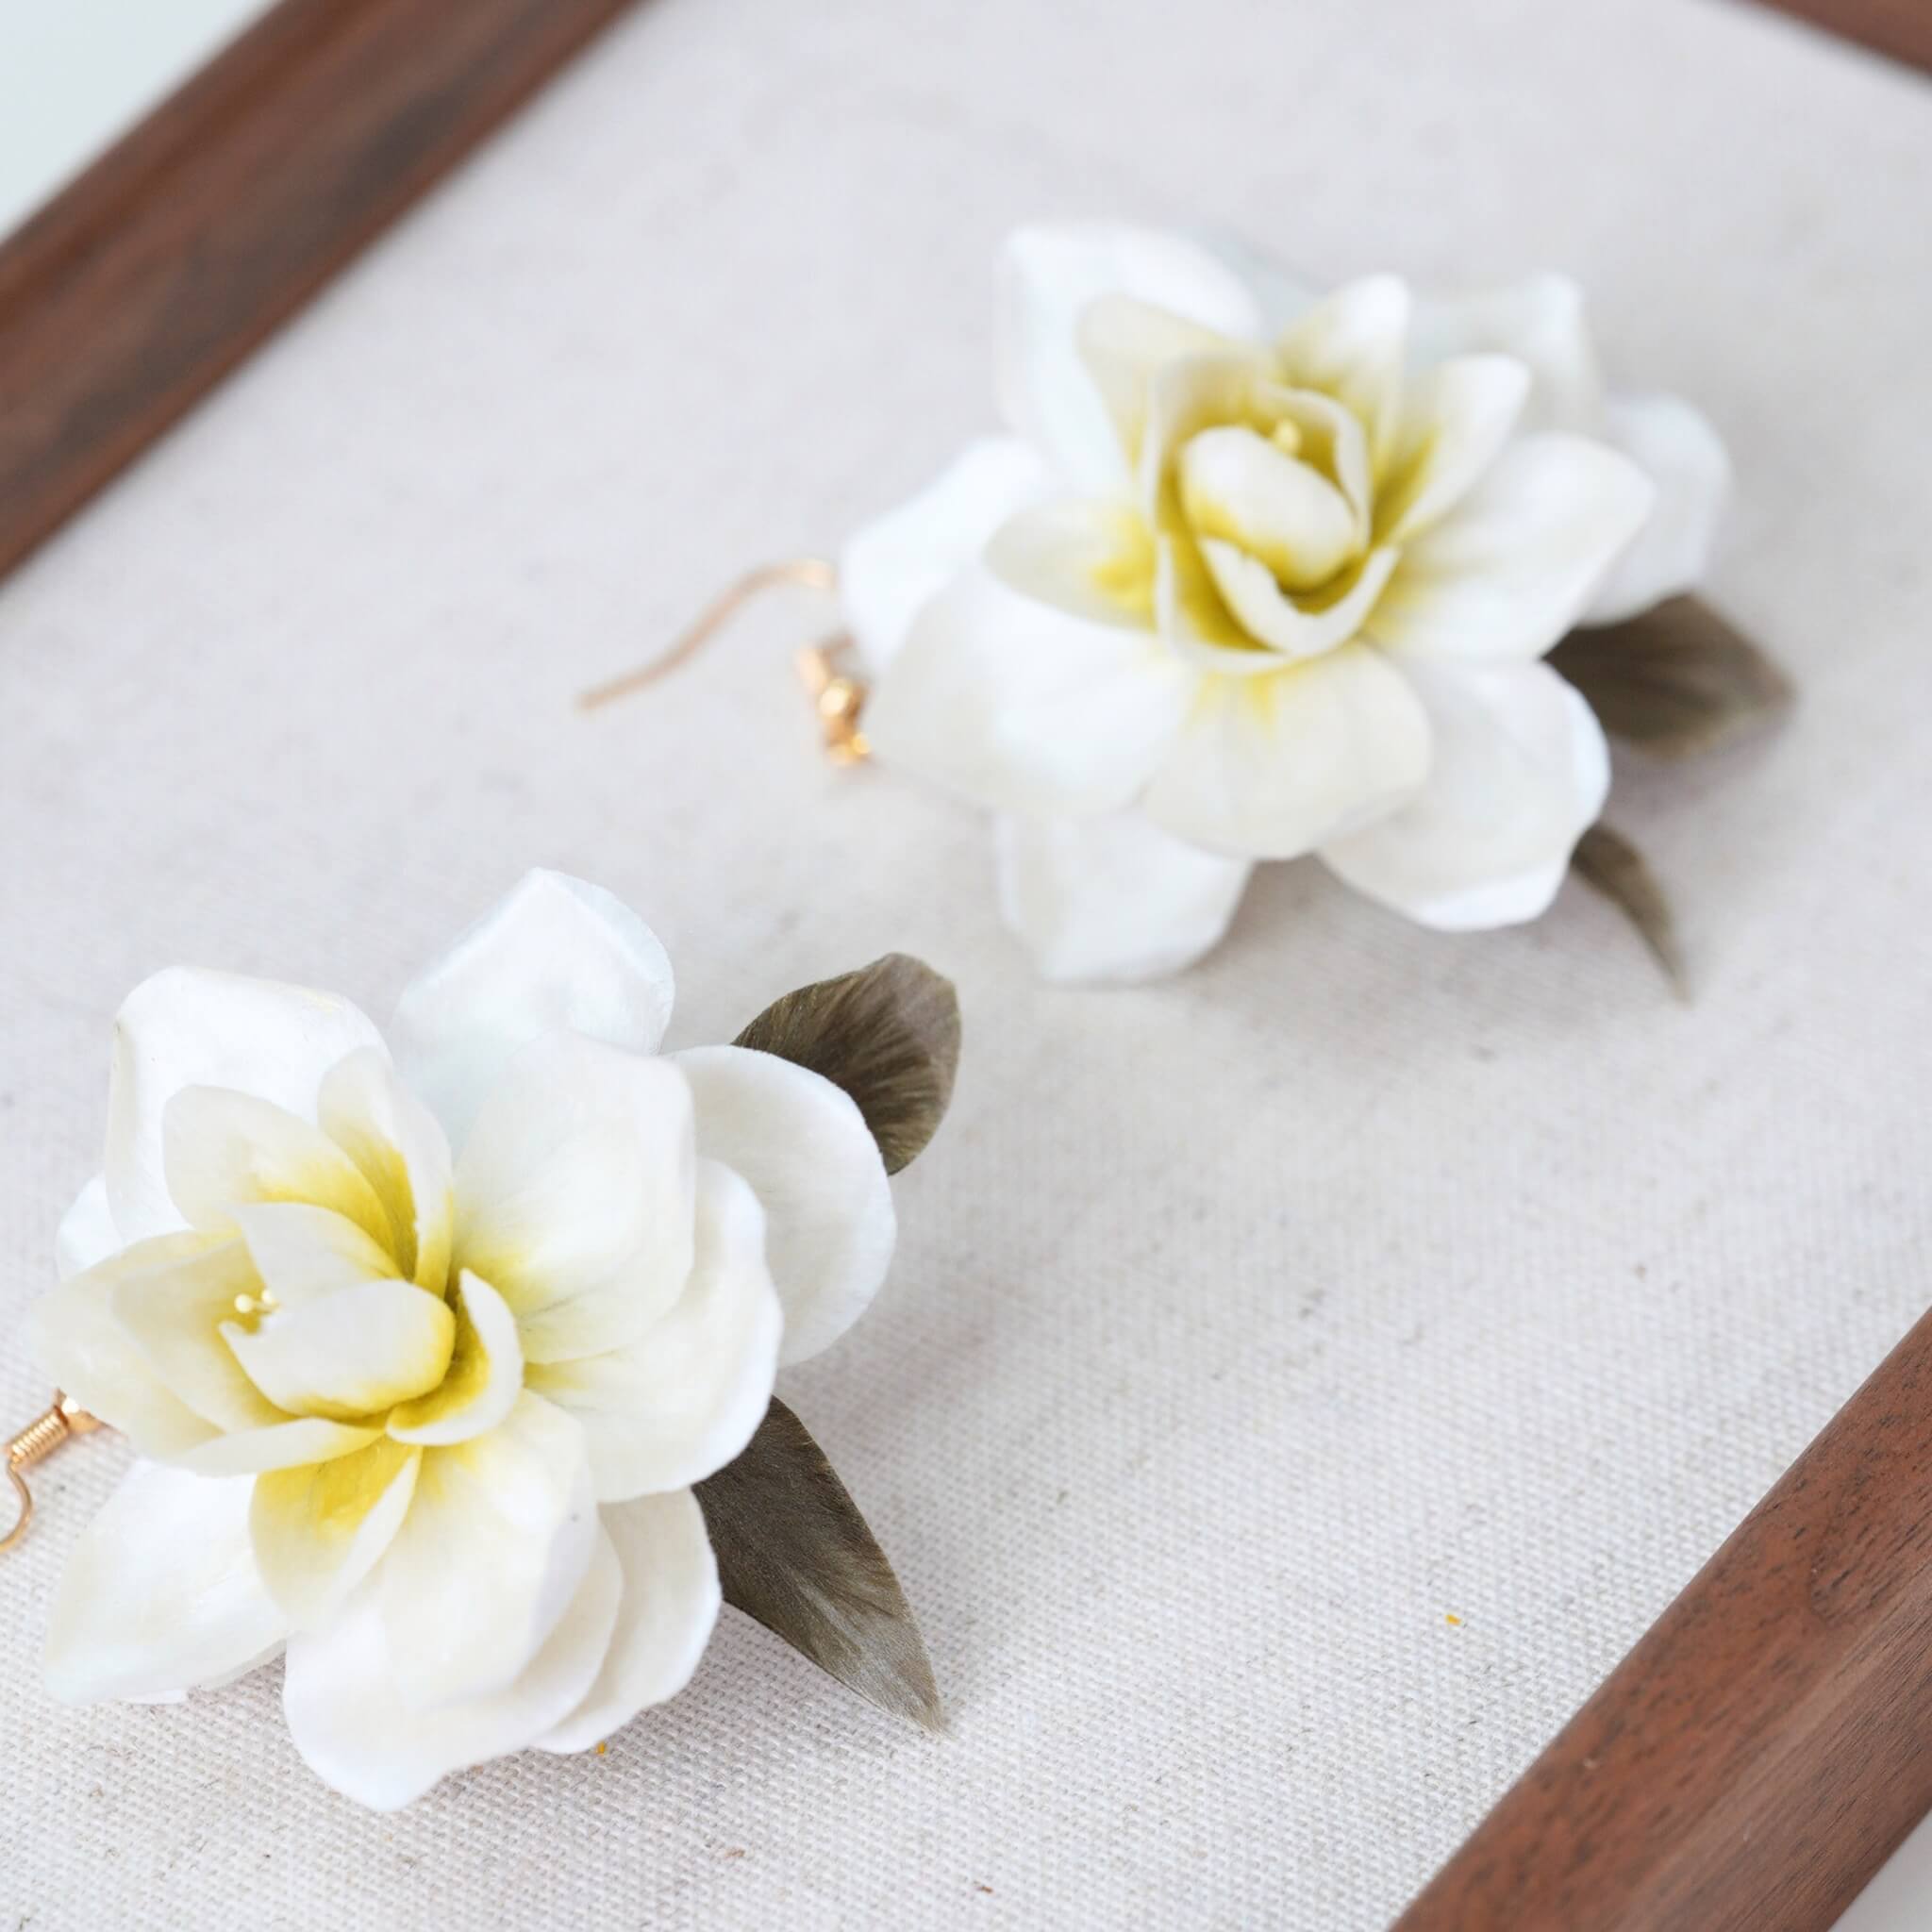
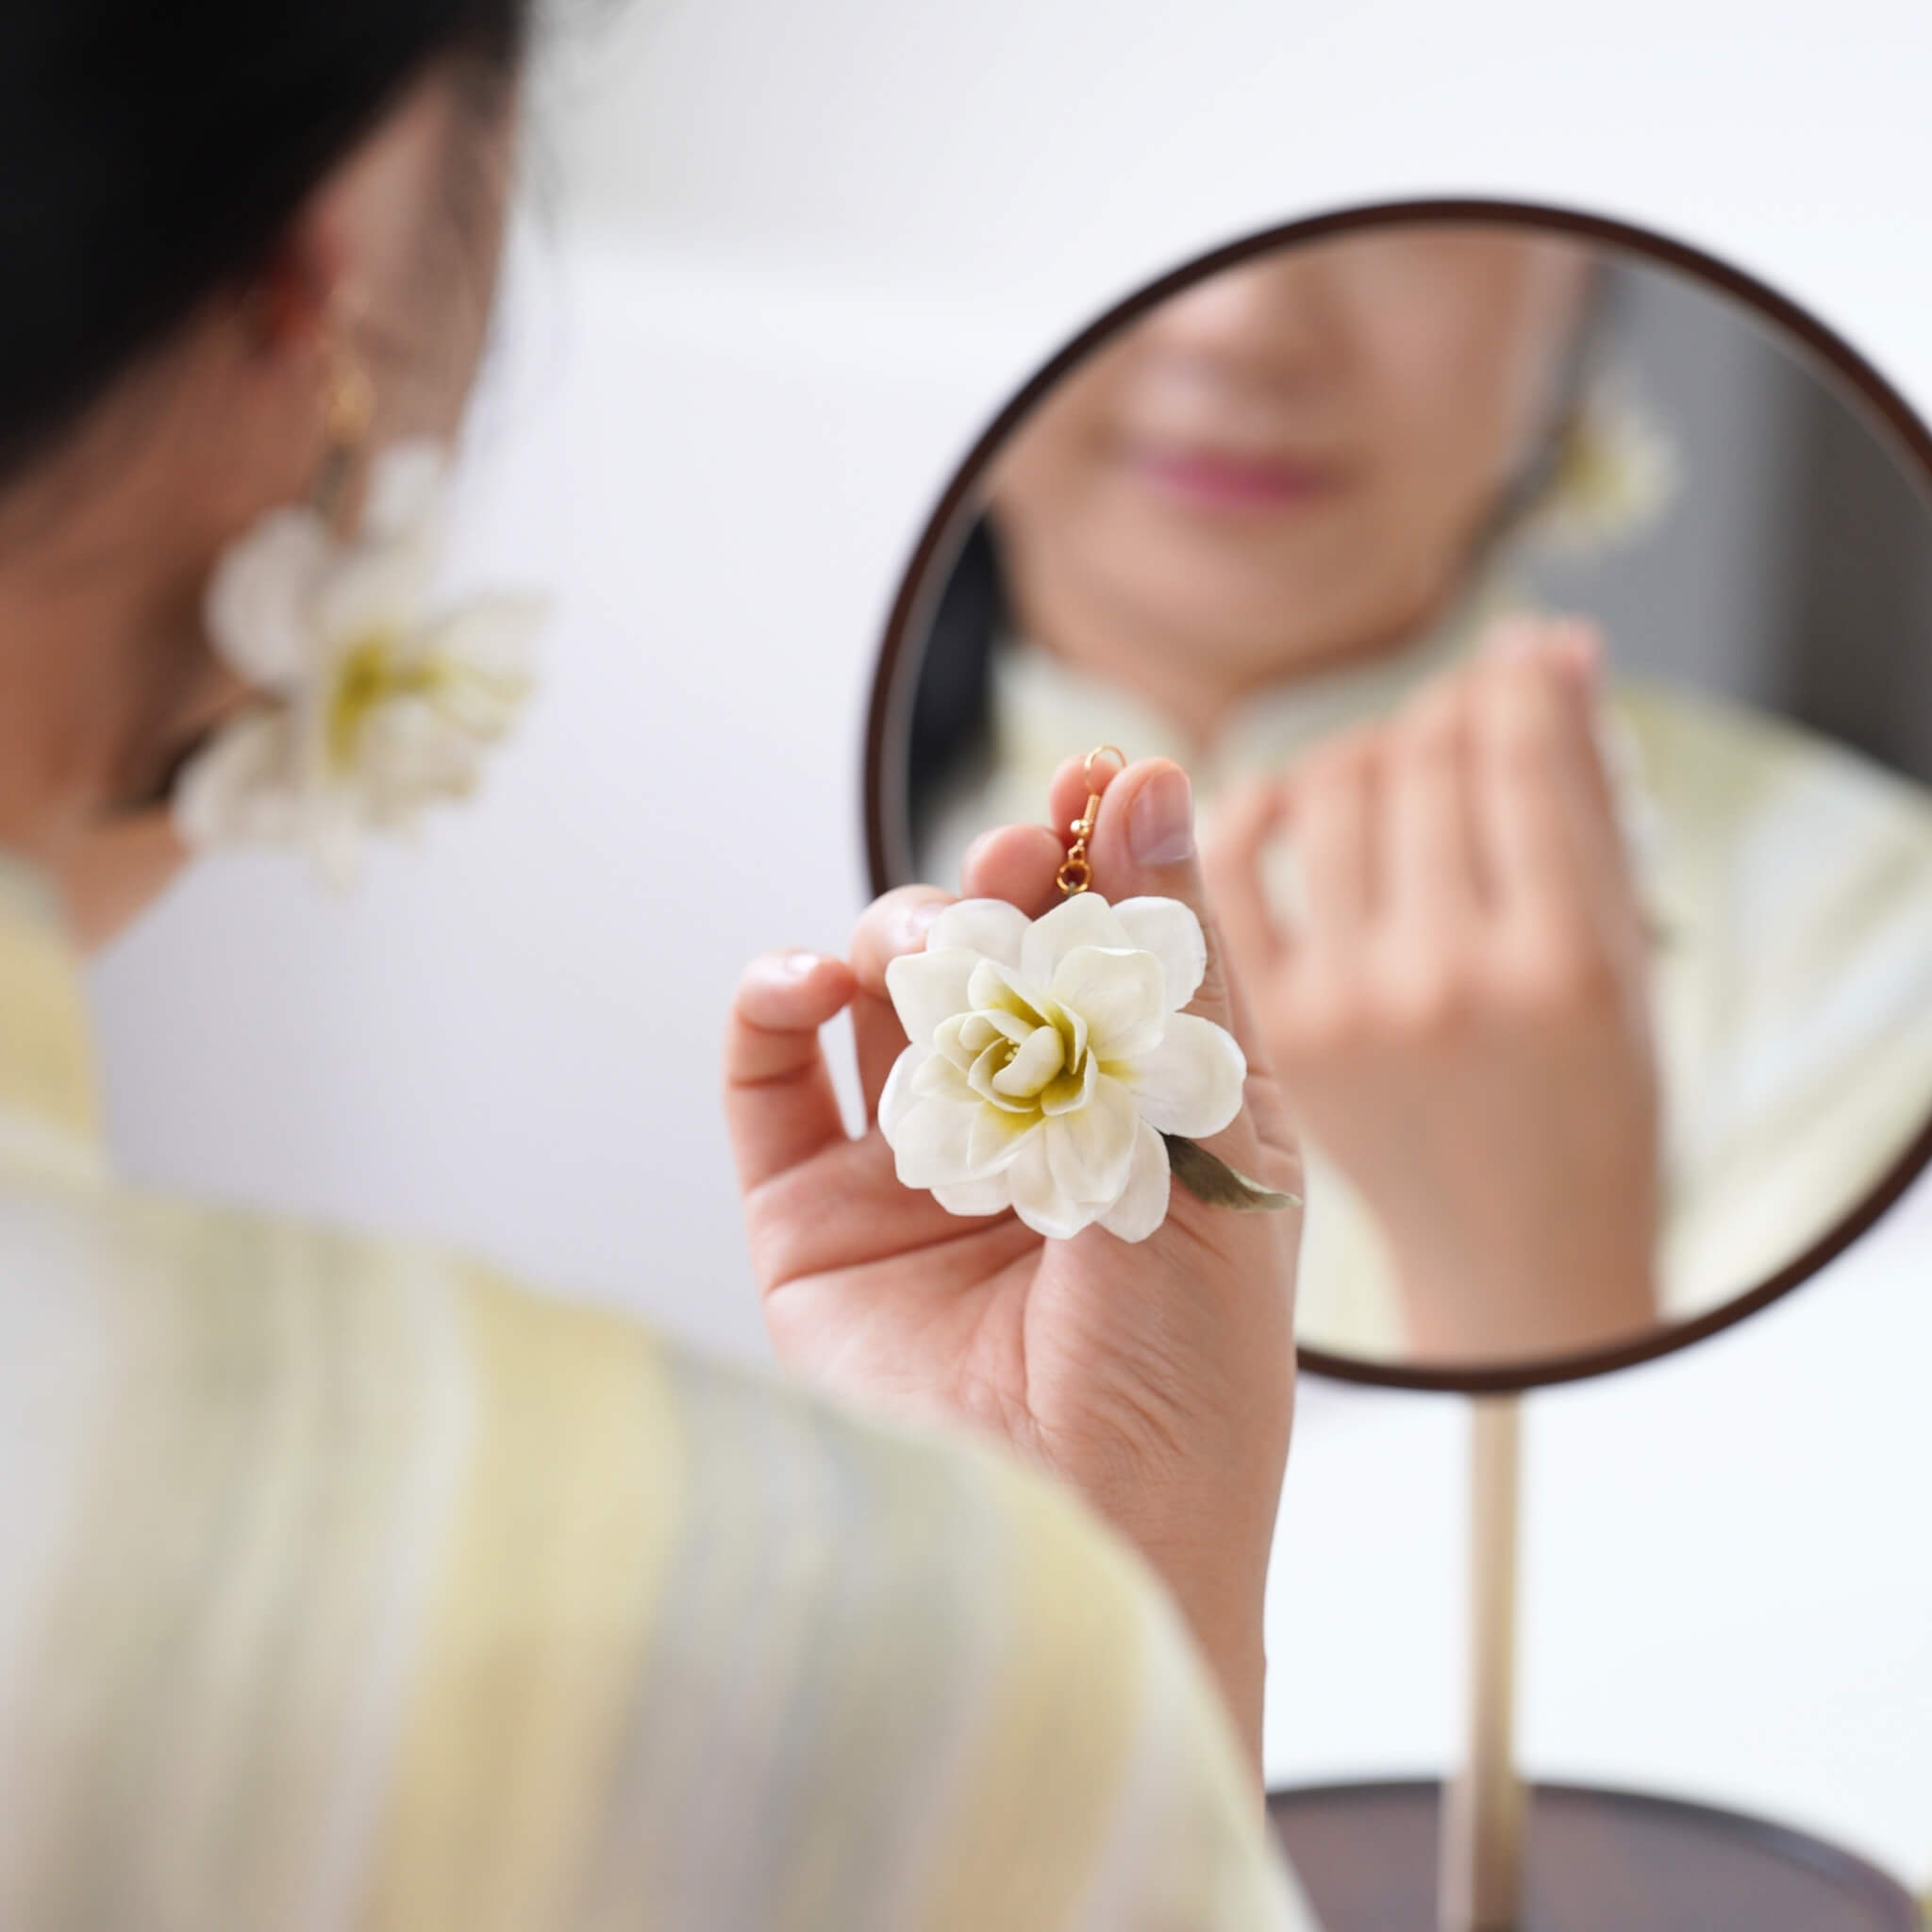
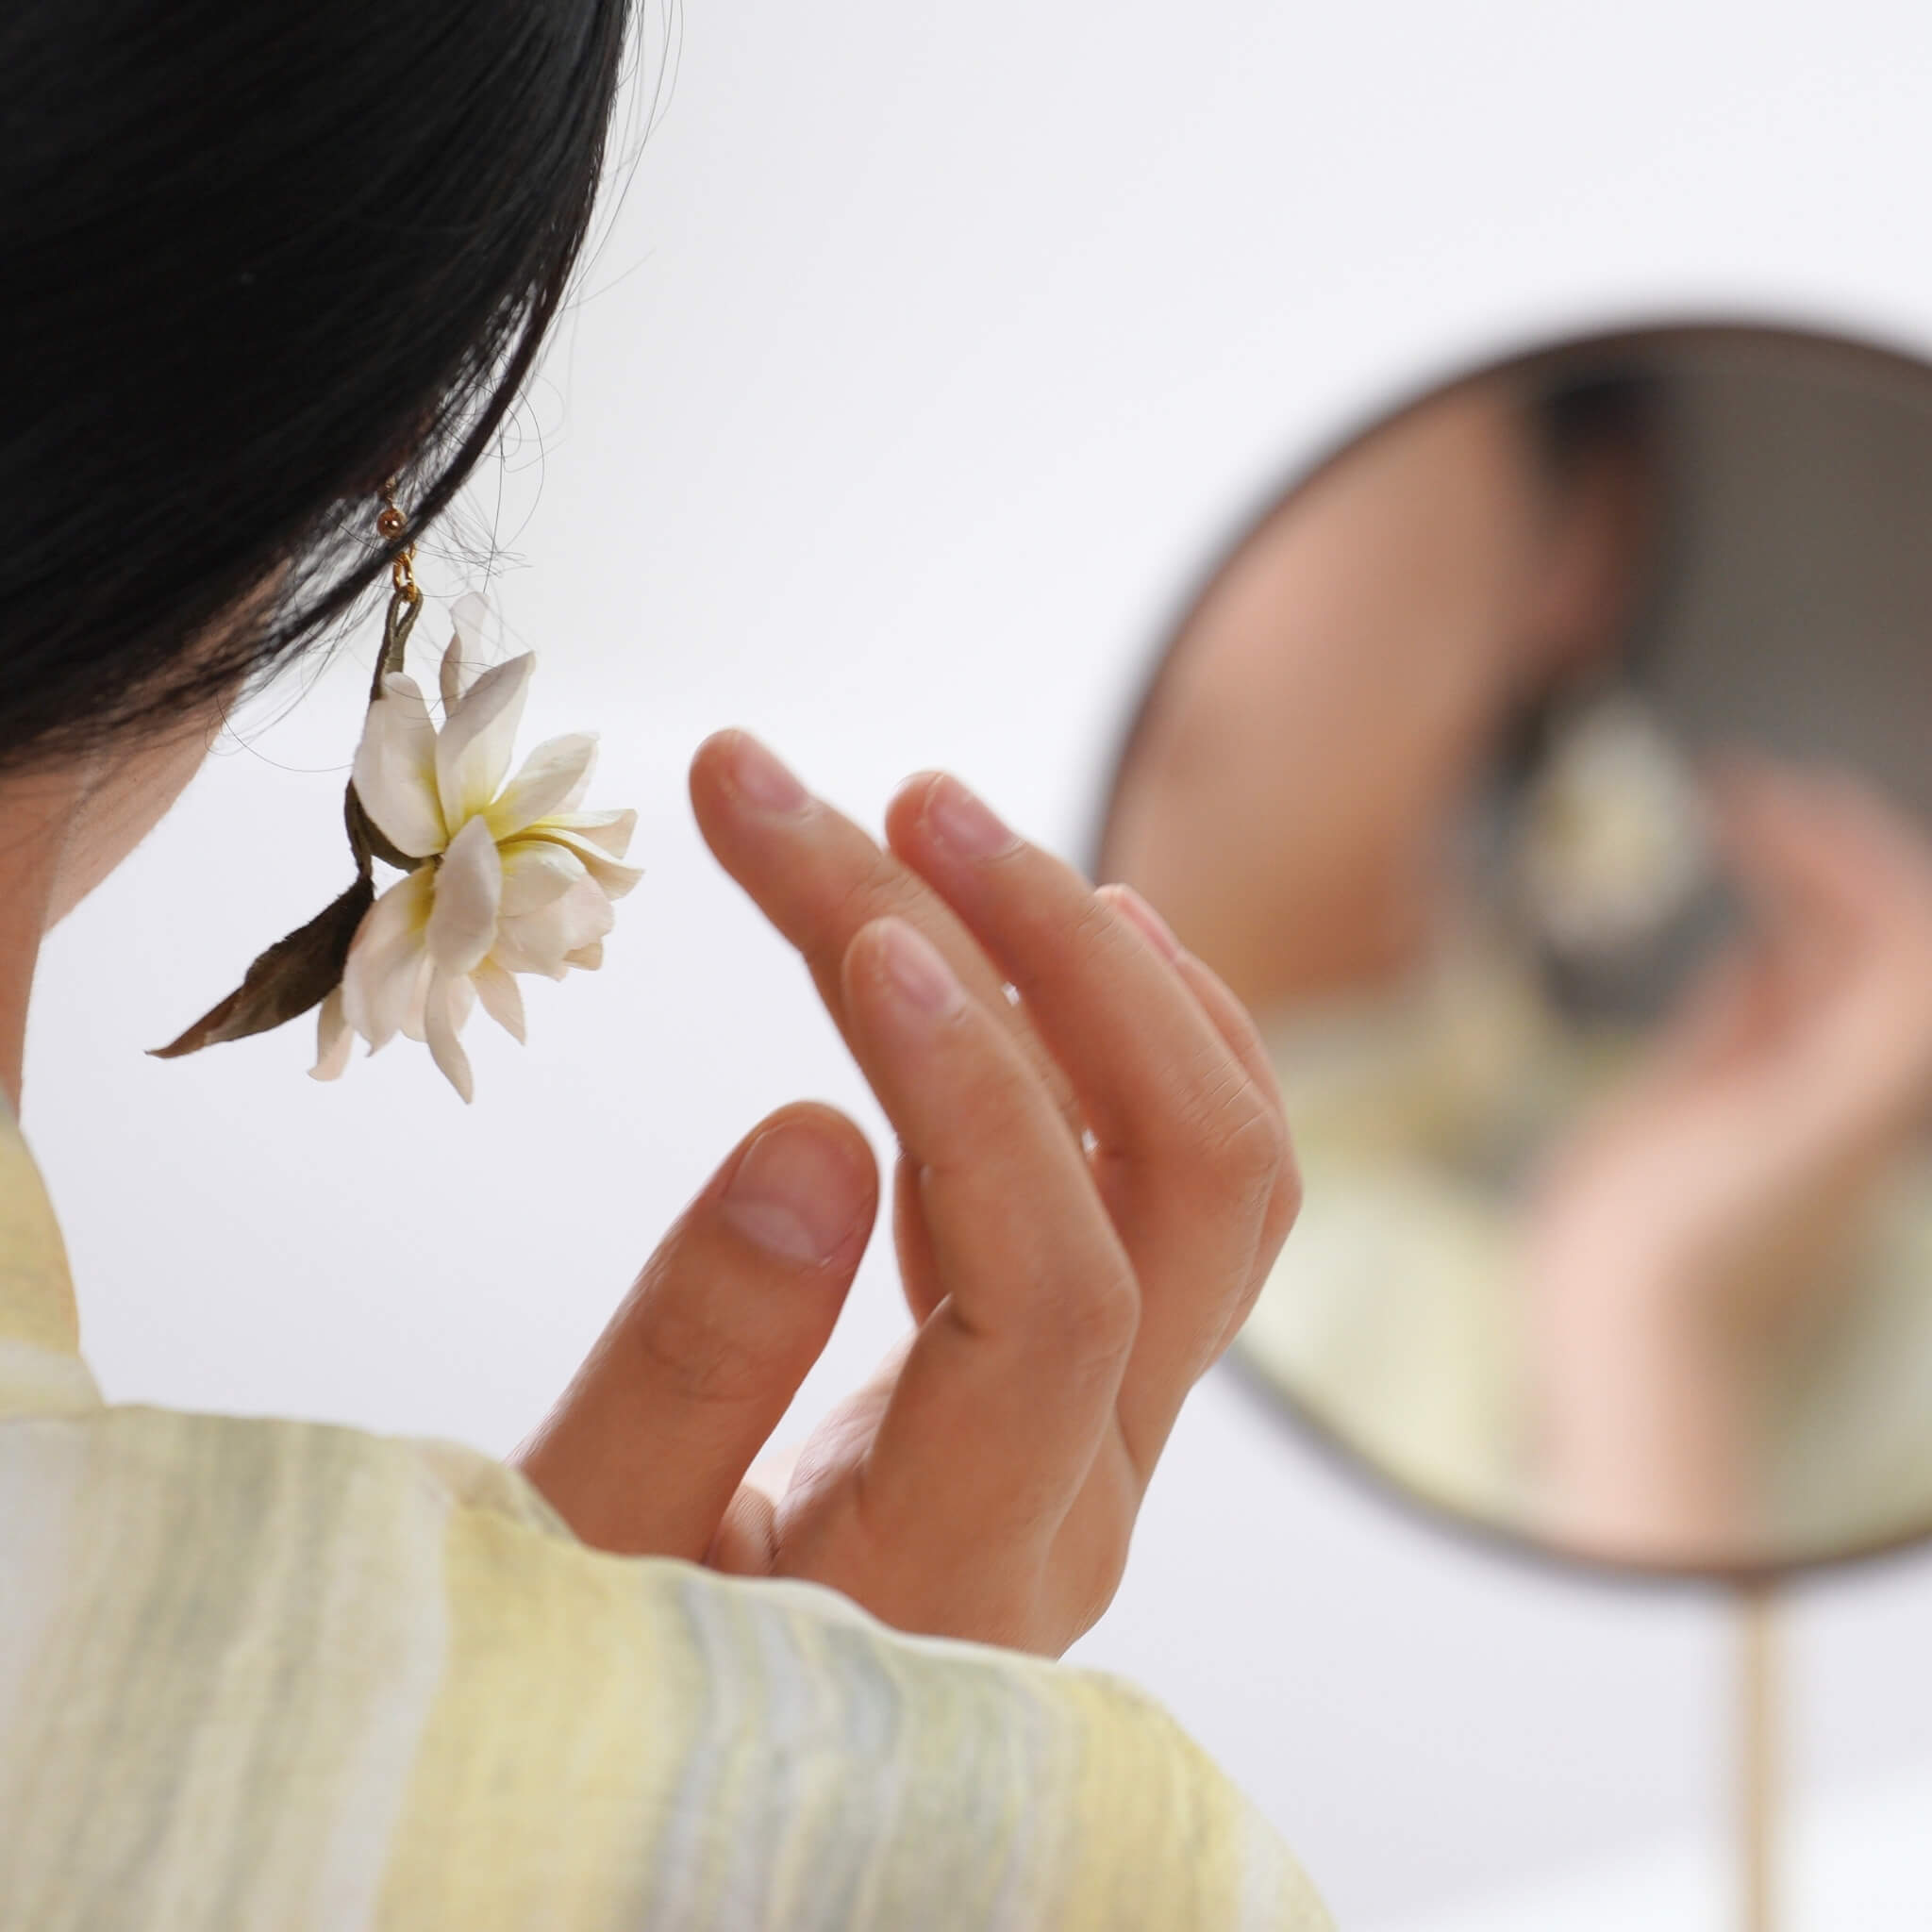
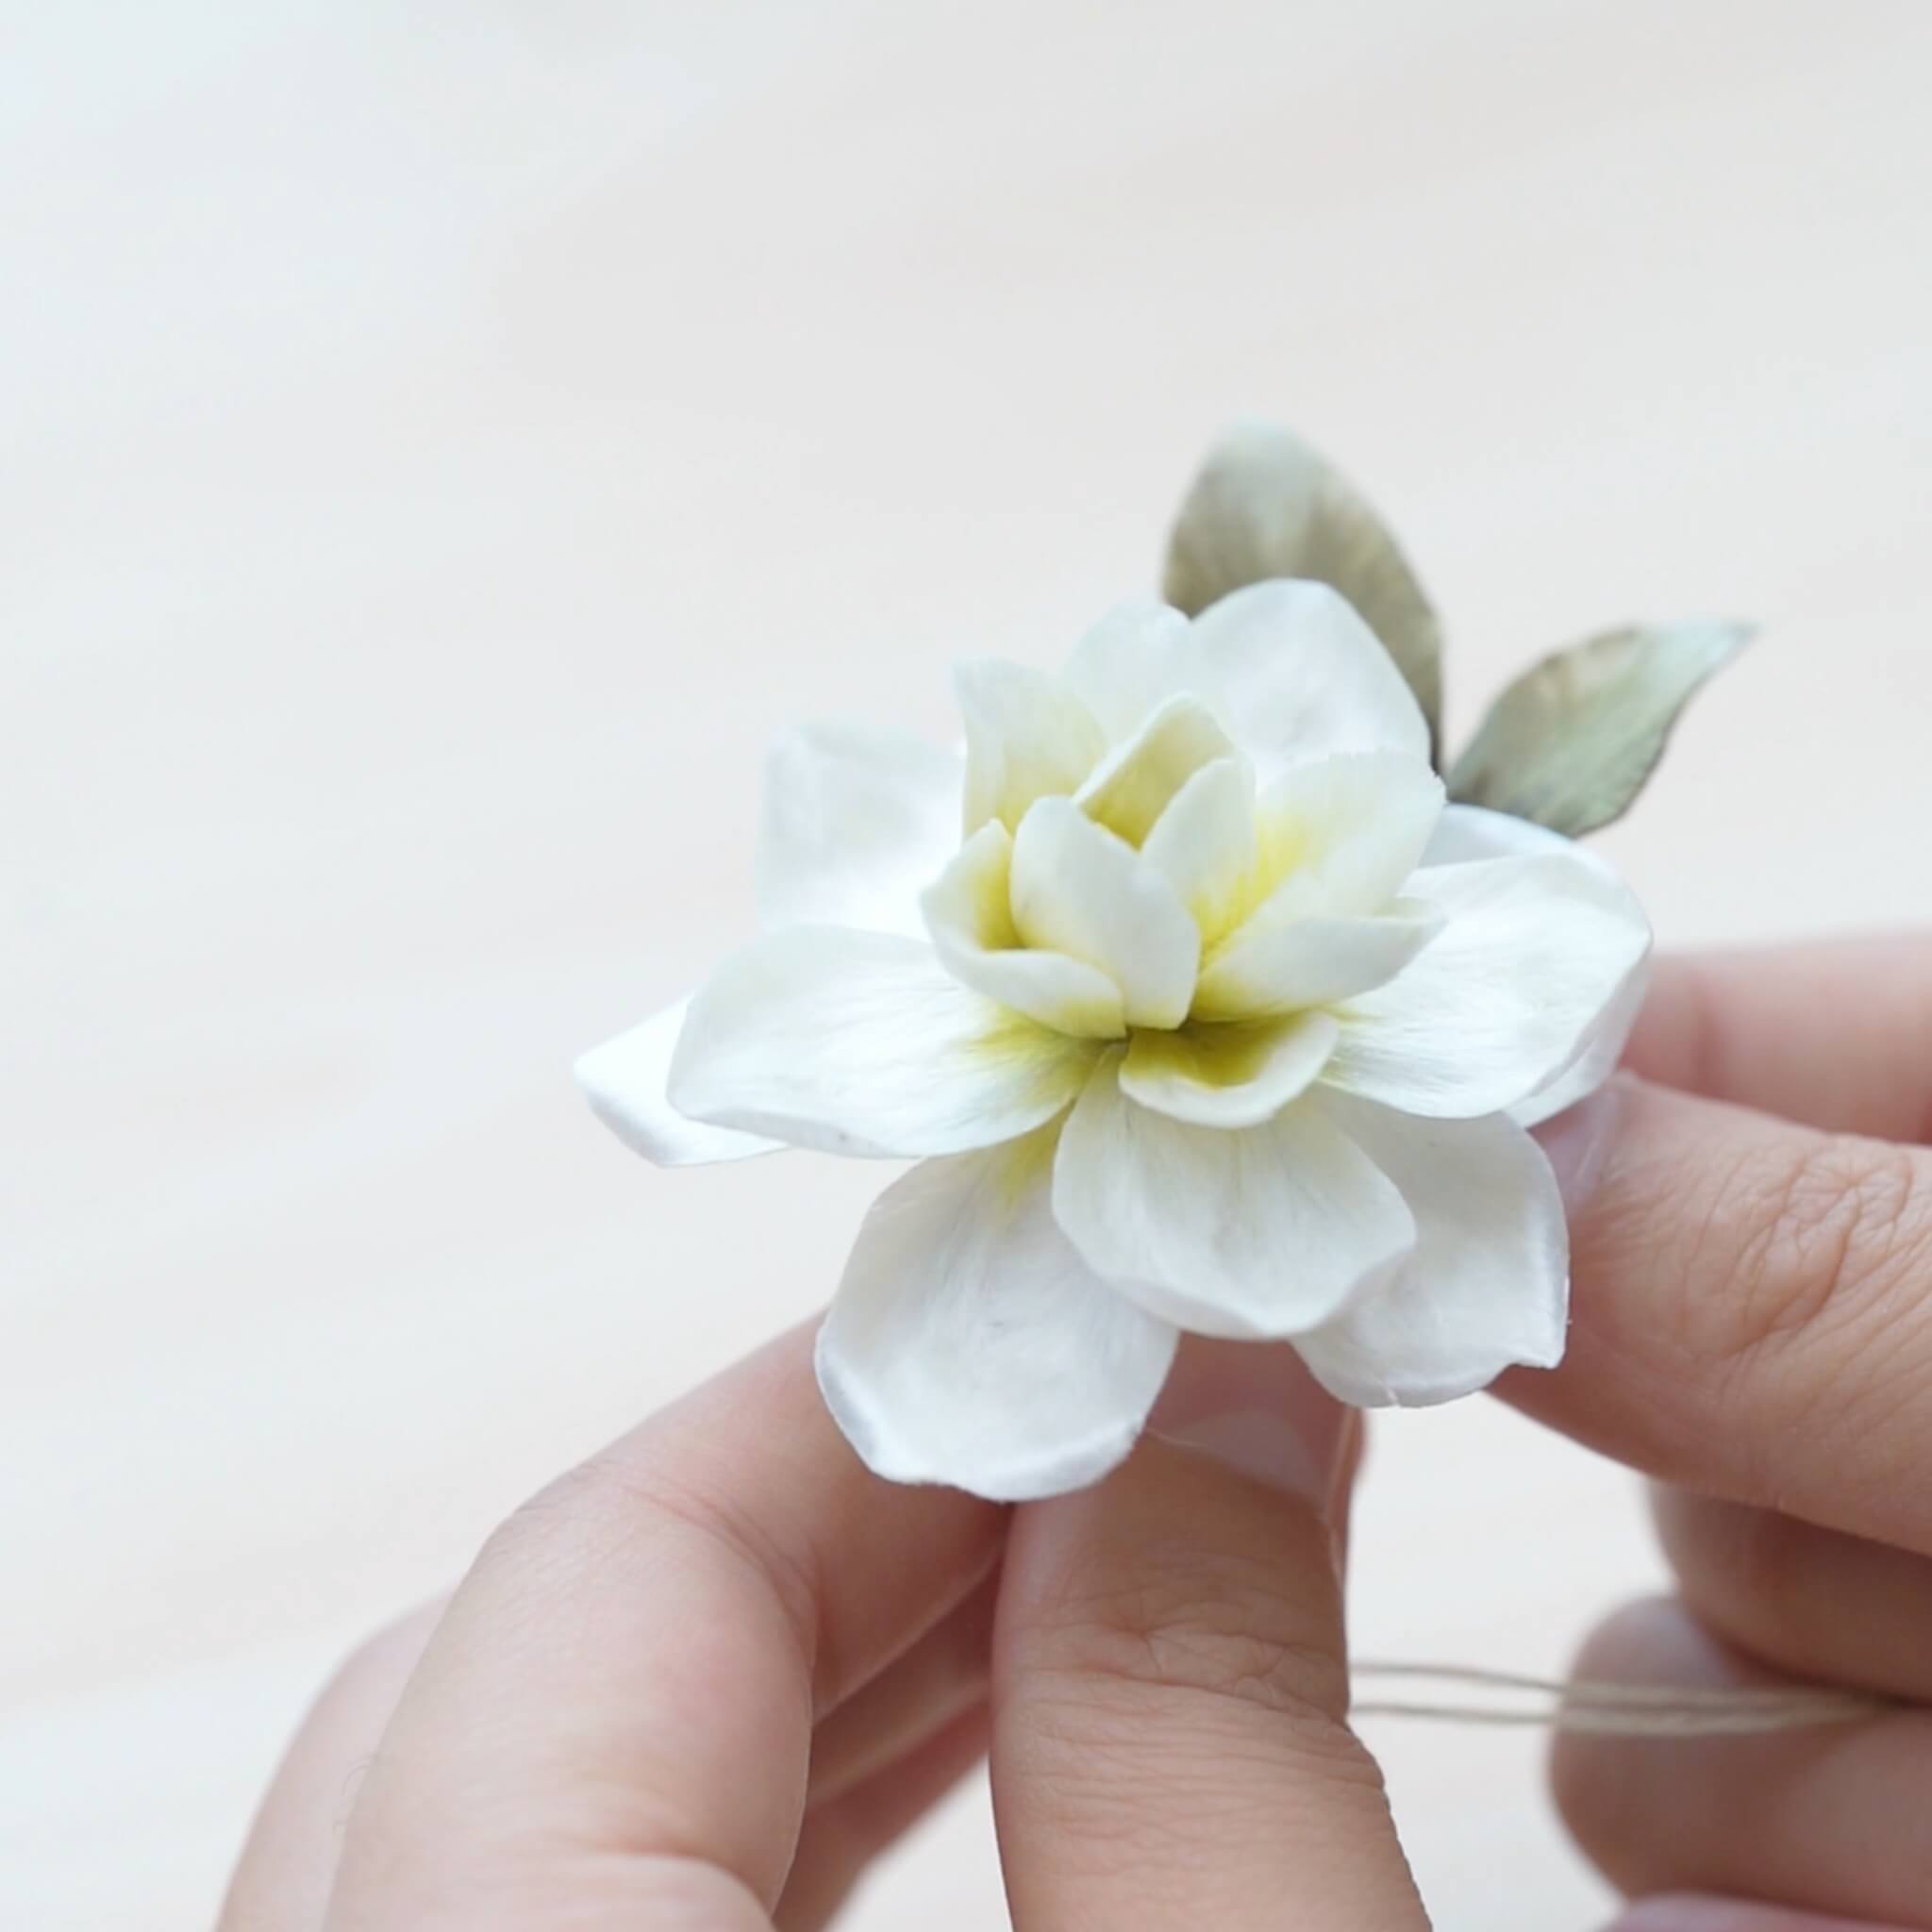
Delicate, elegant, and timeless — the Autumn Dew Butterfly Orchid earrings are one of our favourite designs to craft and wear. The soft white petals, paired with subtle golden details, make them perfect for both everyday wear and special occasions.
Preparation: What You’ll Need
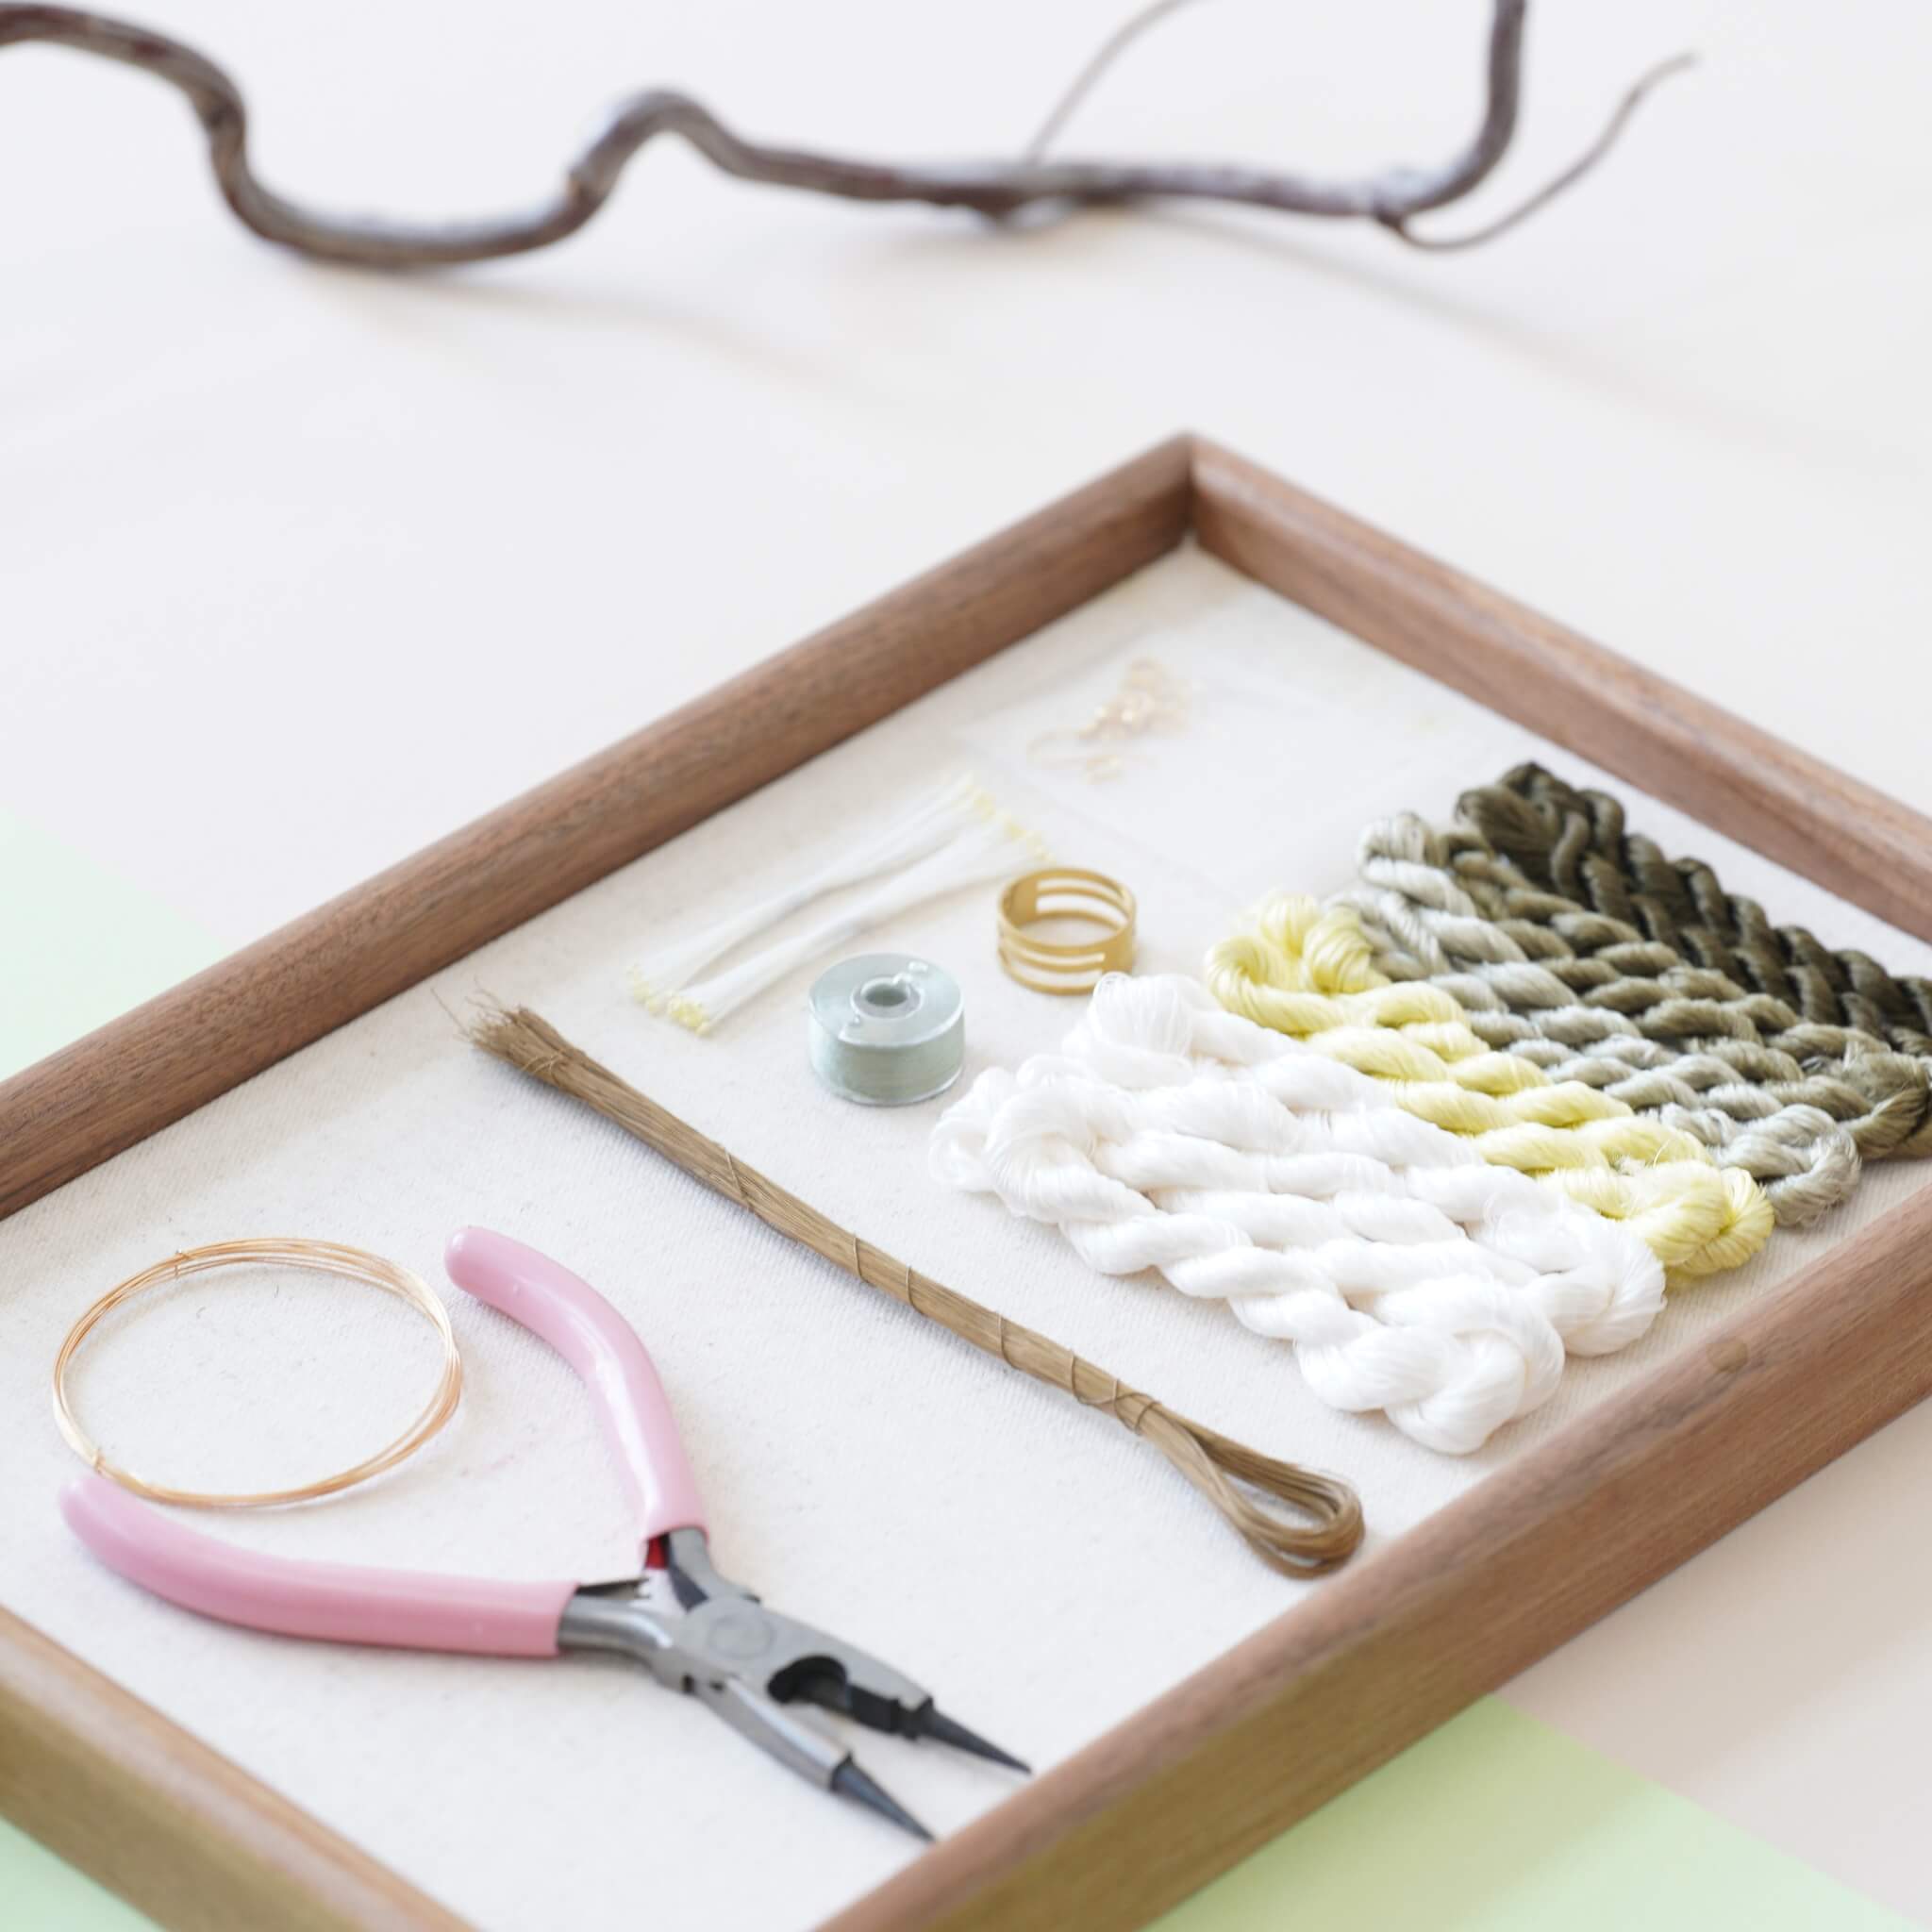
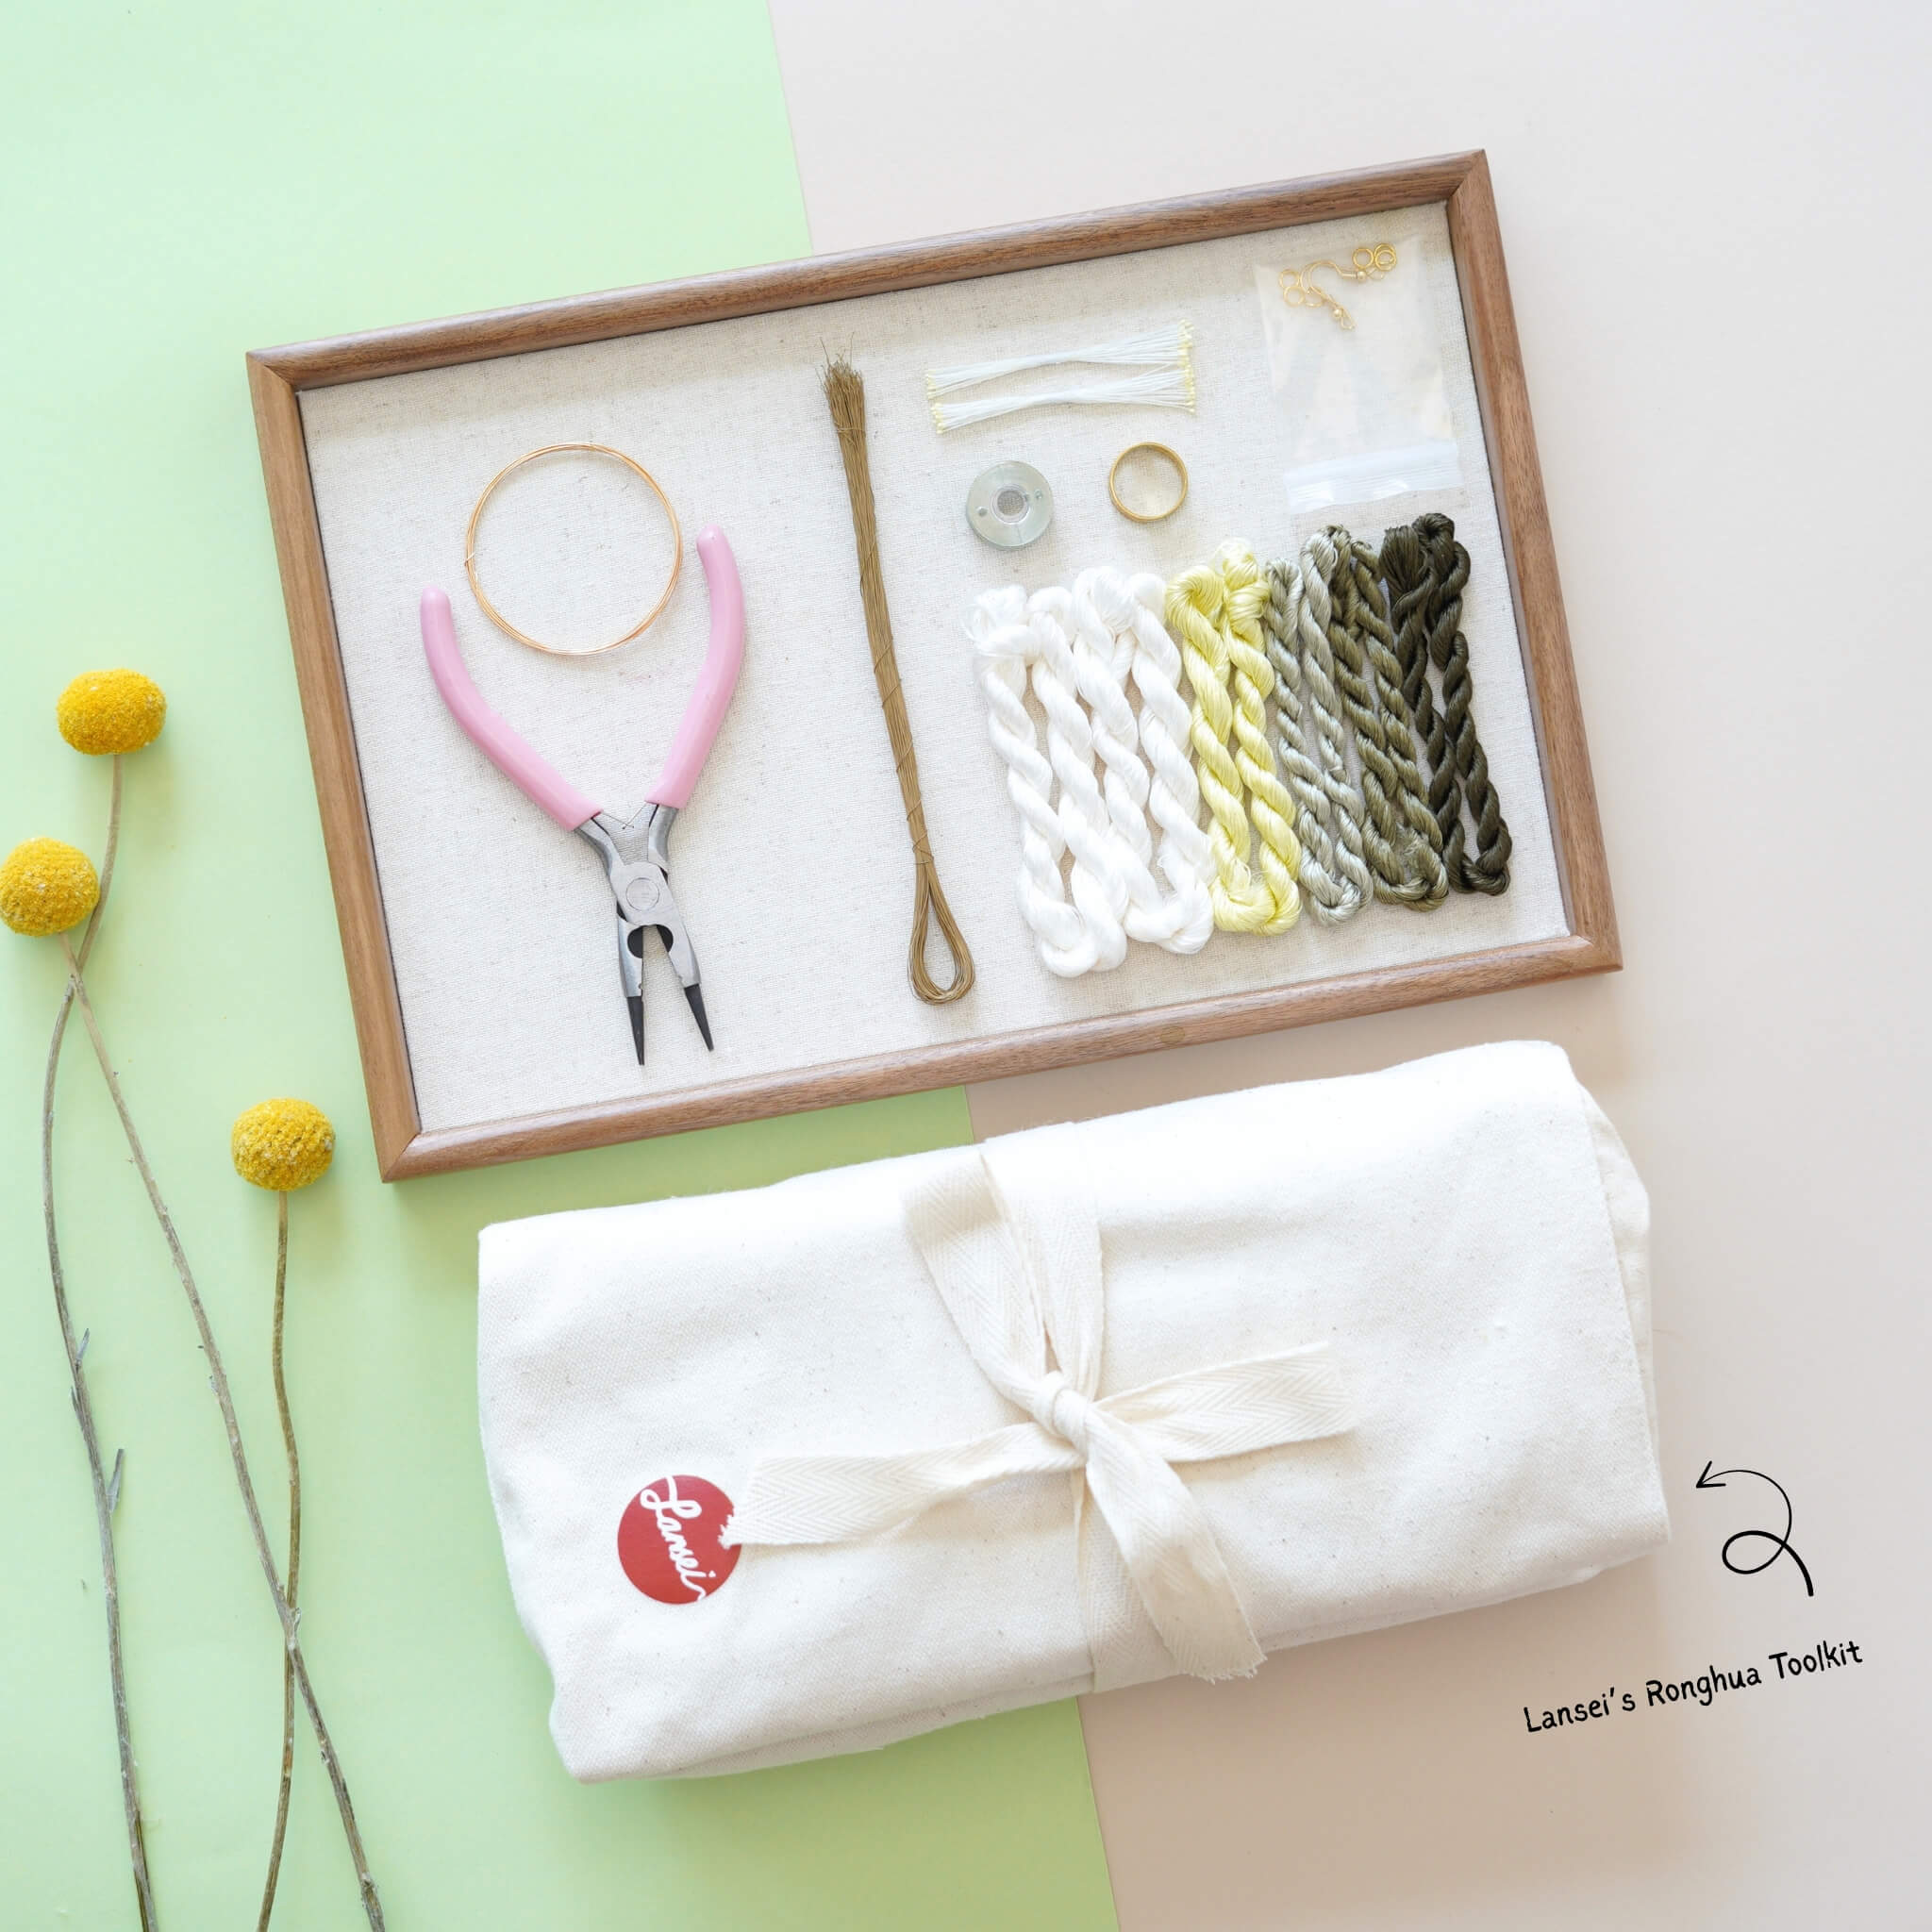
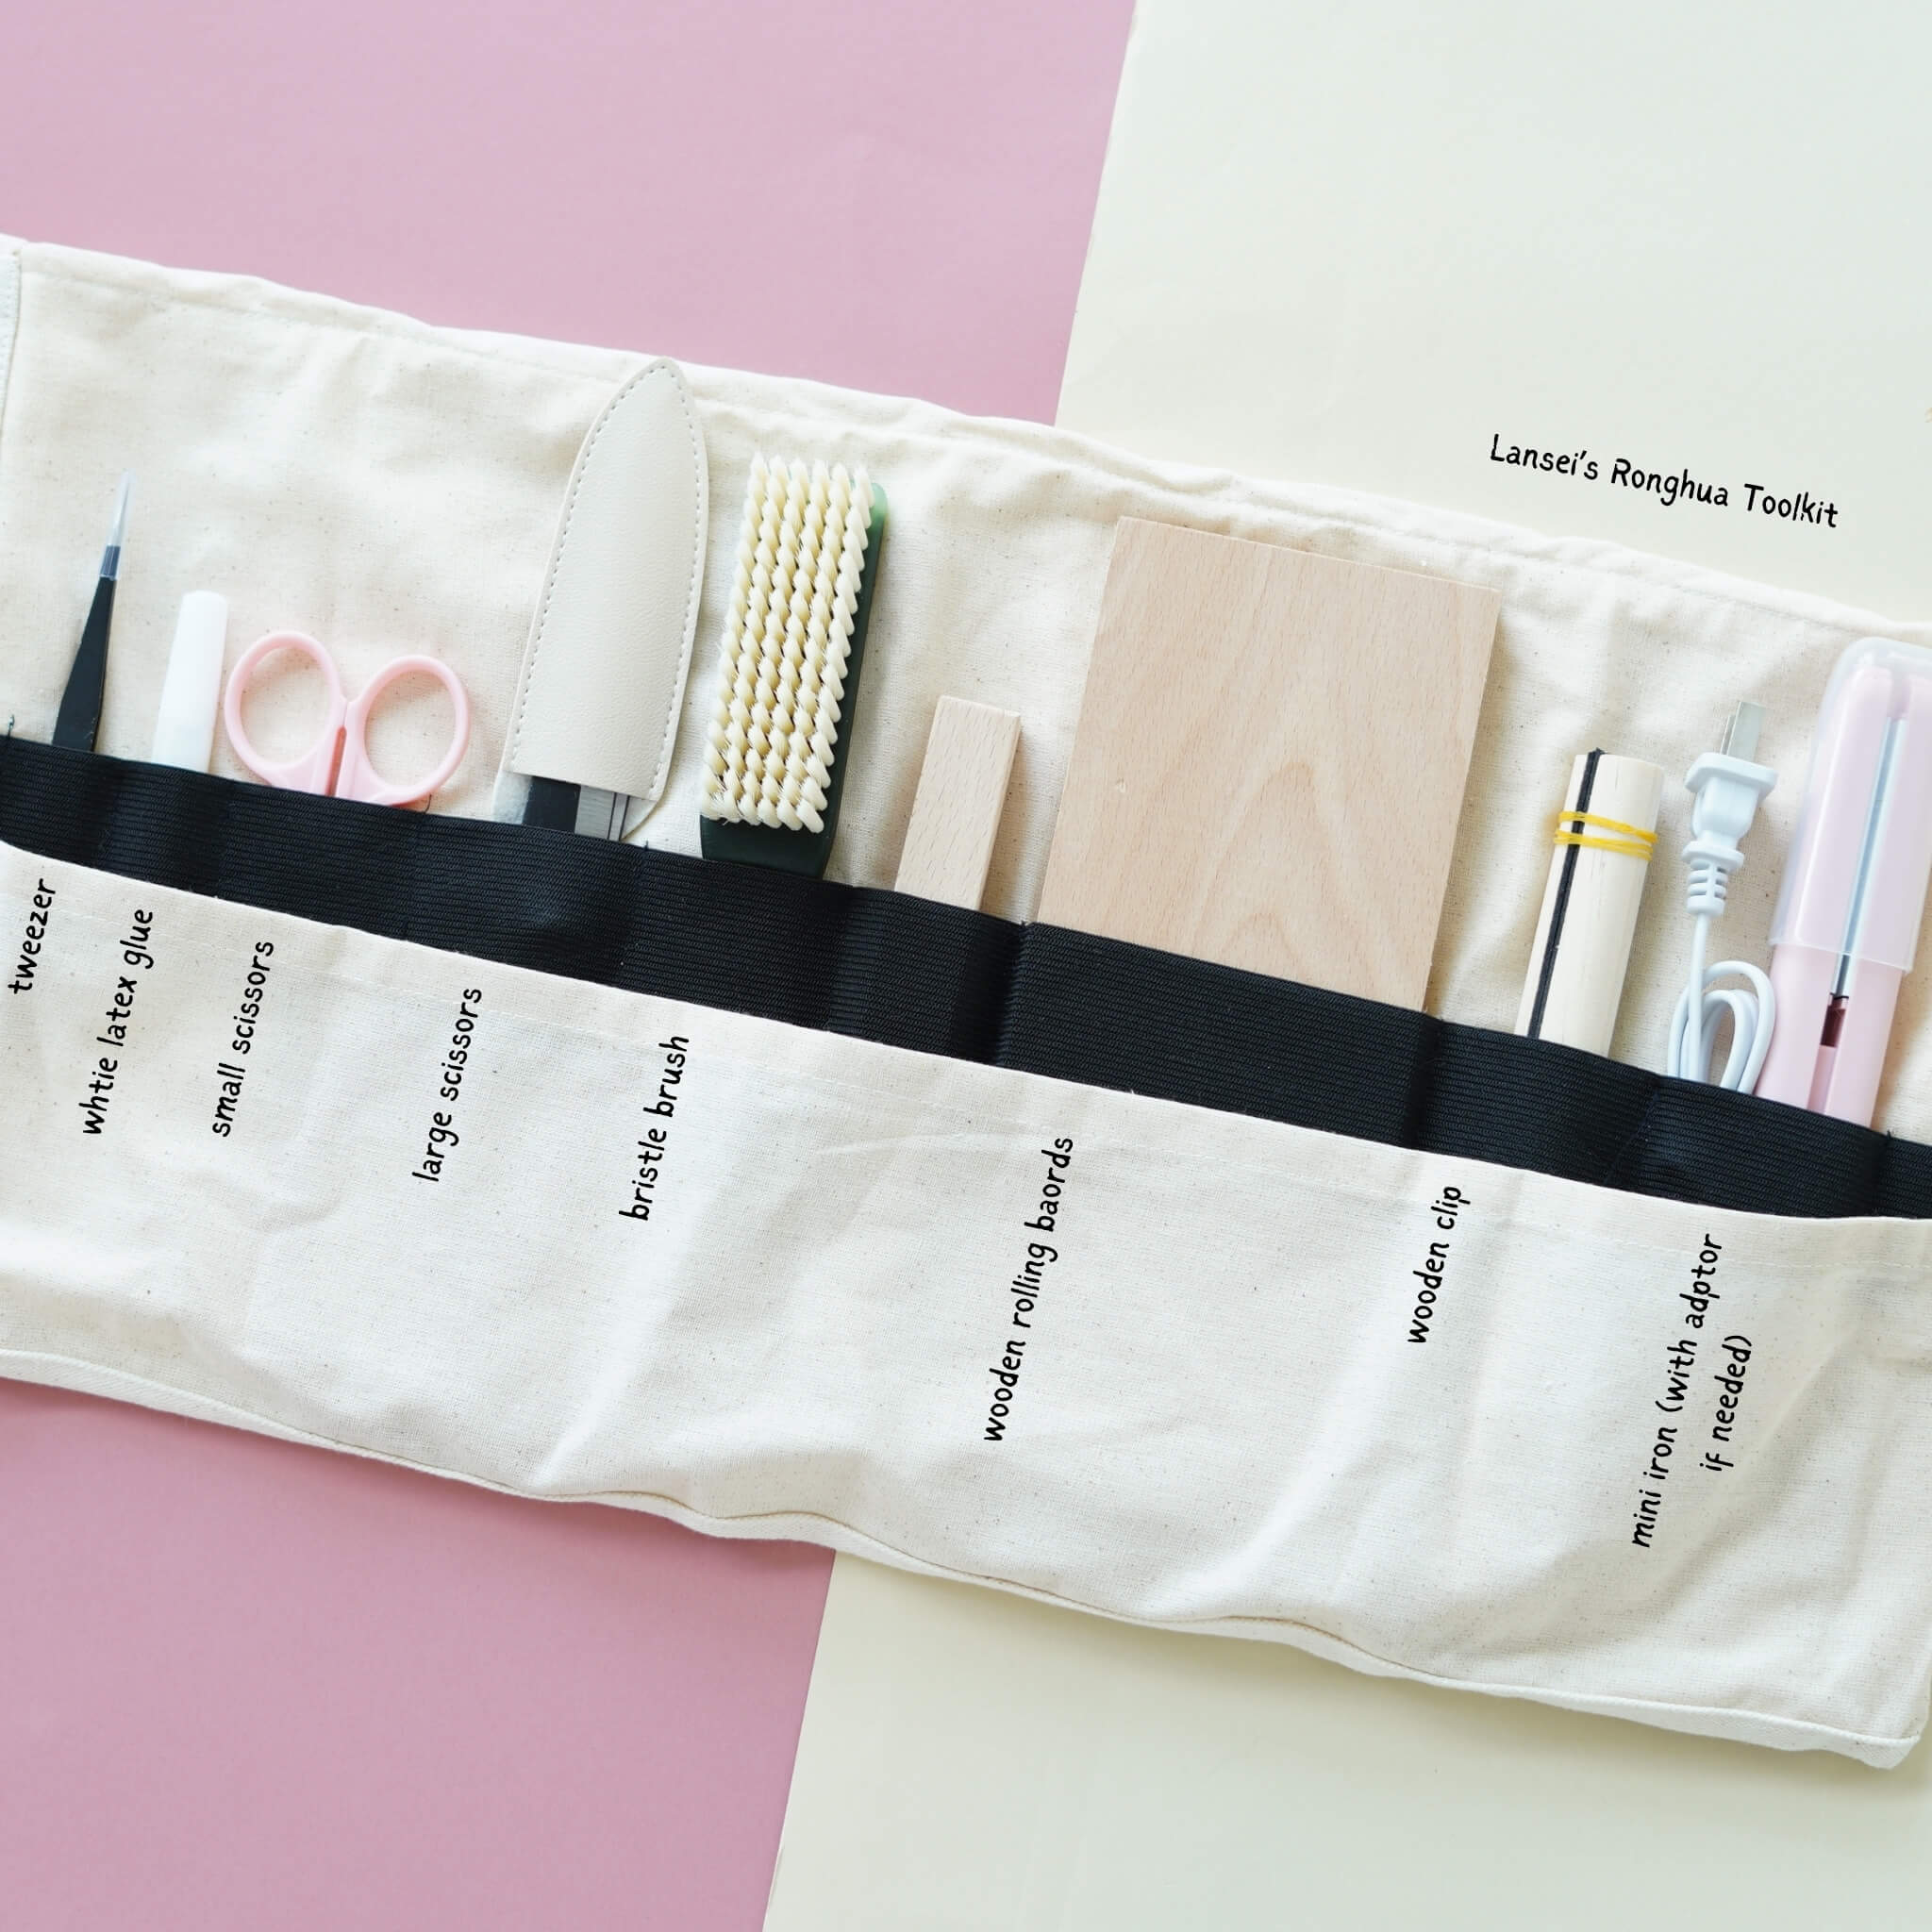
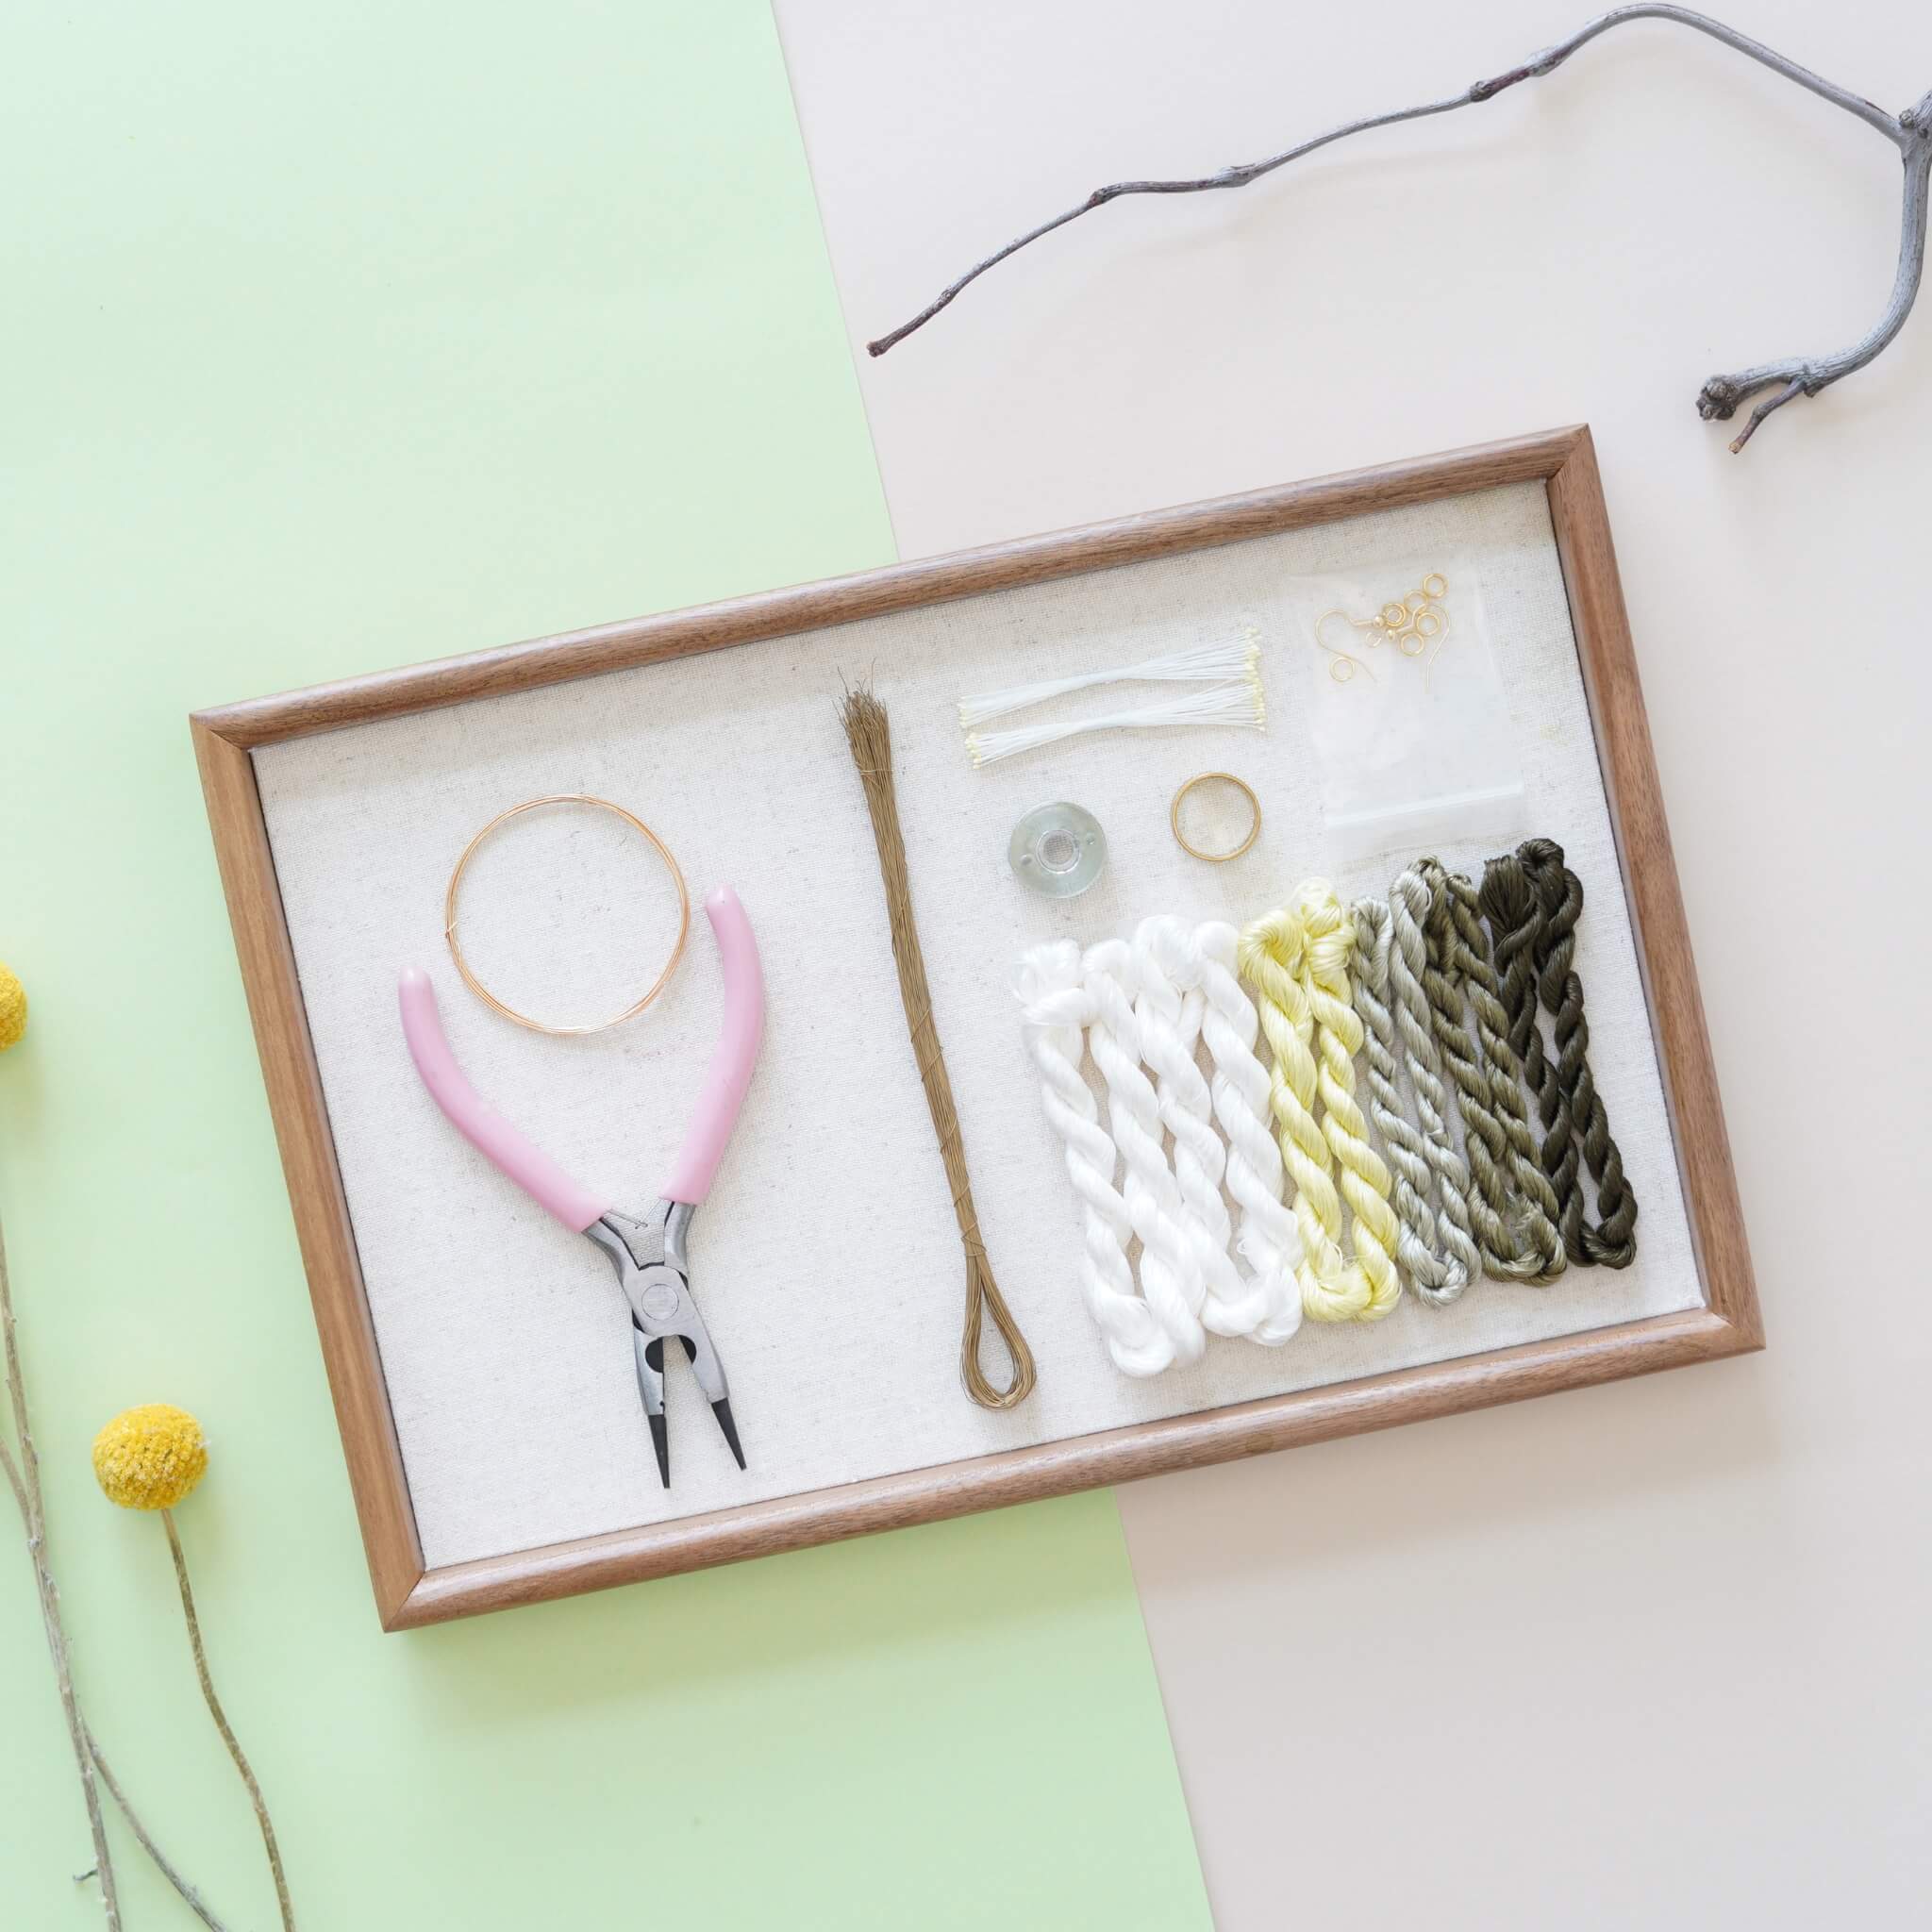
If you’ve purchased our Ronghua Toolkit, you already have everything required!
If not, prepare the following tools:
- Bristle brush (Medium to soft hardness)
- Flat iron (the one you use to straighten your hair)
- Tweezers
- At least 2 pairs of Scissors
- wooden sticks / pencils / chopsticks
- Hair spray or diluted white glue (1:1.15–1:1.2 ratio)
- Big clips (around 15cm)
- Twisting boards and wooden blocks (for even tension)
- Anti-slip powder (optional but helpful)
Full Tutorial Video
Step 1. Align and Arrange the Silk Threads
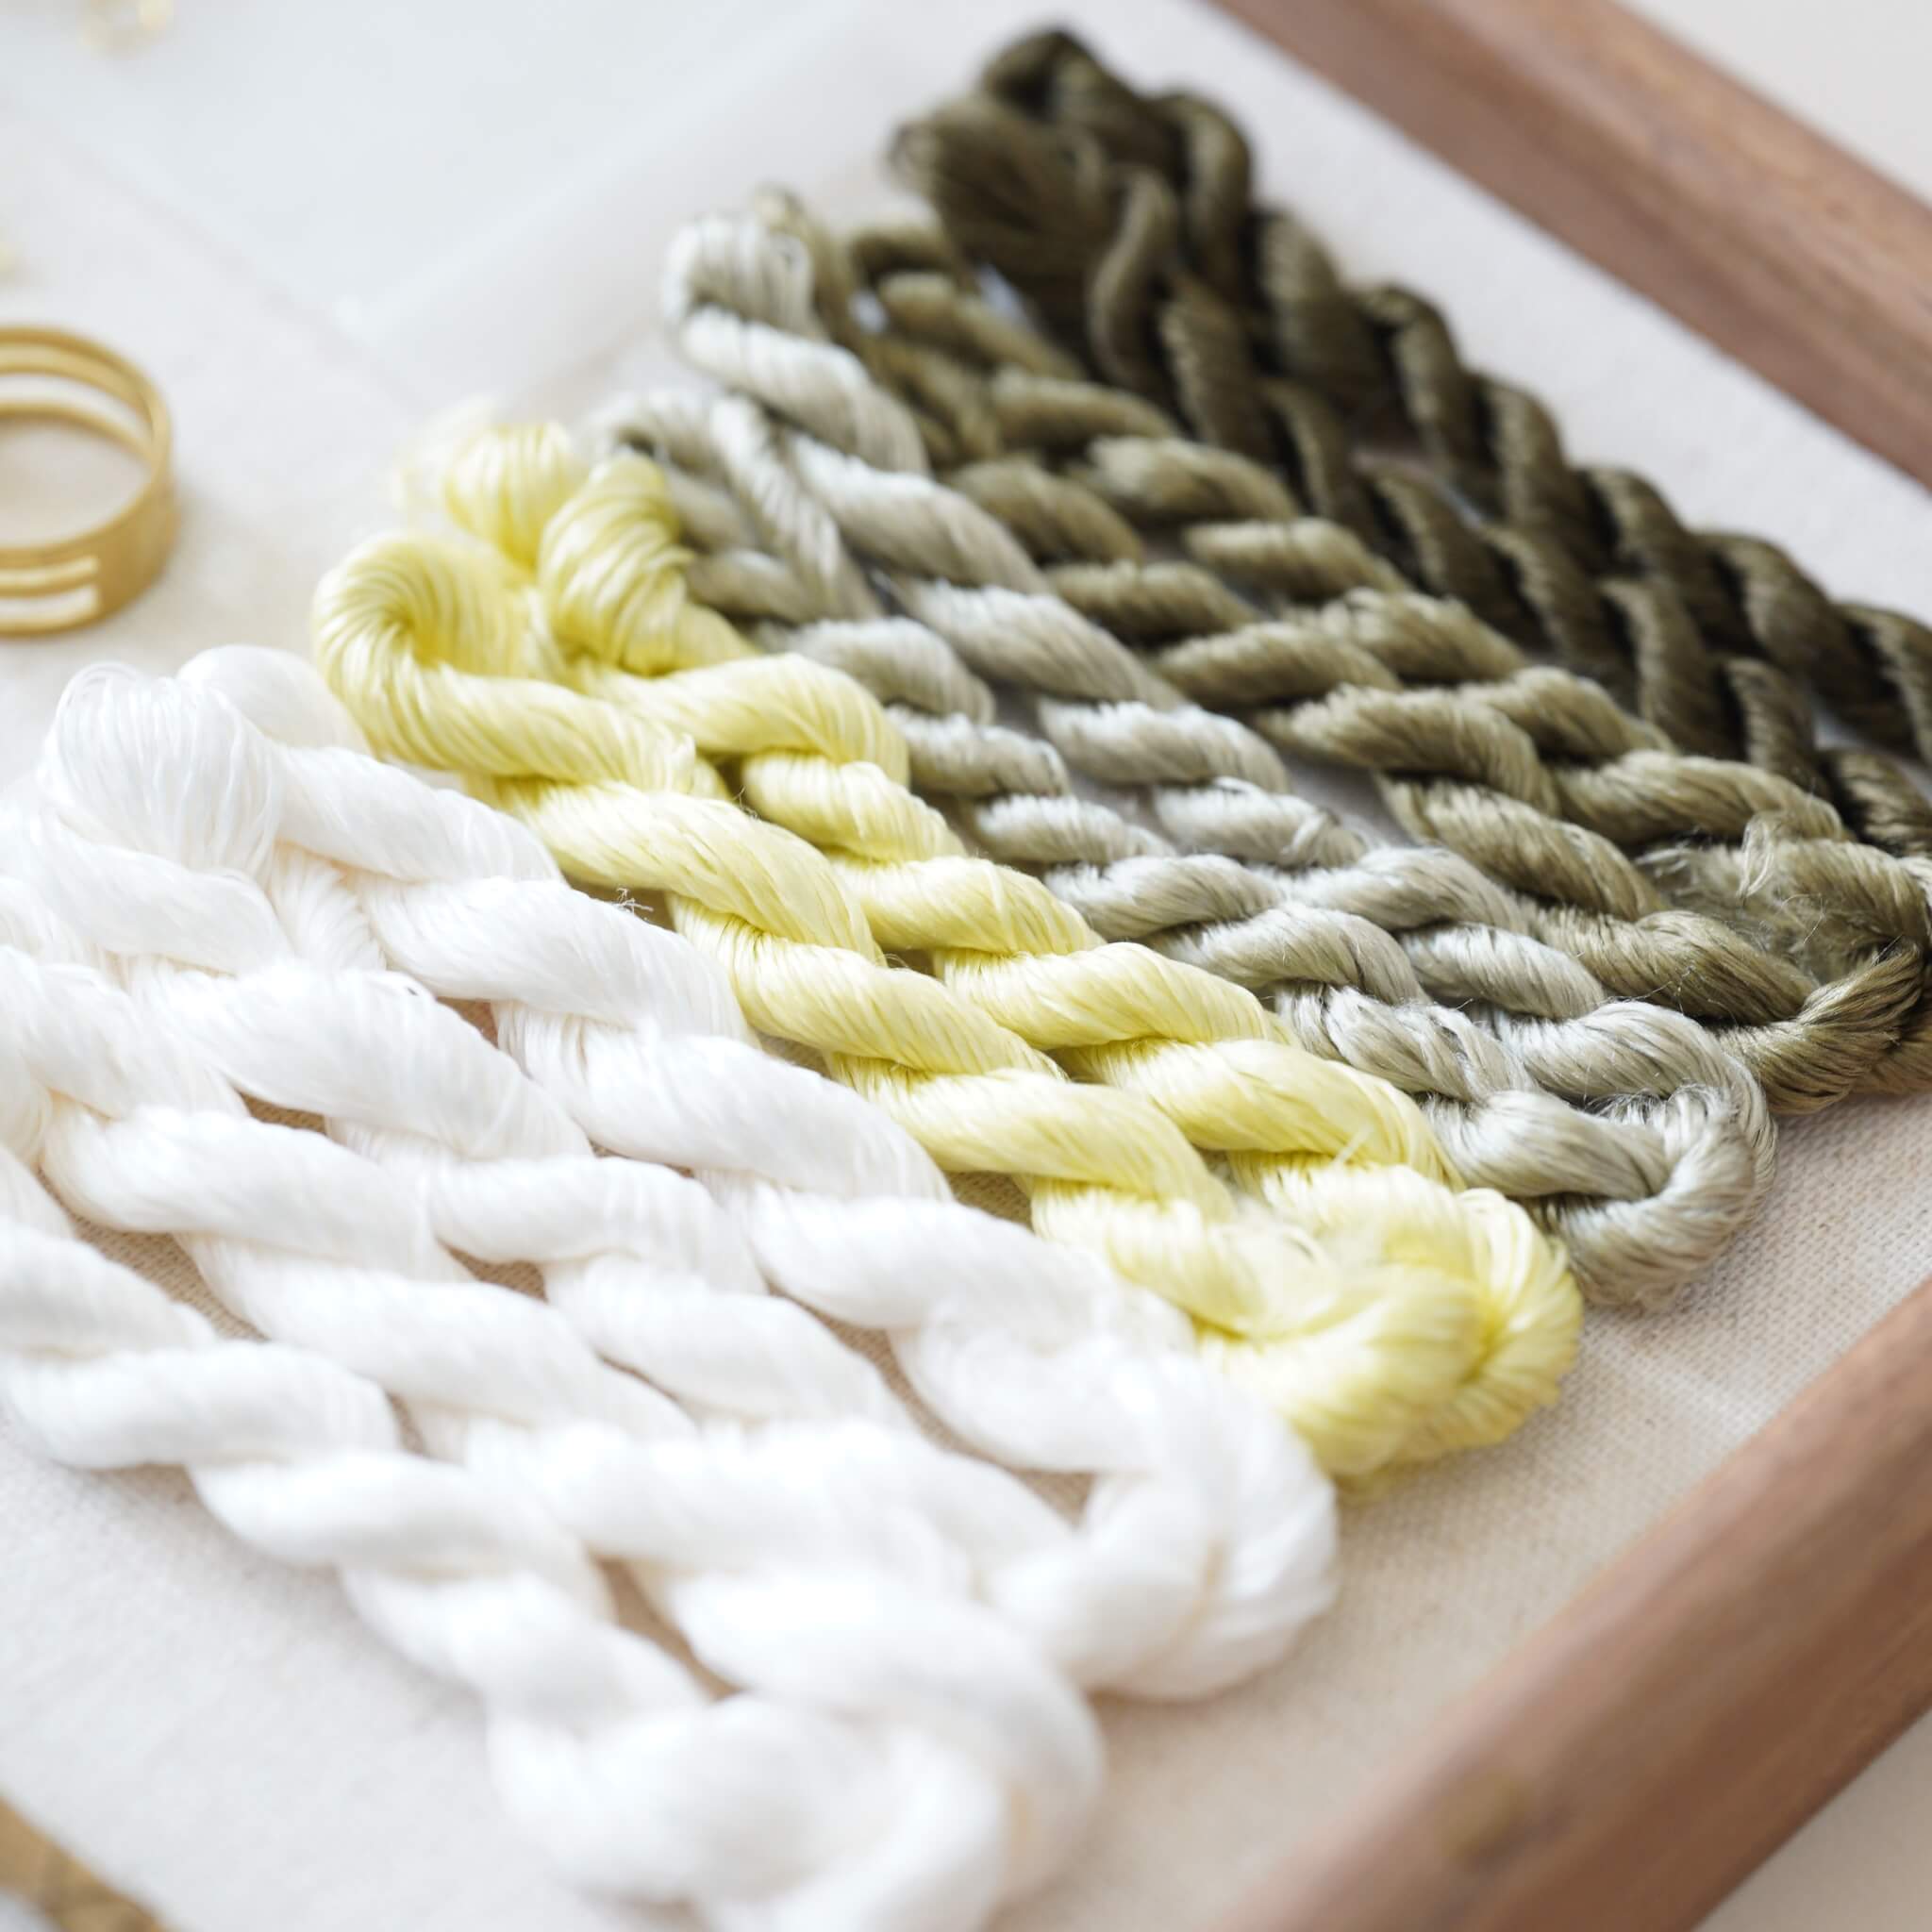
Start by untying your silk threads. Locate the knot at one end of each bundle and cut it open carefully. This project uses six colours of silk to create four silk rows - three for the petals and one for the fuzzy center of the orchid. Refer to the colour diagram below for thread combination details.

Step 2. Group and Prepare the Threads
Each silk bundle consists of tiny strand-like structures — these are your individual strands. Count five strands per group, fold them in half, and cut the middle. You’ll now have ten strands.
Align all strands neatly and tie them around a thin stick, keeping the ends even. Avoid uneven lengths — this ensures consistent petal texture later on.

Step 3. Make Silk Rows
Repeat the above process to create four silk rows in total: 3 rows for petals and 1 row for the flower’s center part. Remember to refer back to the data provided in the diagram for the following rows, as each will differ slightly. Below are the finished silk rows we made.

Step 4. Brush the Silk Rows
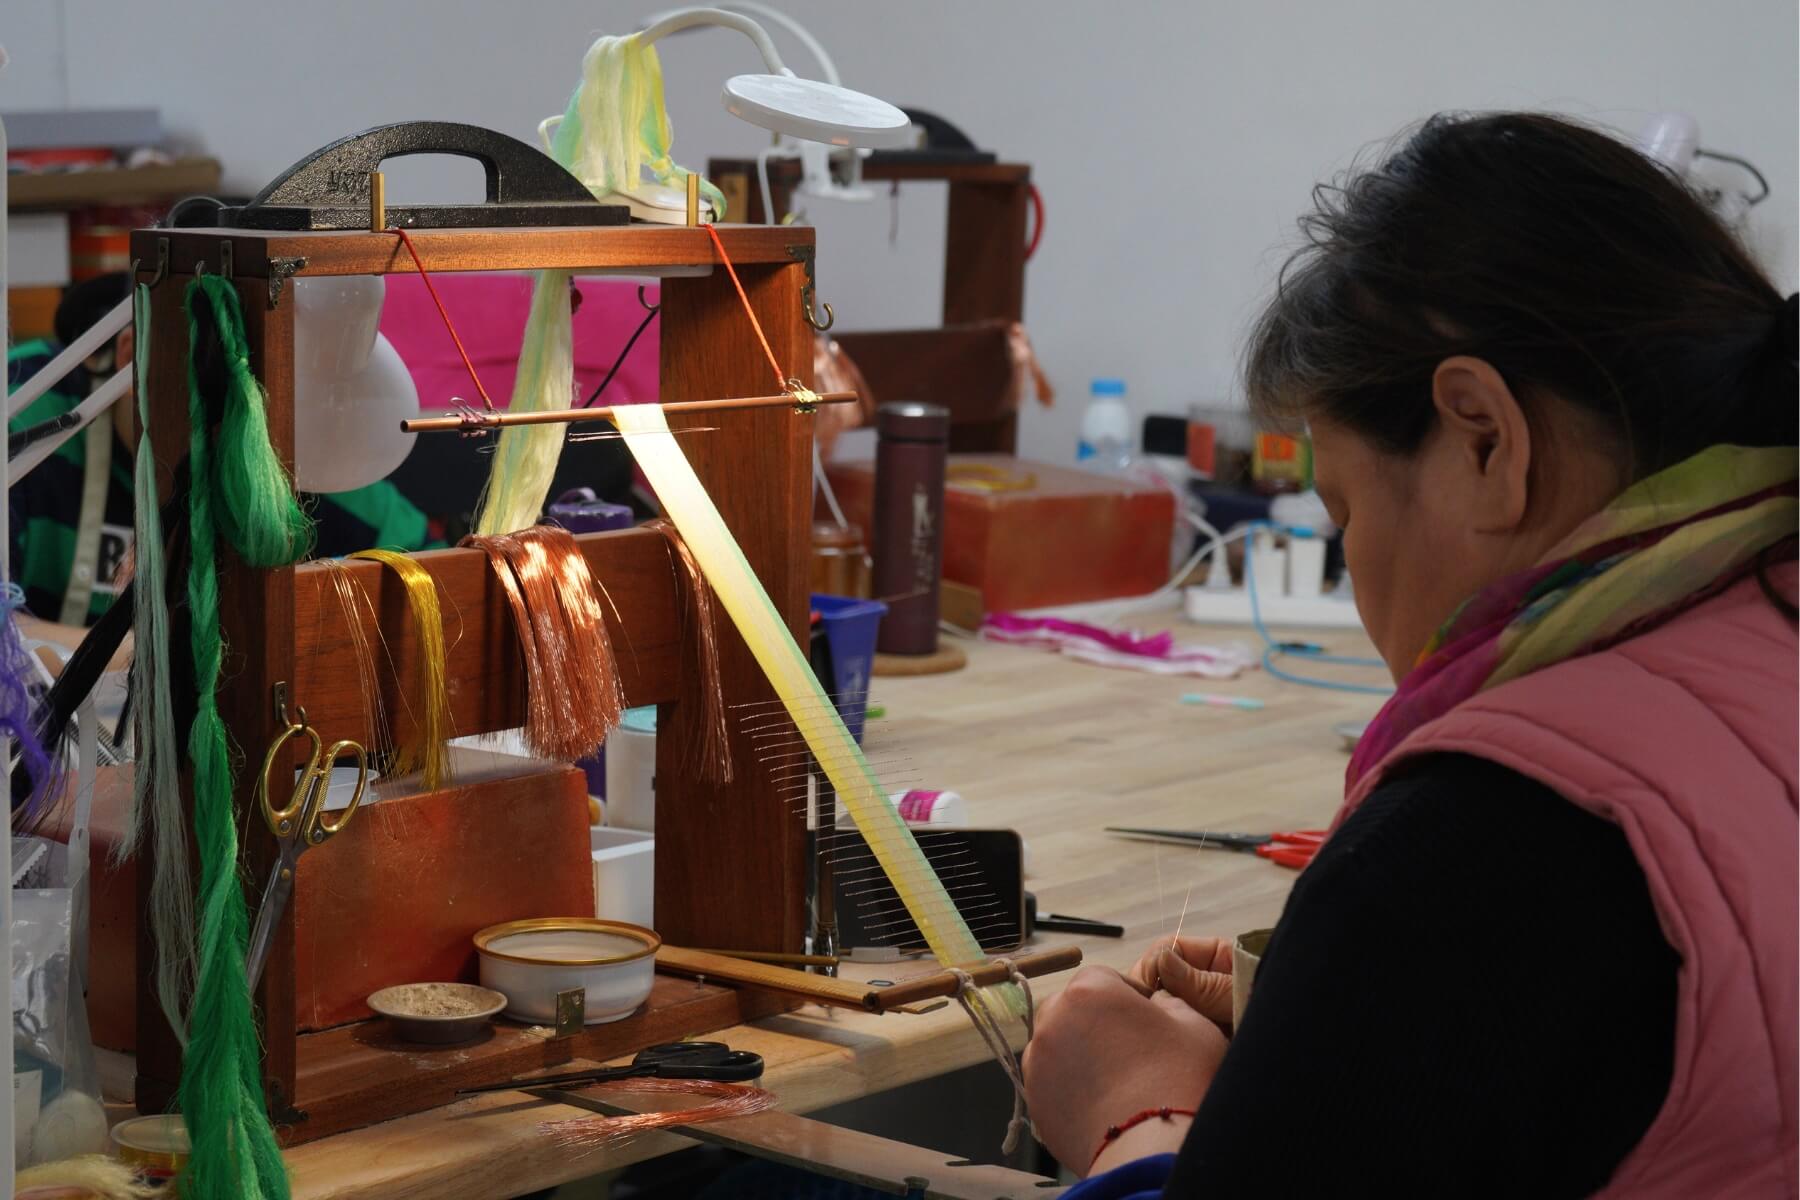
Fix one silk row onto your stand using big metal clips - if you don't have the wooden ronghua stand, that's totally fine! You can refer to our video about alternative solutions to the stand.
Hold the ends of the threads with one hand and brush gently from top to bottom. Don’t lift the brush midway. A light mist of water will prevent static. You can apply some pressure — silk threads are stronger than they look! Make sure to brush both the front and back sides until the row looks smooth and fluffy.

Everyone uses a different brush and hand speed, so the time it takes to complete this step is also different. Taking my situation as a reference, it took me about 10 minutes to brush this silk row. When you feel the hair is soft and fluffy, you can stop and check.
When you observe, there is no complete linear distinction between the threads and start to stick to each other, it's ready:)
This is what the brushed silk thread feels like:

Step 5. Attach Copper Wires
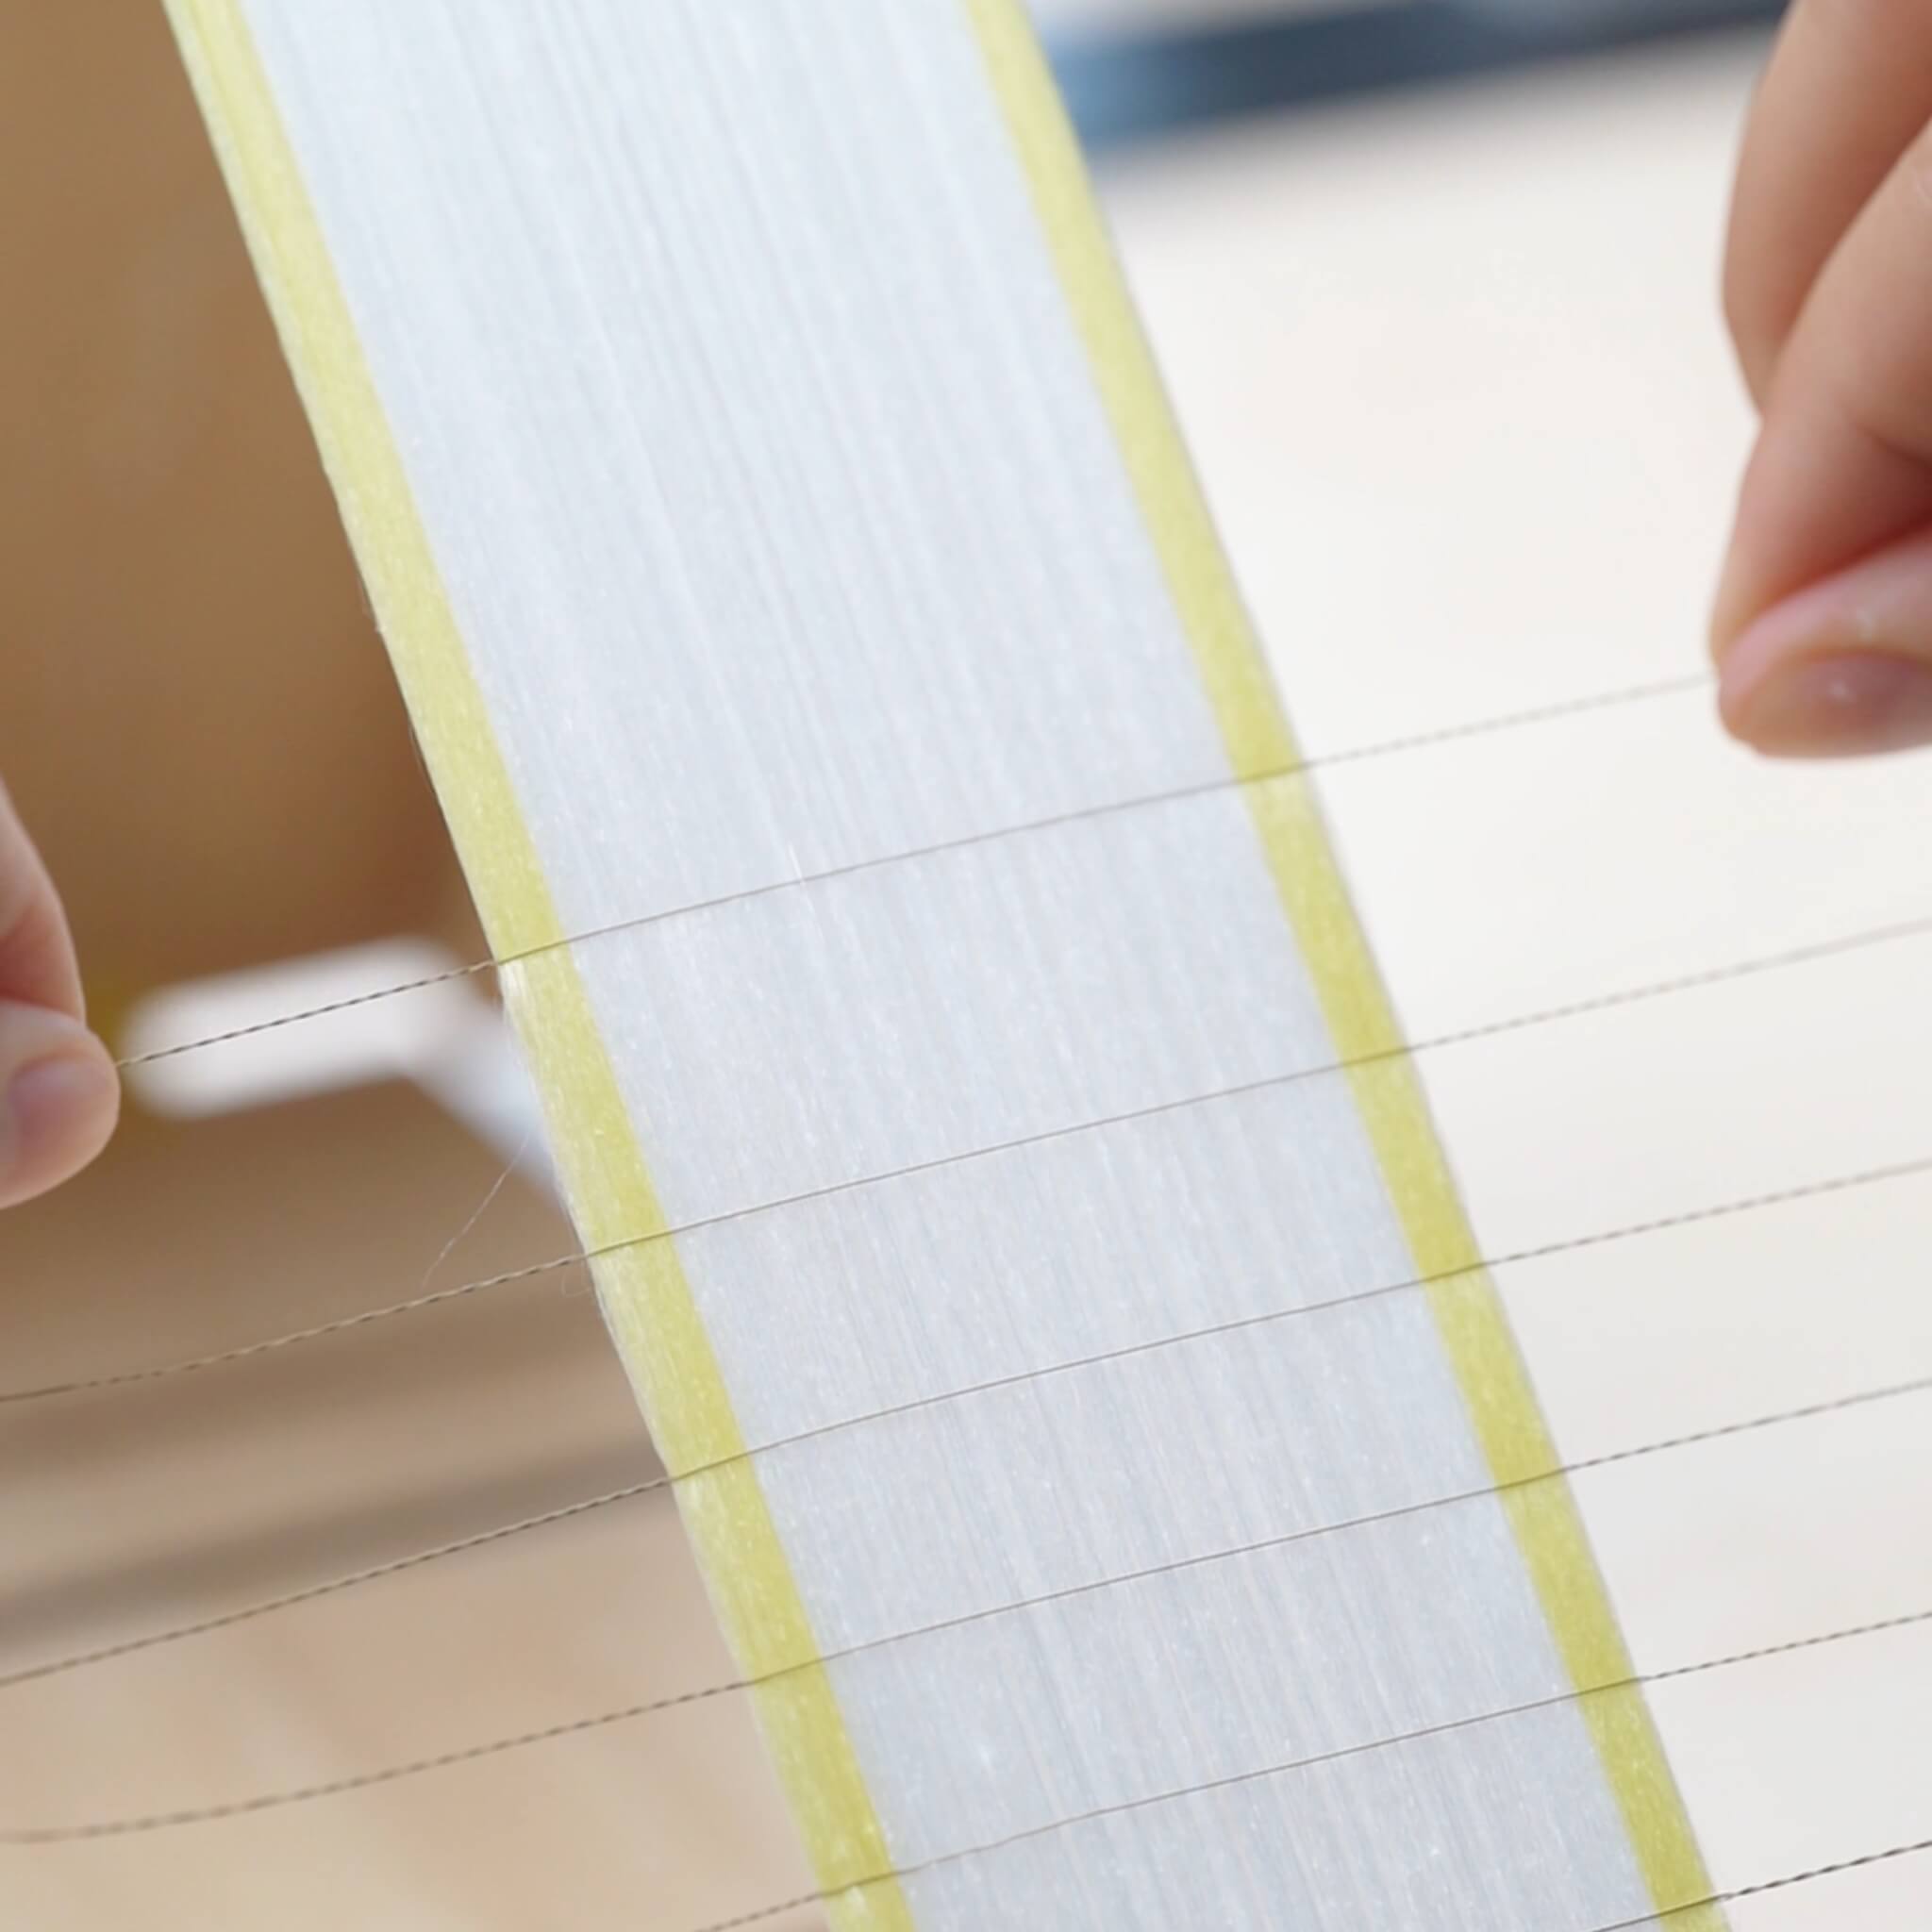
When you feeel the silk is brushed eough, secure its tail with another big clip to yout table or anythign that can help stretch it taut. Take out one annealed copper wire from the folded end of the row and straighten it. Twist the folded part into a spiral of about 3 cm. Clamp the silk threads between two copper wires and twist the opposite side tightly. Pull both wires taut and continue twisting until they merge into one. Remember, the twsiting direction for the left and right end are opposite.

For this first row (white silk row for the biggest flower petals), keep 3.2 cm spacing between the wires. If you have anti-slip powder, it will be much easier to dip your fingers in it and twist it. (We highly recommend you watch the video tutorial for this step:)
Once done, remove the silk row from the stand and lay it flat.
Step 6. Cut the Silk Strips
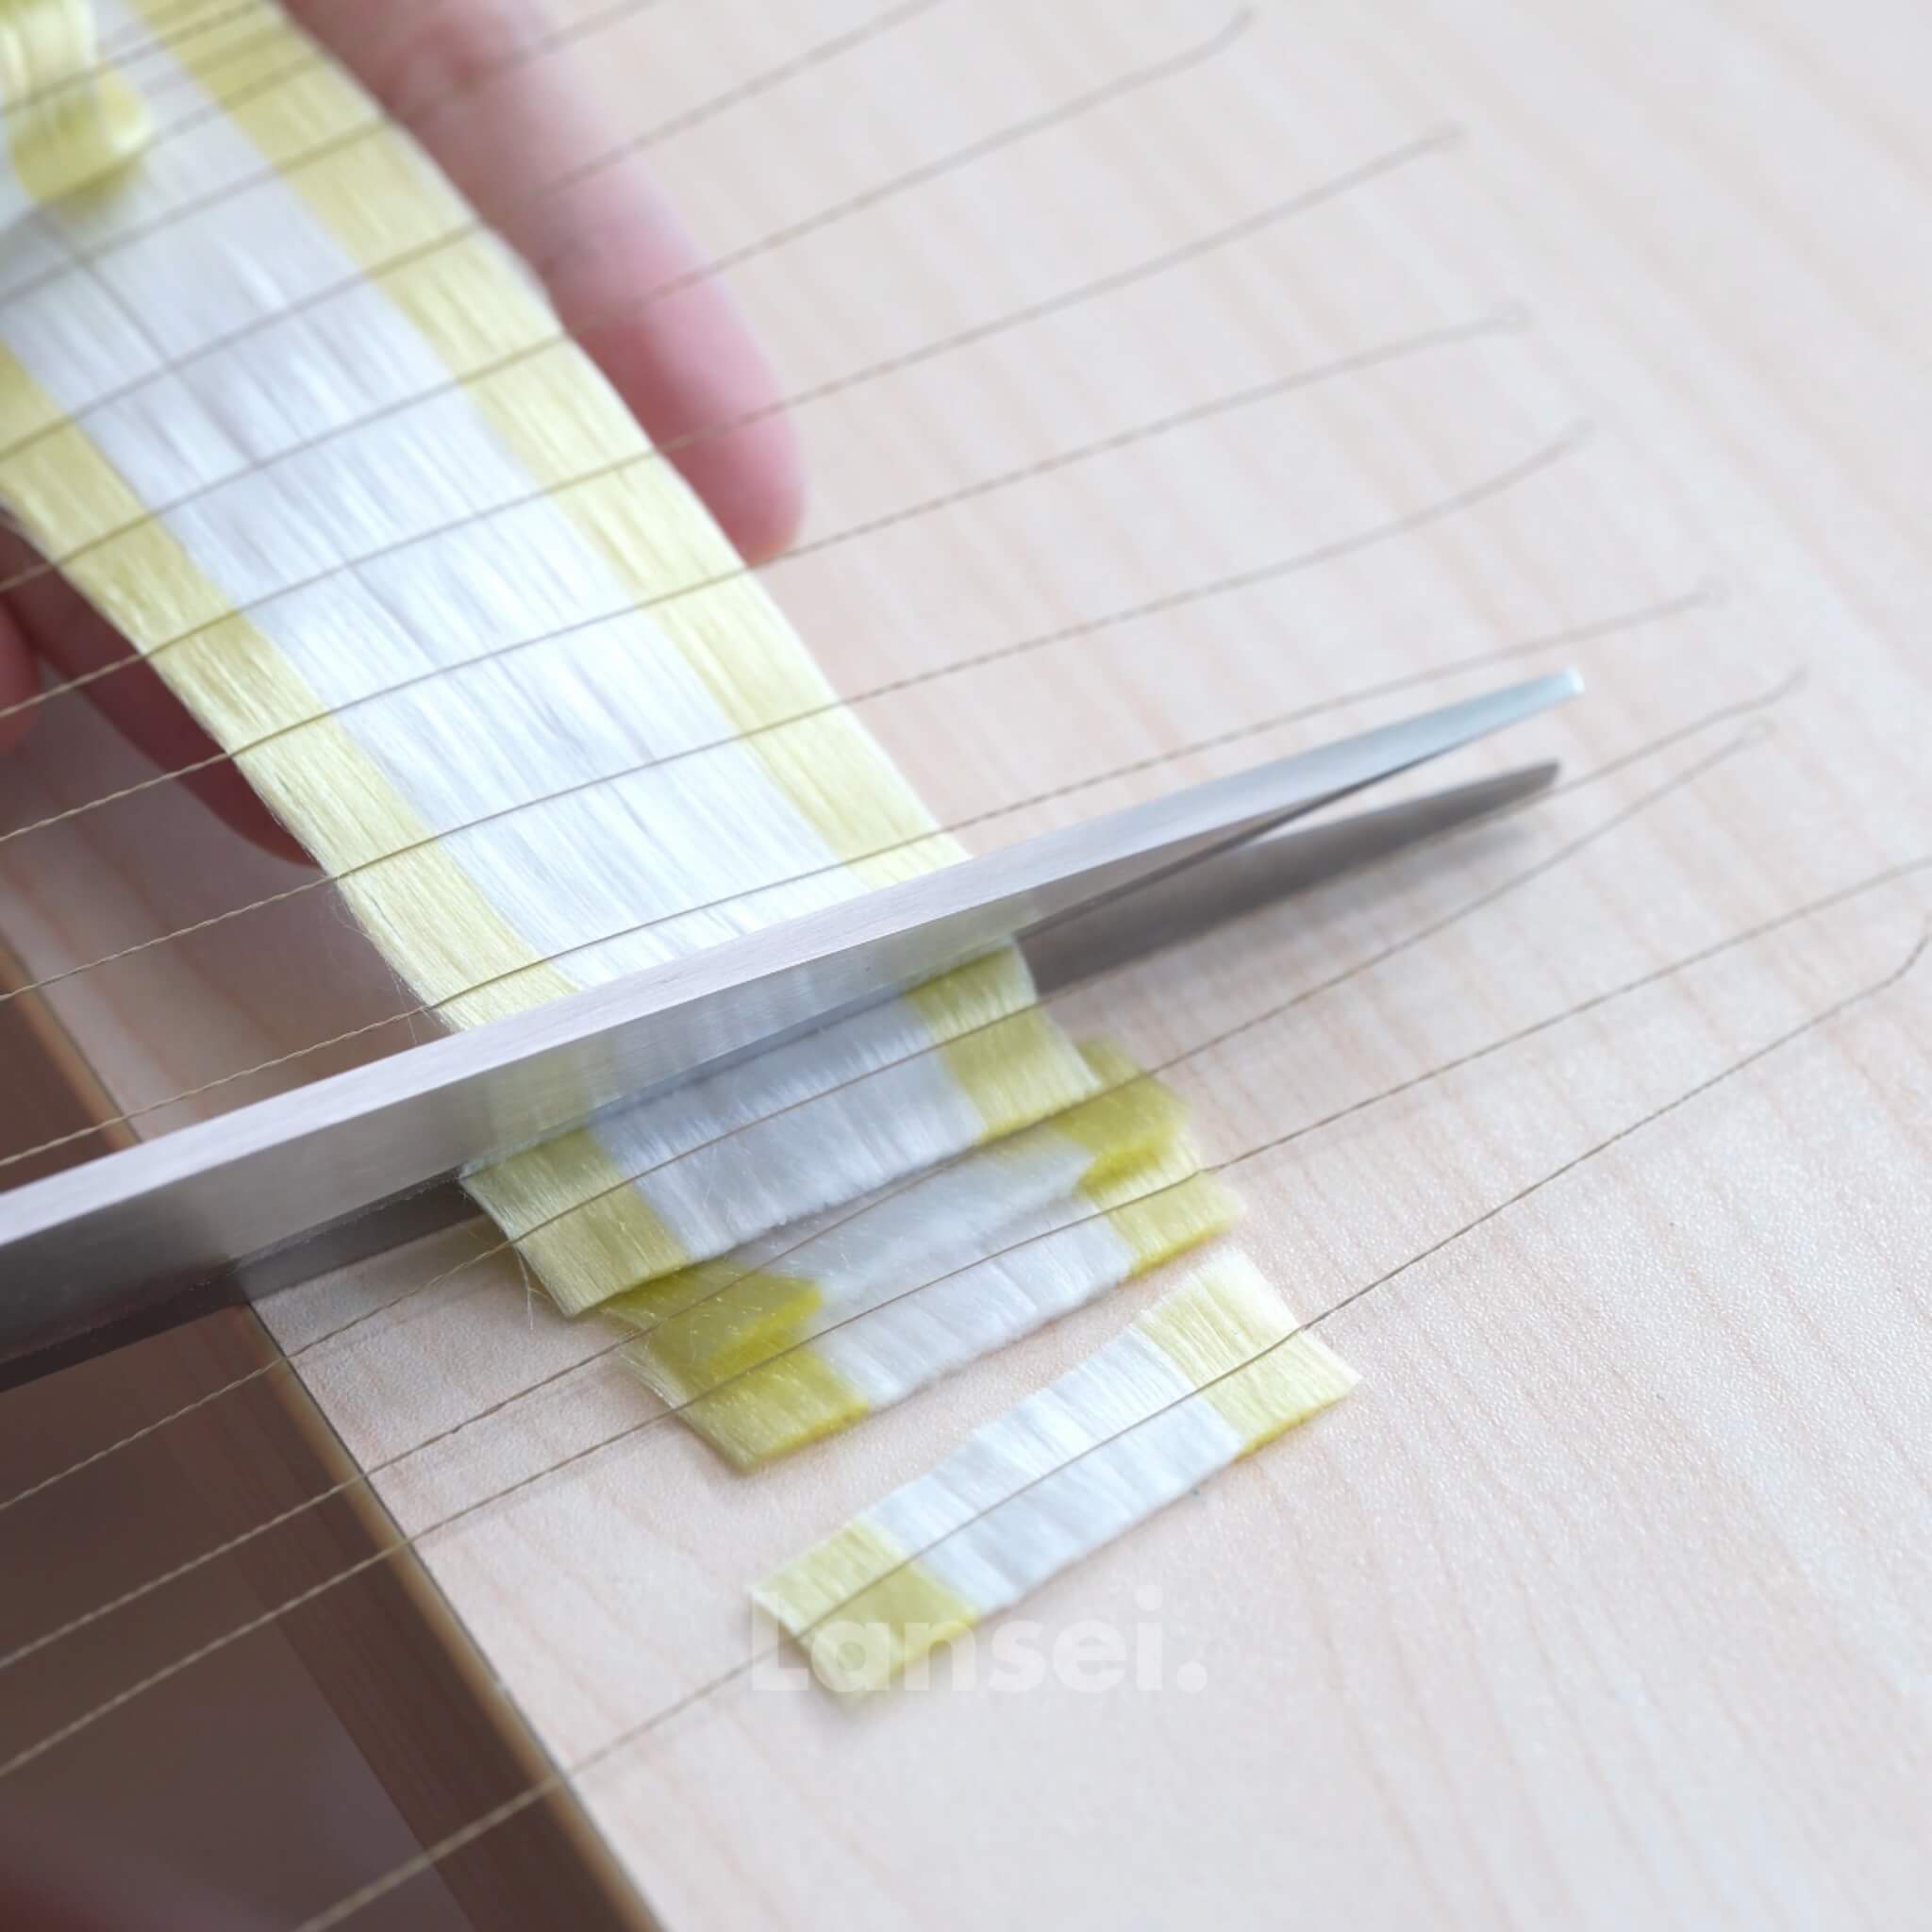
Trim the row’s end neatly, then cut between each pair of copper wires to create even silk strips. When cutting, the scissors must be placed in the middle of two copper wires, otherwise the width of the silk strips will be inconsistent. If threads stick to your scissors, clean them — it’s usually caused by static or residue. Cut quickly and cleanly for smooth edges.

Step 7. Center and Twist the Strips
Align the copper wire to the middle of each strip using a flat surface or wooden block.
Once centered, twist both hands in opposite directions to tighten.

Next, place the copper part between the twisting boards and continue twisting in the same direction. Stop when the wire feels firm — twisting too far may cause it to break.

Step 8. Flatten the Silk Strips
Cut off one end of the copper wire. Heat your flat iron and press the strip gently from bottom to top. Move slowly and evenly — go over it again if needed for a perfectly flat finish. Trim away any loose silk fibers for a clean look.

Step 9. Strengthen the Strips
Prepare your setting solution:
- Use either hair spray, or
- Diluted white glue (1:1.15 or 1:1.2 ratio)
Soak the silk strips, let them absorb the solution, then scrape off the excess.
Stand them upright to dry naturally.

While waiting for the white silk strips to dry naturally, you can now repeat the same process listed above for the remaining petal rows (spacing will vary for each, e.g., 1.8 cm or 0.8 cm), so it is important to refer back to the diagram.
When you are working on the silk strips from the third silk row (the one with the darkest colour) , reading the below steps first before flattening them with the iron, as the are some differences in how to deal with the silk strips.
Step 10. Form Two Types of Petal Strips
You’ll need to make two kinds of petals out of the silk strips fromt the thirs row:
- Folded strips — fold in half and twist both ends together (make at least four).
- Straight strips — trim off the white-end wire without folding (also four pieces).

Soak both types in the setting solution again and let them dry standing upright.
Step 11. Trim and Shape the Petals
By the time you finish crafting the above silk strips, the big white petals should be dry already. Now, let's shape the white petals! Press each strip with the flat iron again and use small scissors to cut them into petal shapes. Work slowly and patiently — the cleaner the cut, the more natural your petals will look. Soak them once more in the setting solution and stick them along the inner wall of the container to dry slightly.

While still damp, shape them using the “wet concave” method:
- Press out extra solution with tweezers.
- Shape natural curves along the petal edges while wet. Let them dry standing upright.
(We highly recommend you watch the video tutorial for this step:)
For the other petals, the basic steps are the same, but the shapes are quite different, especially for the Y-shaped sepal. Here is how we shape the petals from scratch:
Step 12. Make the Fuzzy Flower Center
For the center, use ten white threads per group, four groups total. Wrap copper wires with 0.5 cm spacing and twist them firmly on the twisting board.
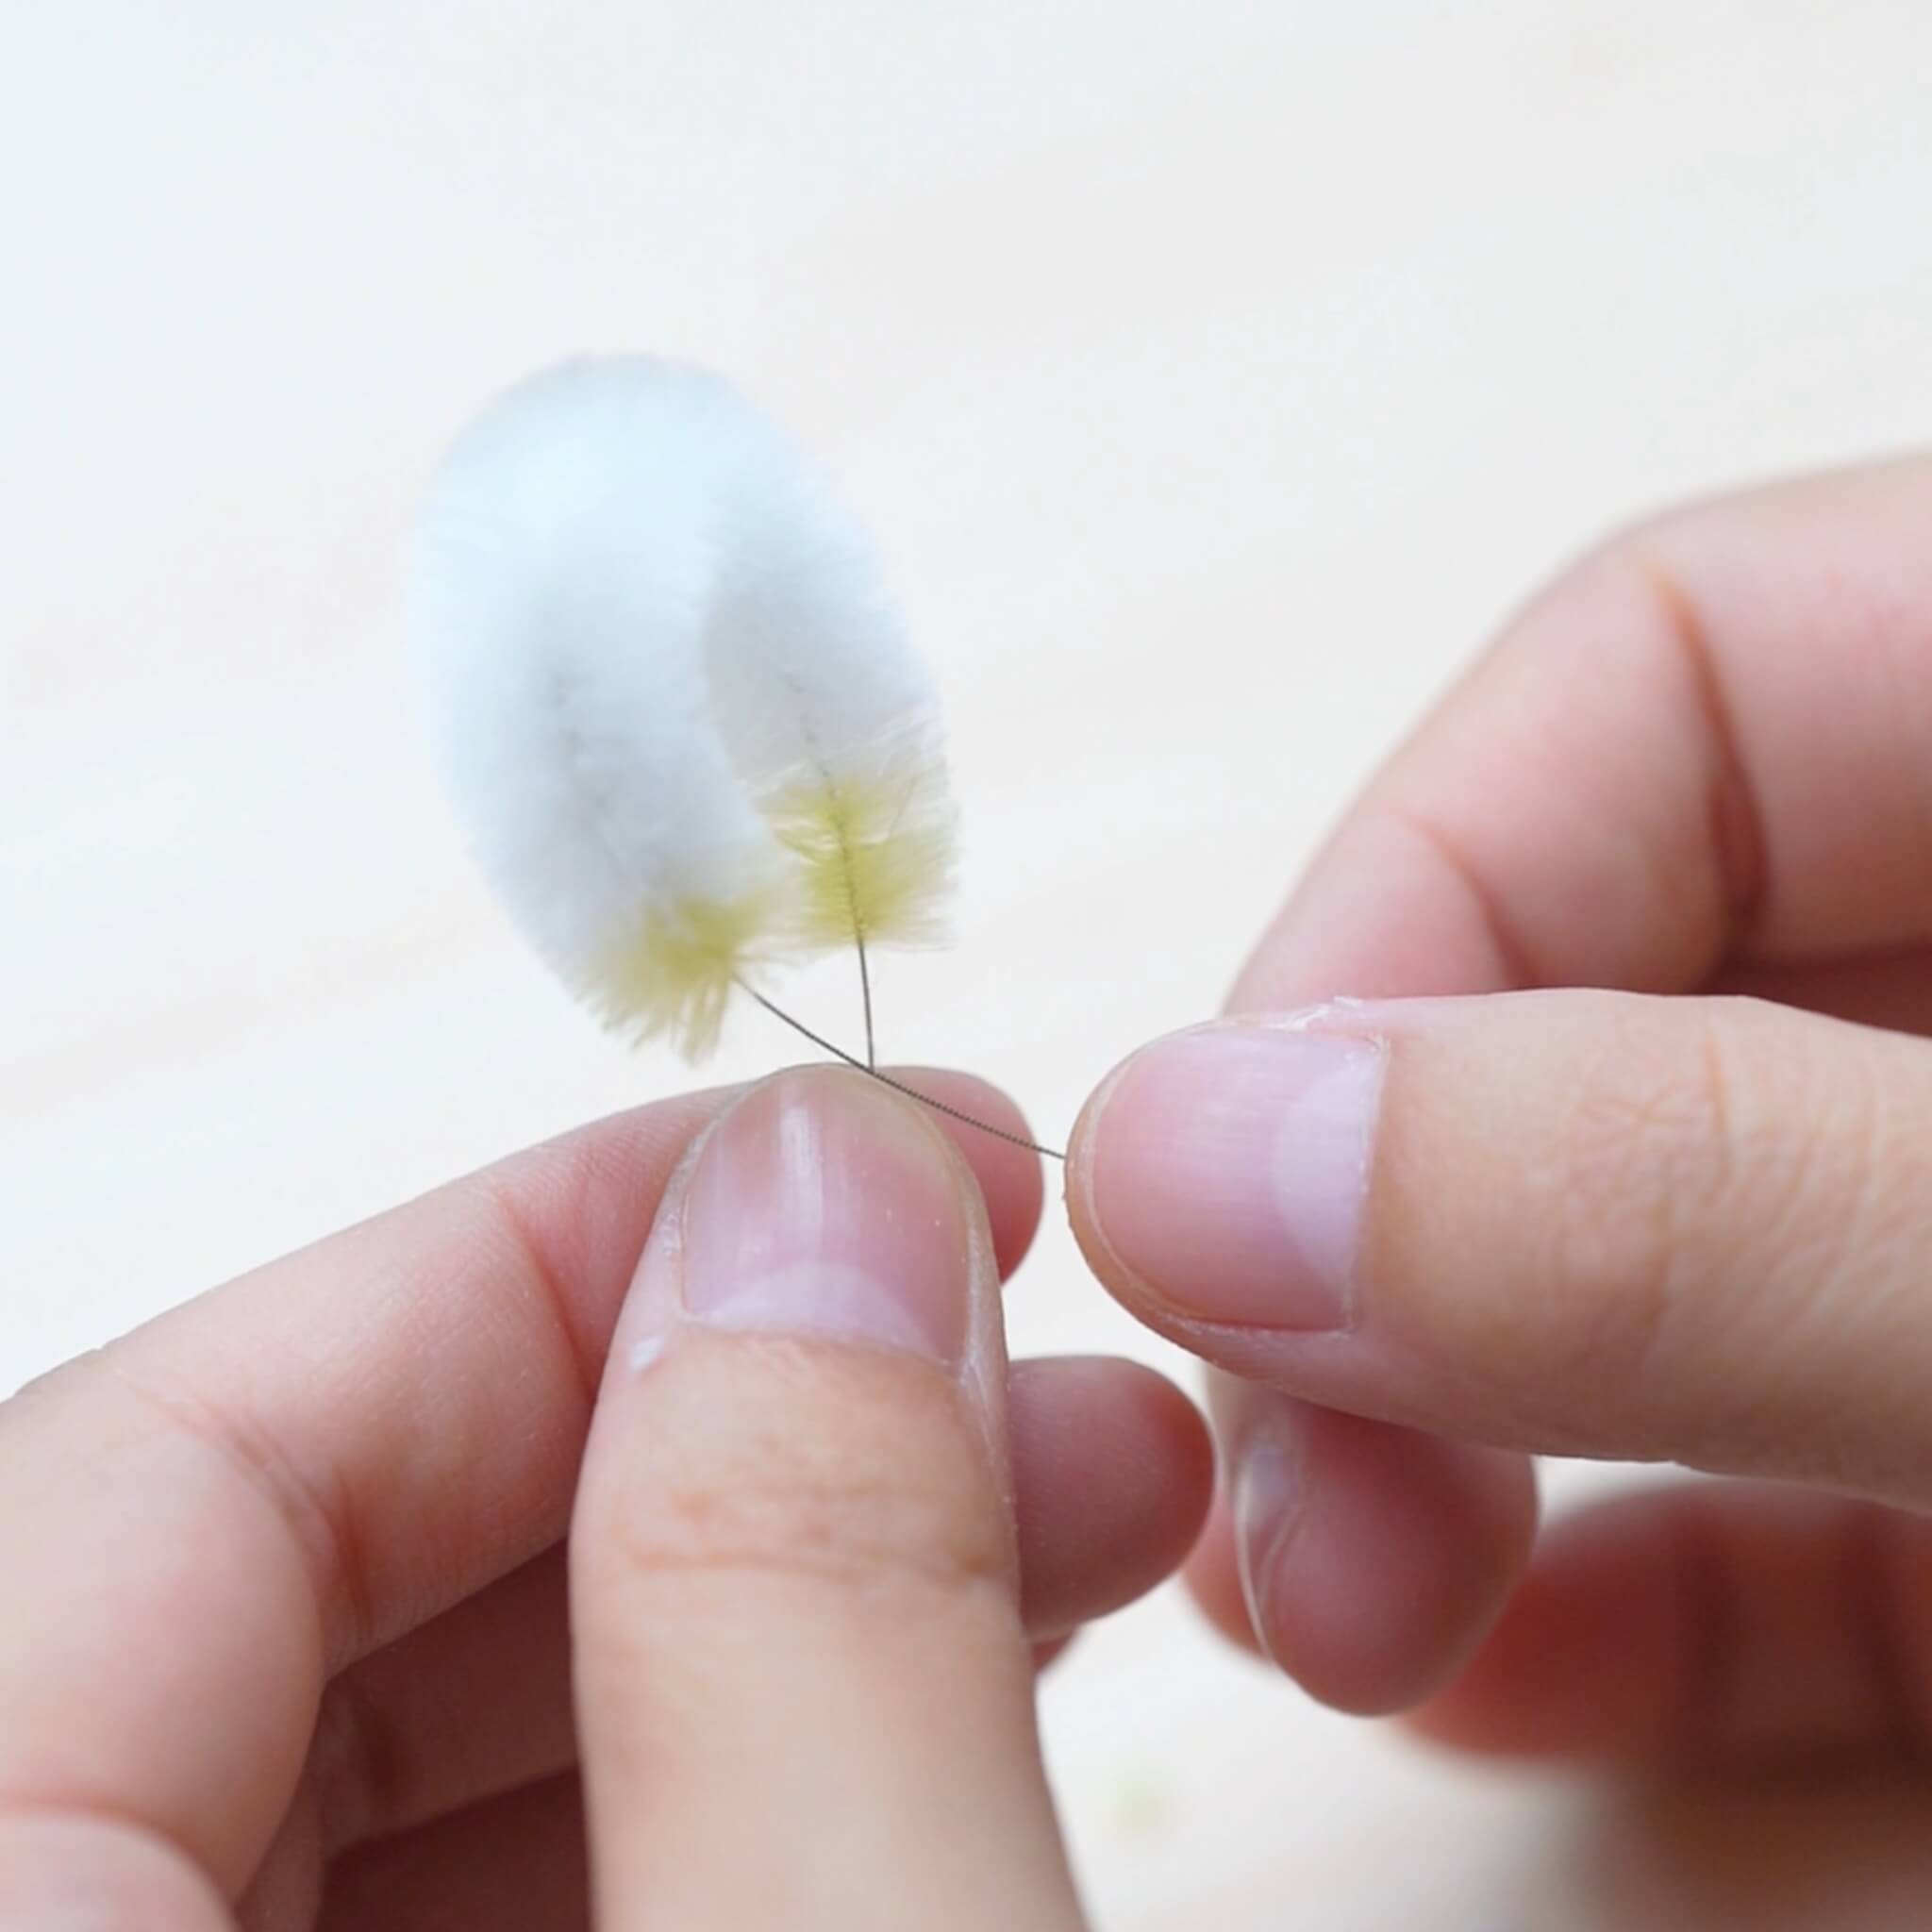
Next, trim the tips gradually to create a rounded end and a pointed tip — this will give the center a lifelike fuzzy texture. Hold the copper wire with one hand and rotate it at a constant speed. Use your other hand to operate the scissors. At the beginning, the scissors are almost parallel to the edge of the silk strip - trim off excess burrs first, then gradually increase the tilt angle to trim the tip of the strip.

Step 13. Assemble the Orchid
Once all petals are shaped and dry, it’s time to assemble! Take your light-yellow silk thread and begin wrapping from the folded end. Add one petal each time you wrap — don’t skip any! Continue wrapping down along the stem for about 2.5 cm, then split the wire ends and wrap once more to secure. Trim off any excess thread and wire.

Step 14. Attach to Earring Base
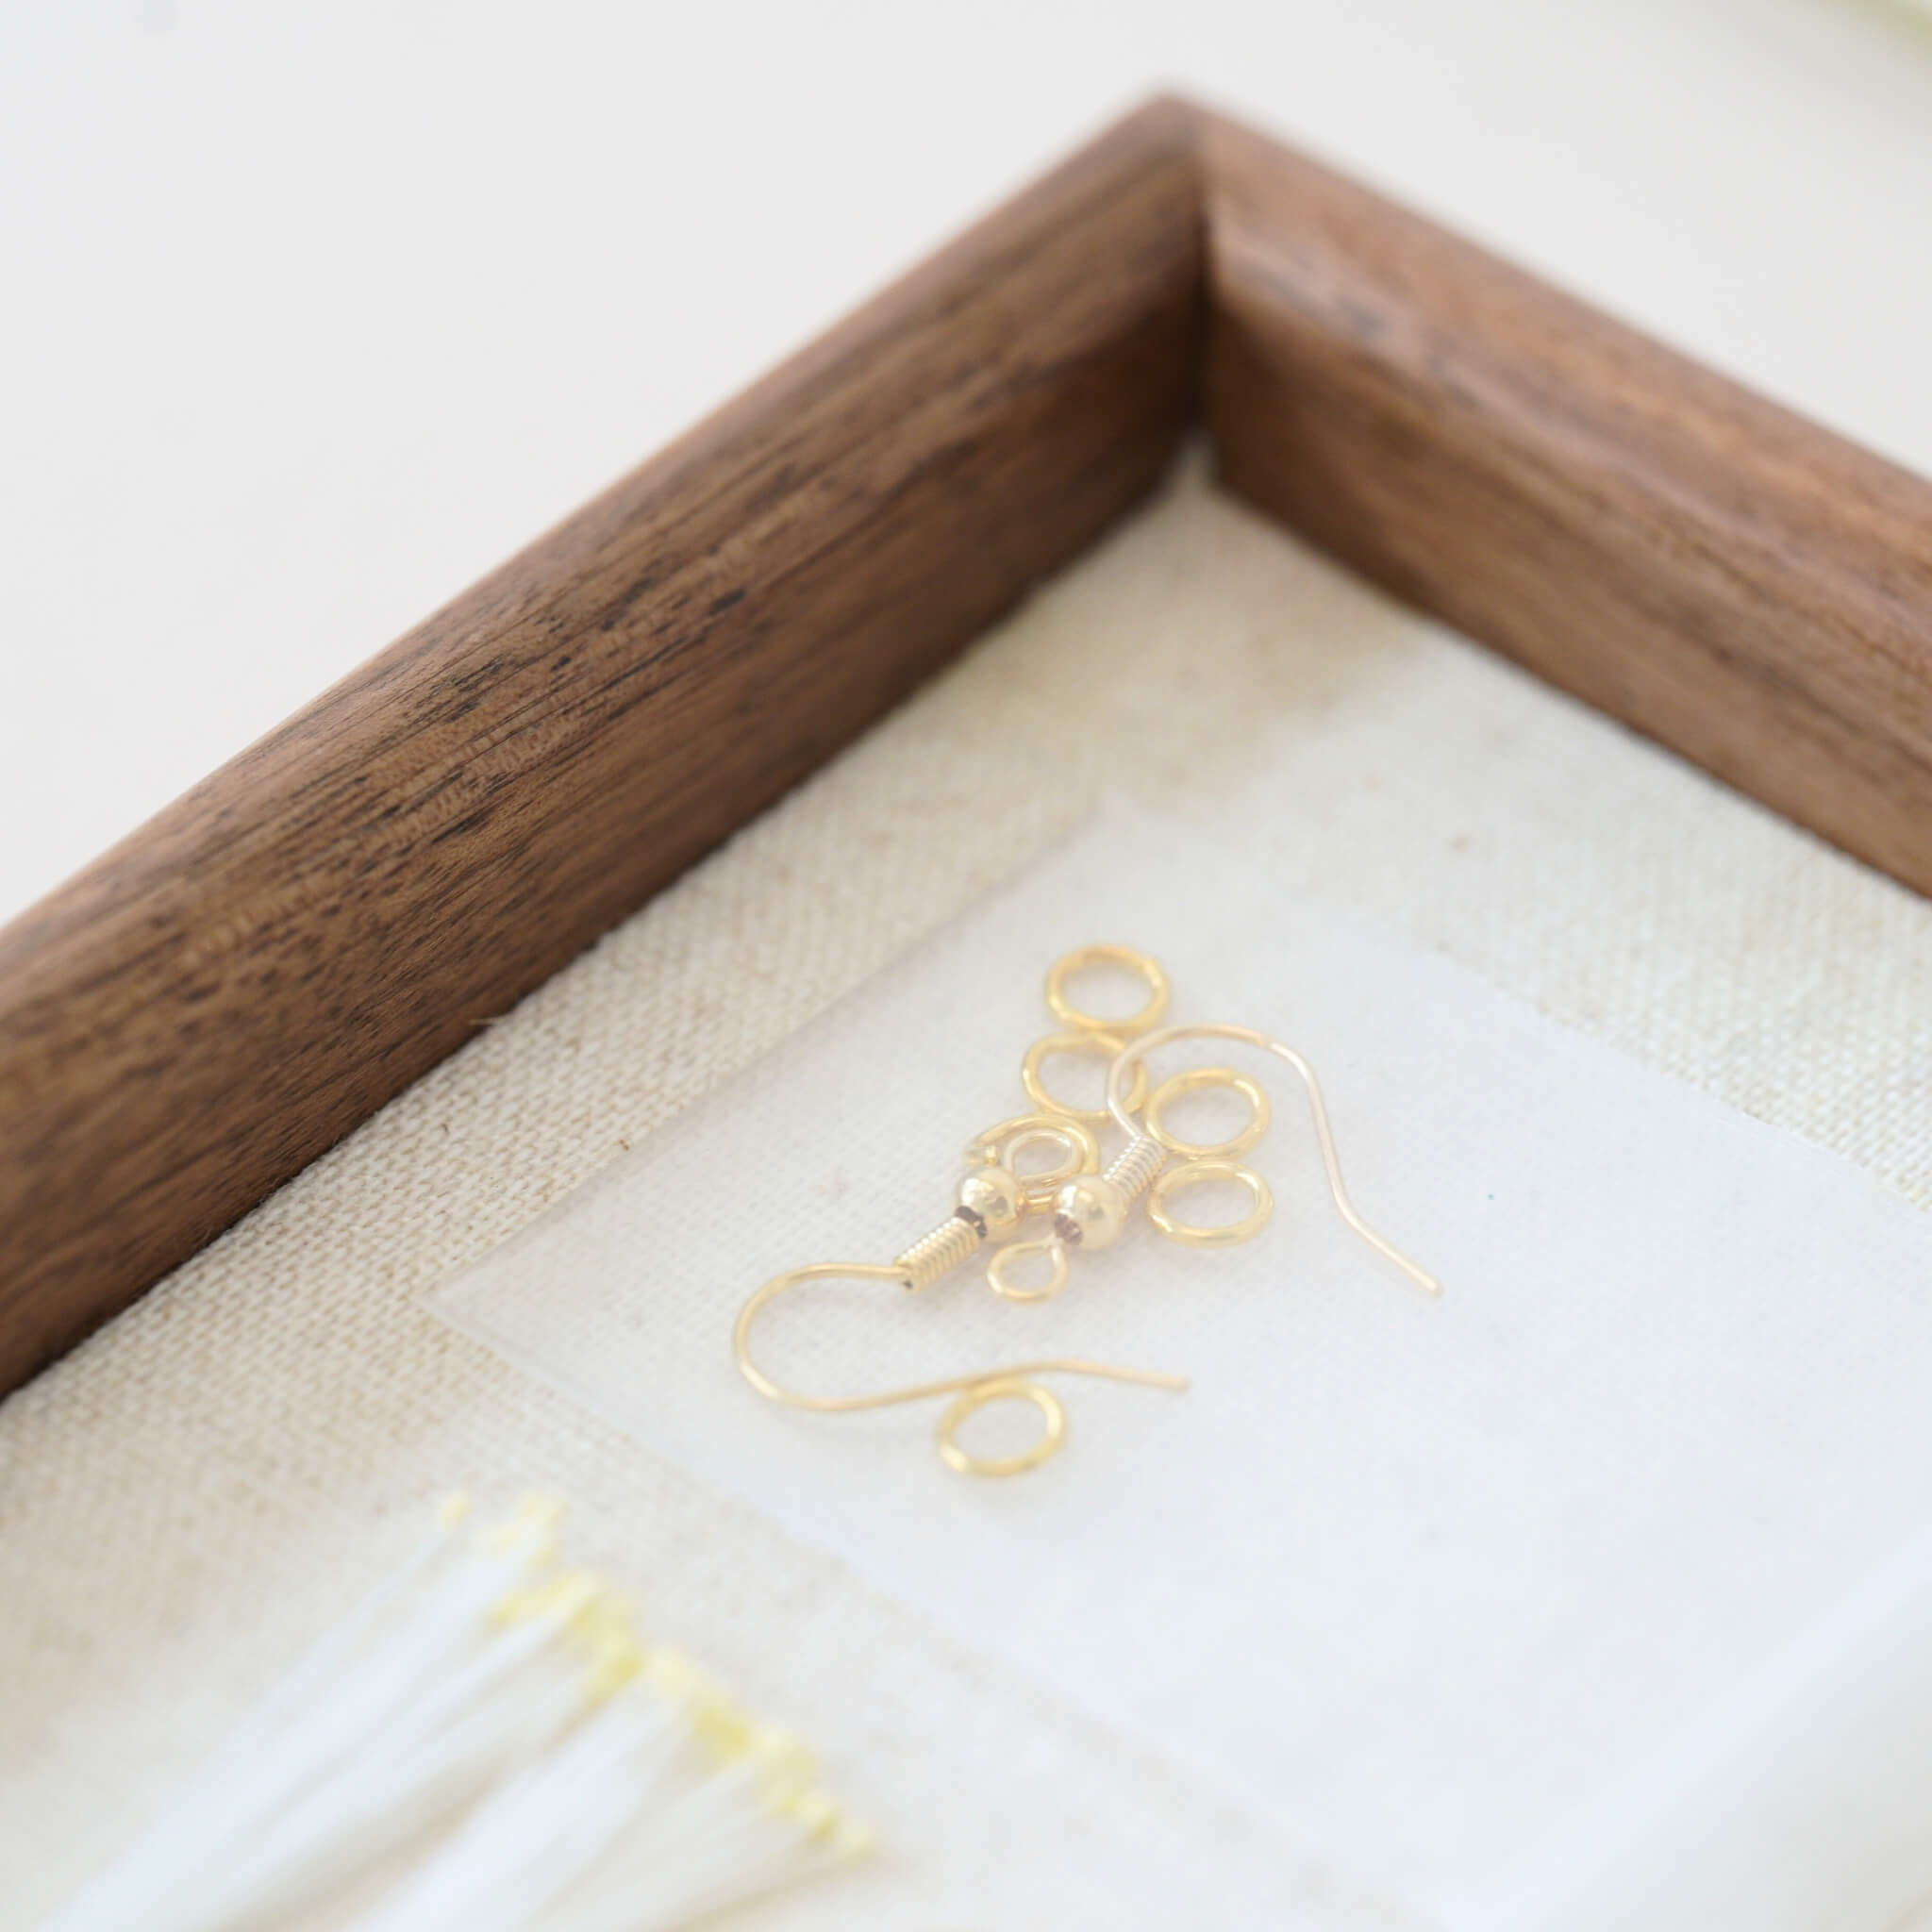
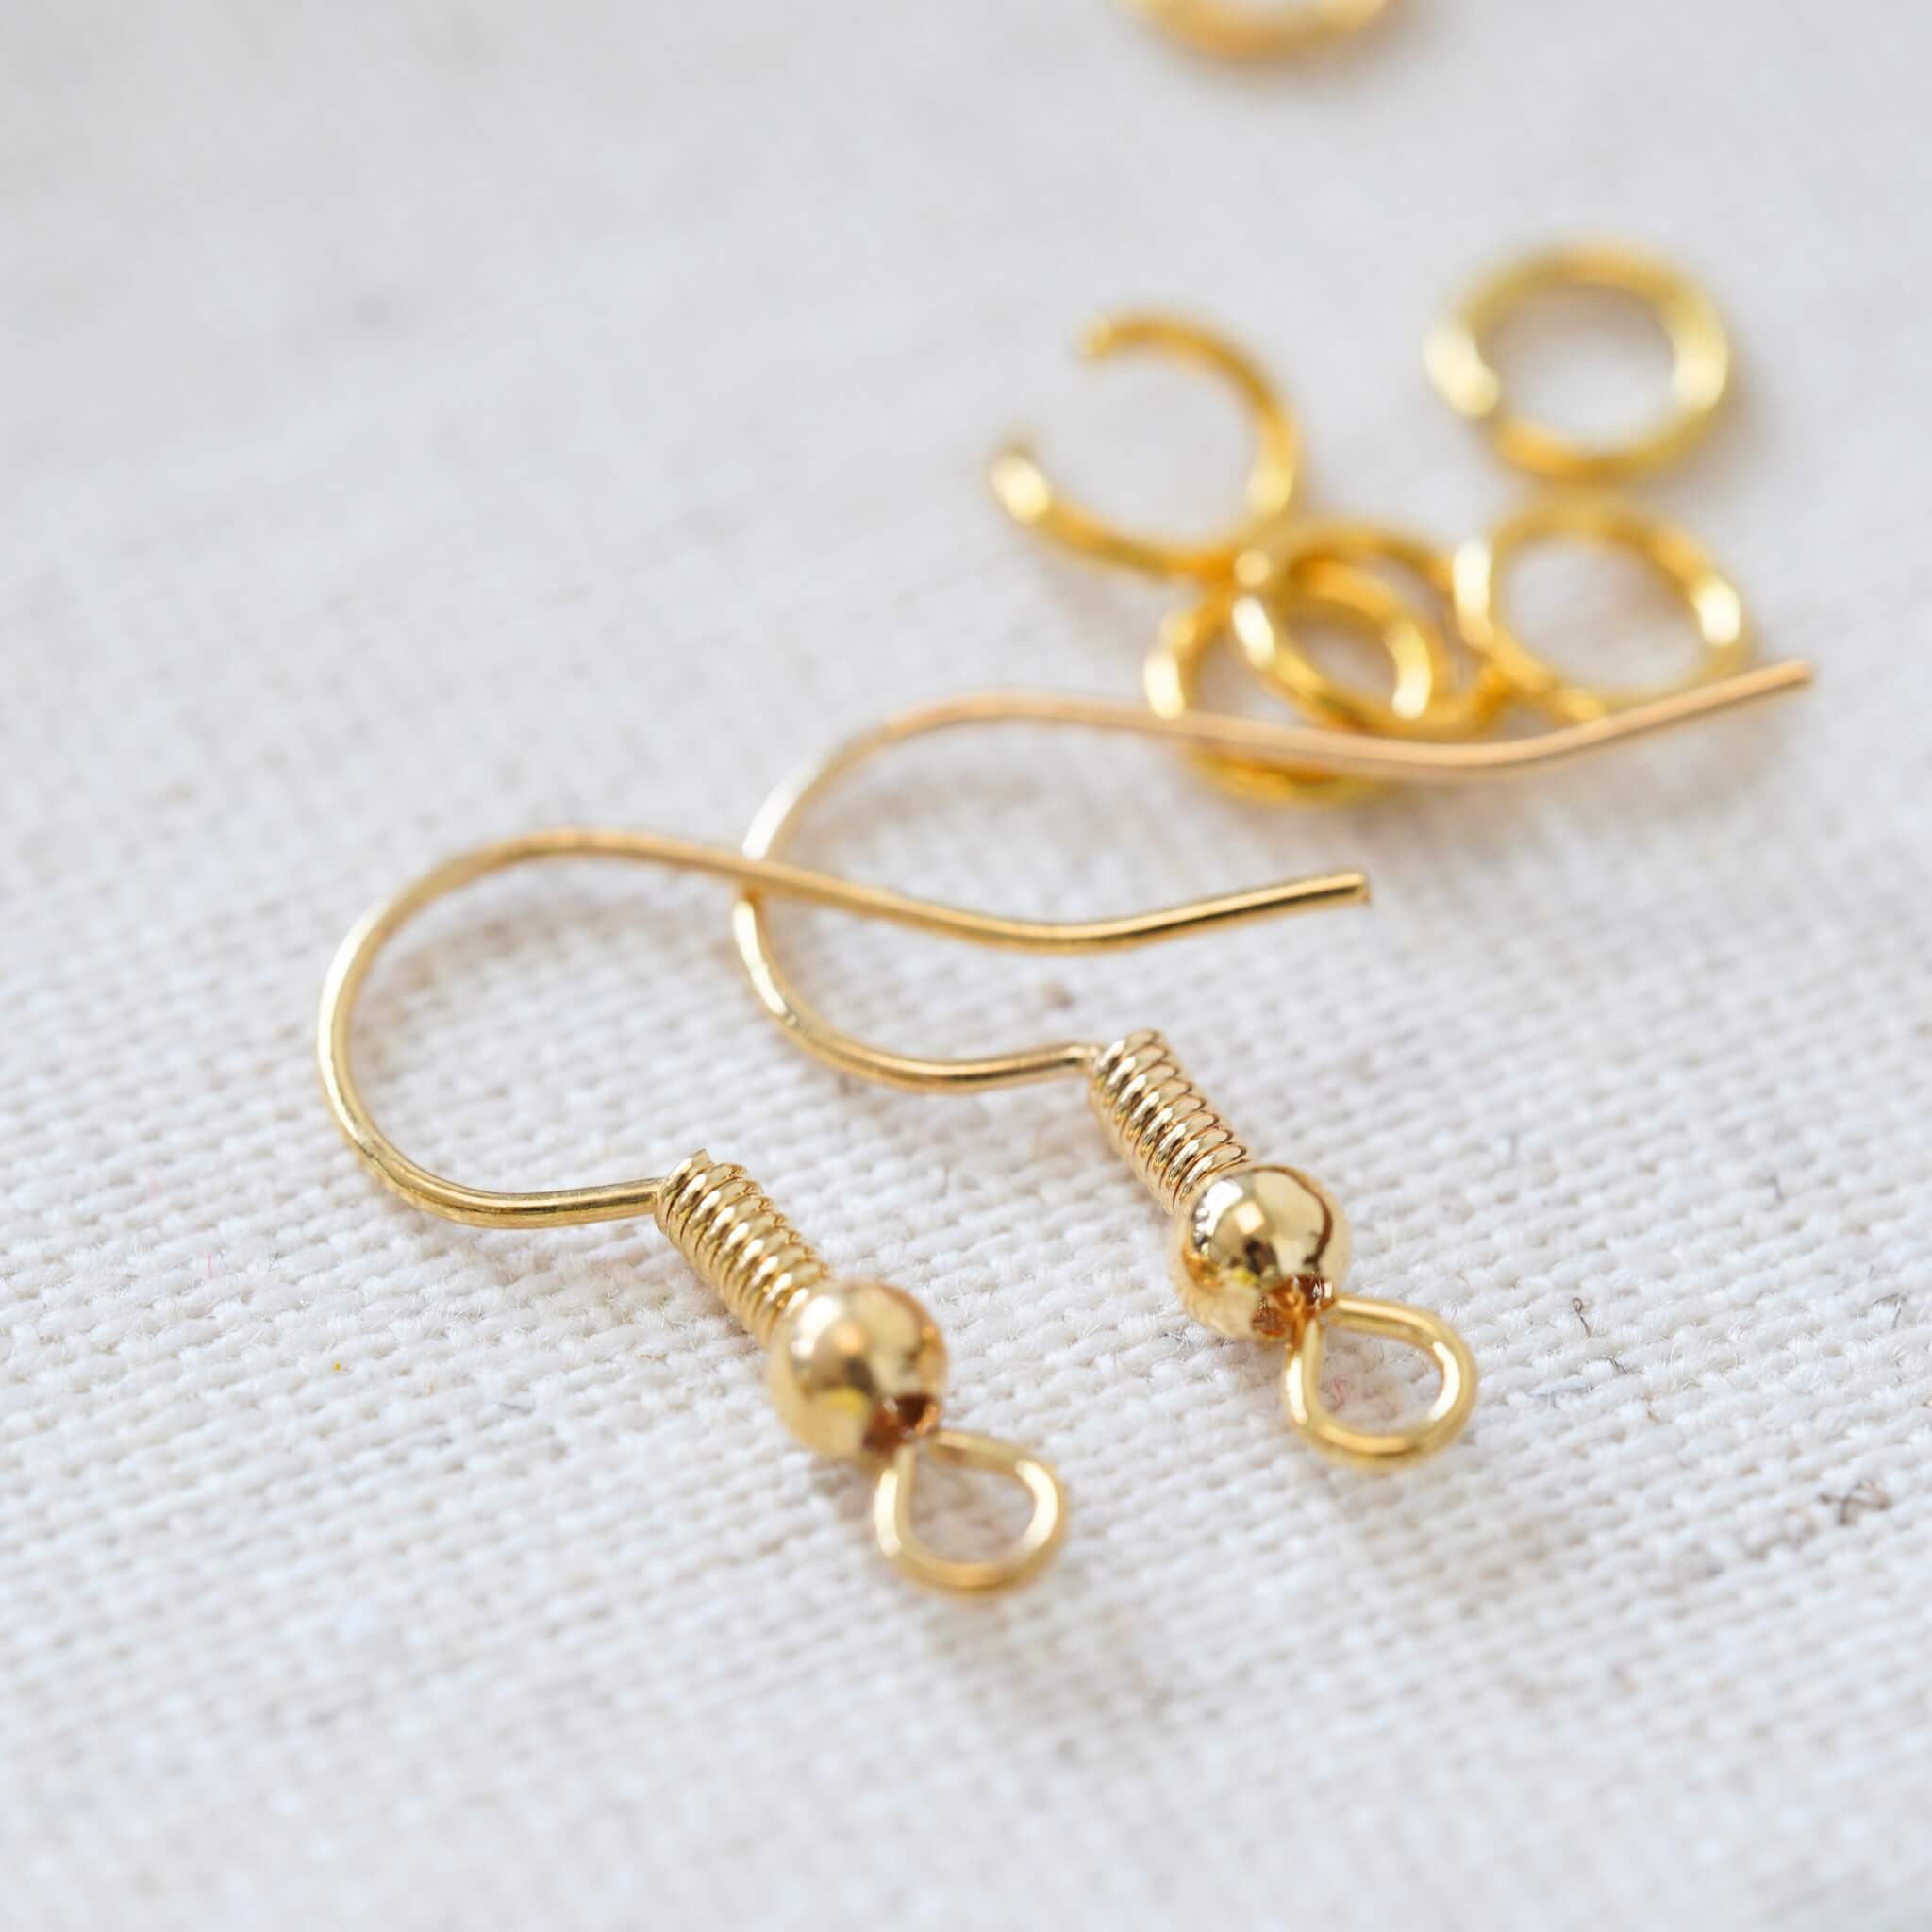
If you’re using a clip-on base, fold back the end of the copper wire to form a small loop and hook it onto the ring of the clip. Secure it by wrapping the thread tightly around the joint. (If you’re using a regular earring, refer to our White Gardenia tutorial for details.)
We use a special technique to tie the thread without any trace. To do this, you will need to take a small piece of copper wire or thread and fold it in half. Then stick it on the main body of the earclip. Cover the copper wire / thread when continue wrapping. When finishing, pass the remaining thread through the small loop of the copper wire.Then quickly pull the copper wire out from the tail. The thread ends are left inside the wrapped silk threads. You can safely cut off the exposed silk thread, and trim off any excess.
(We highly recommend you watch the video tutorial for this step:)
Step 15. Final Adjustments
Use tweezers to gently twist and position the flower so it faces forward. Adjust the petals into a natural orchid shape.
And that’s it — your Autumn Dew Butterfly Orchid Earrings are complete! 🌸




Hinterlasse einen Kommentar
Alle Kommentare werden vor der Veröffentlichung moderiert.
Diese Website ist durch hCaptcha geschützt und es gelten die allgemeinen Geschäftsbedingungen und Datenschutzbestimmungen von hCaptcha.