


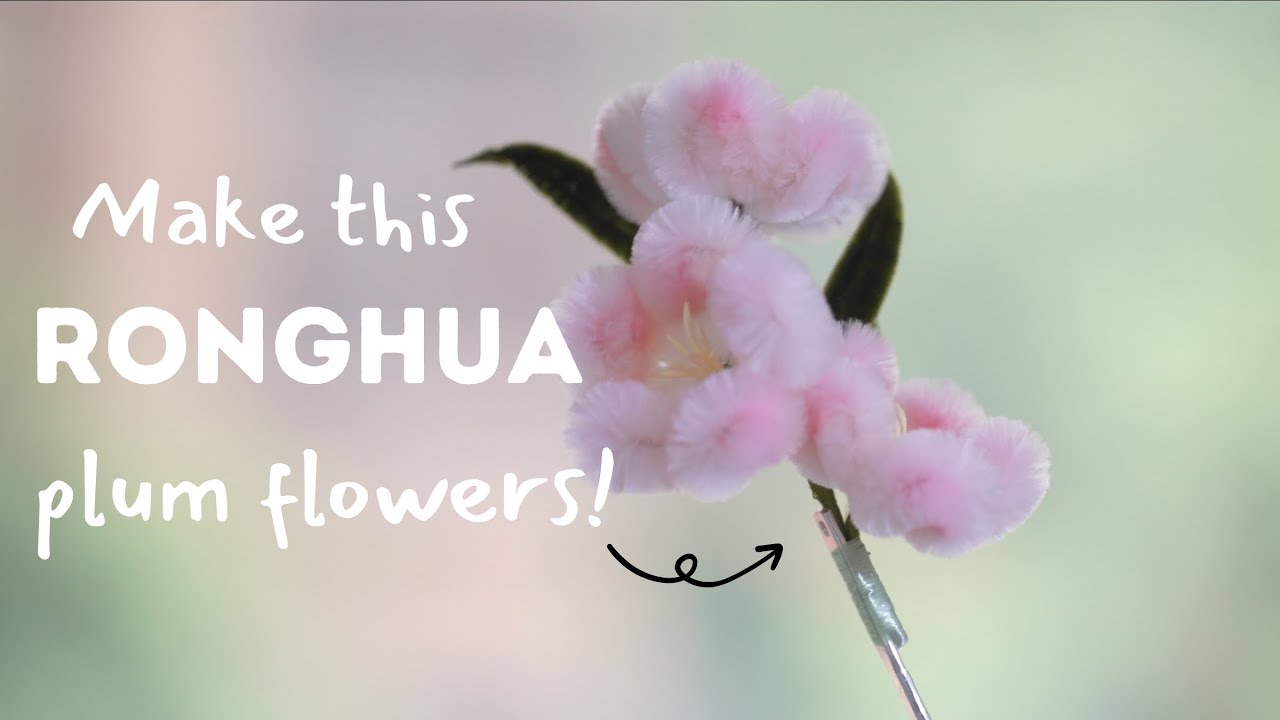
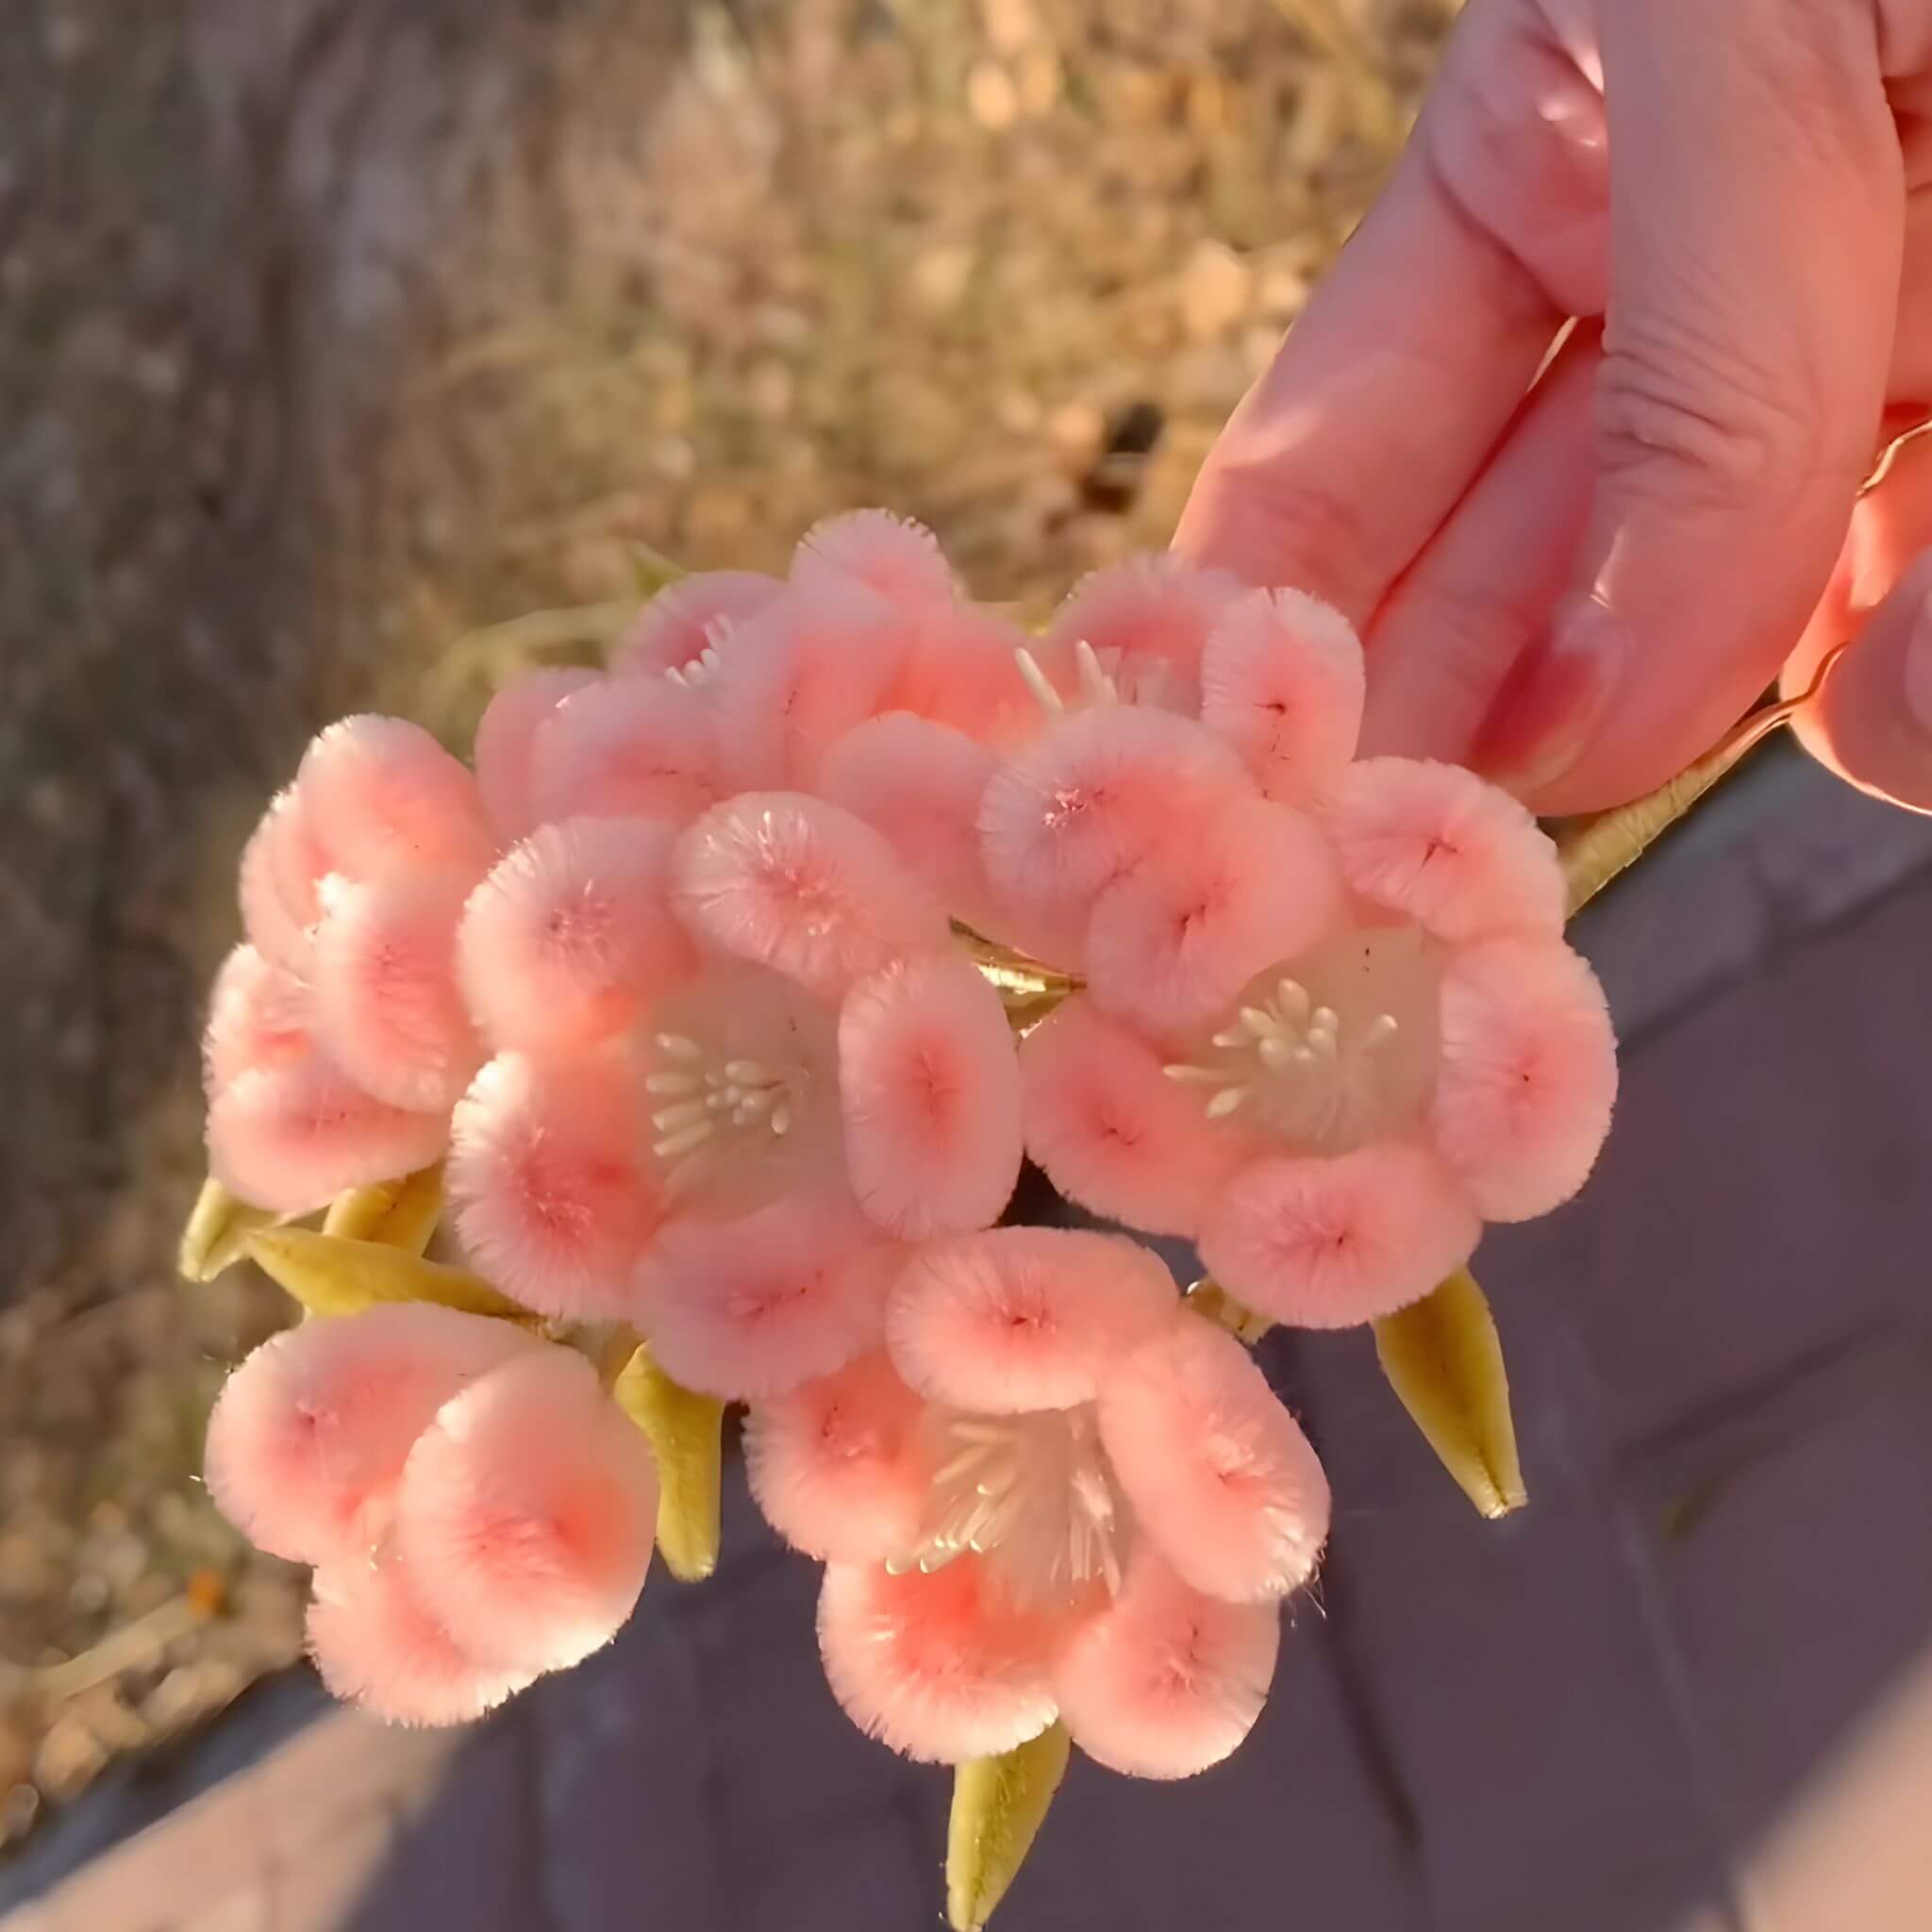
Lernen Sie, wie man mit der traditionellen Ronghua-Technik niedliche Pflaumenblüten herstellt! In diesem Schritt-für-Schritt-Tutorial führen wir Sie durch die Vorbereitung der Seidenstreifen, das Bürsten, Formen und Zusammenfügen Ihrer eigenen Pflaumenblüten.
Schritt 1: Organisieren Sie die Seidenfäden und bürsten Sie die Seide
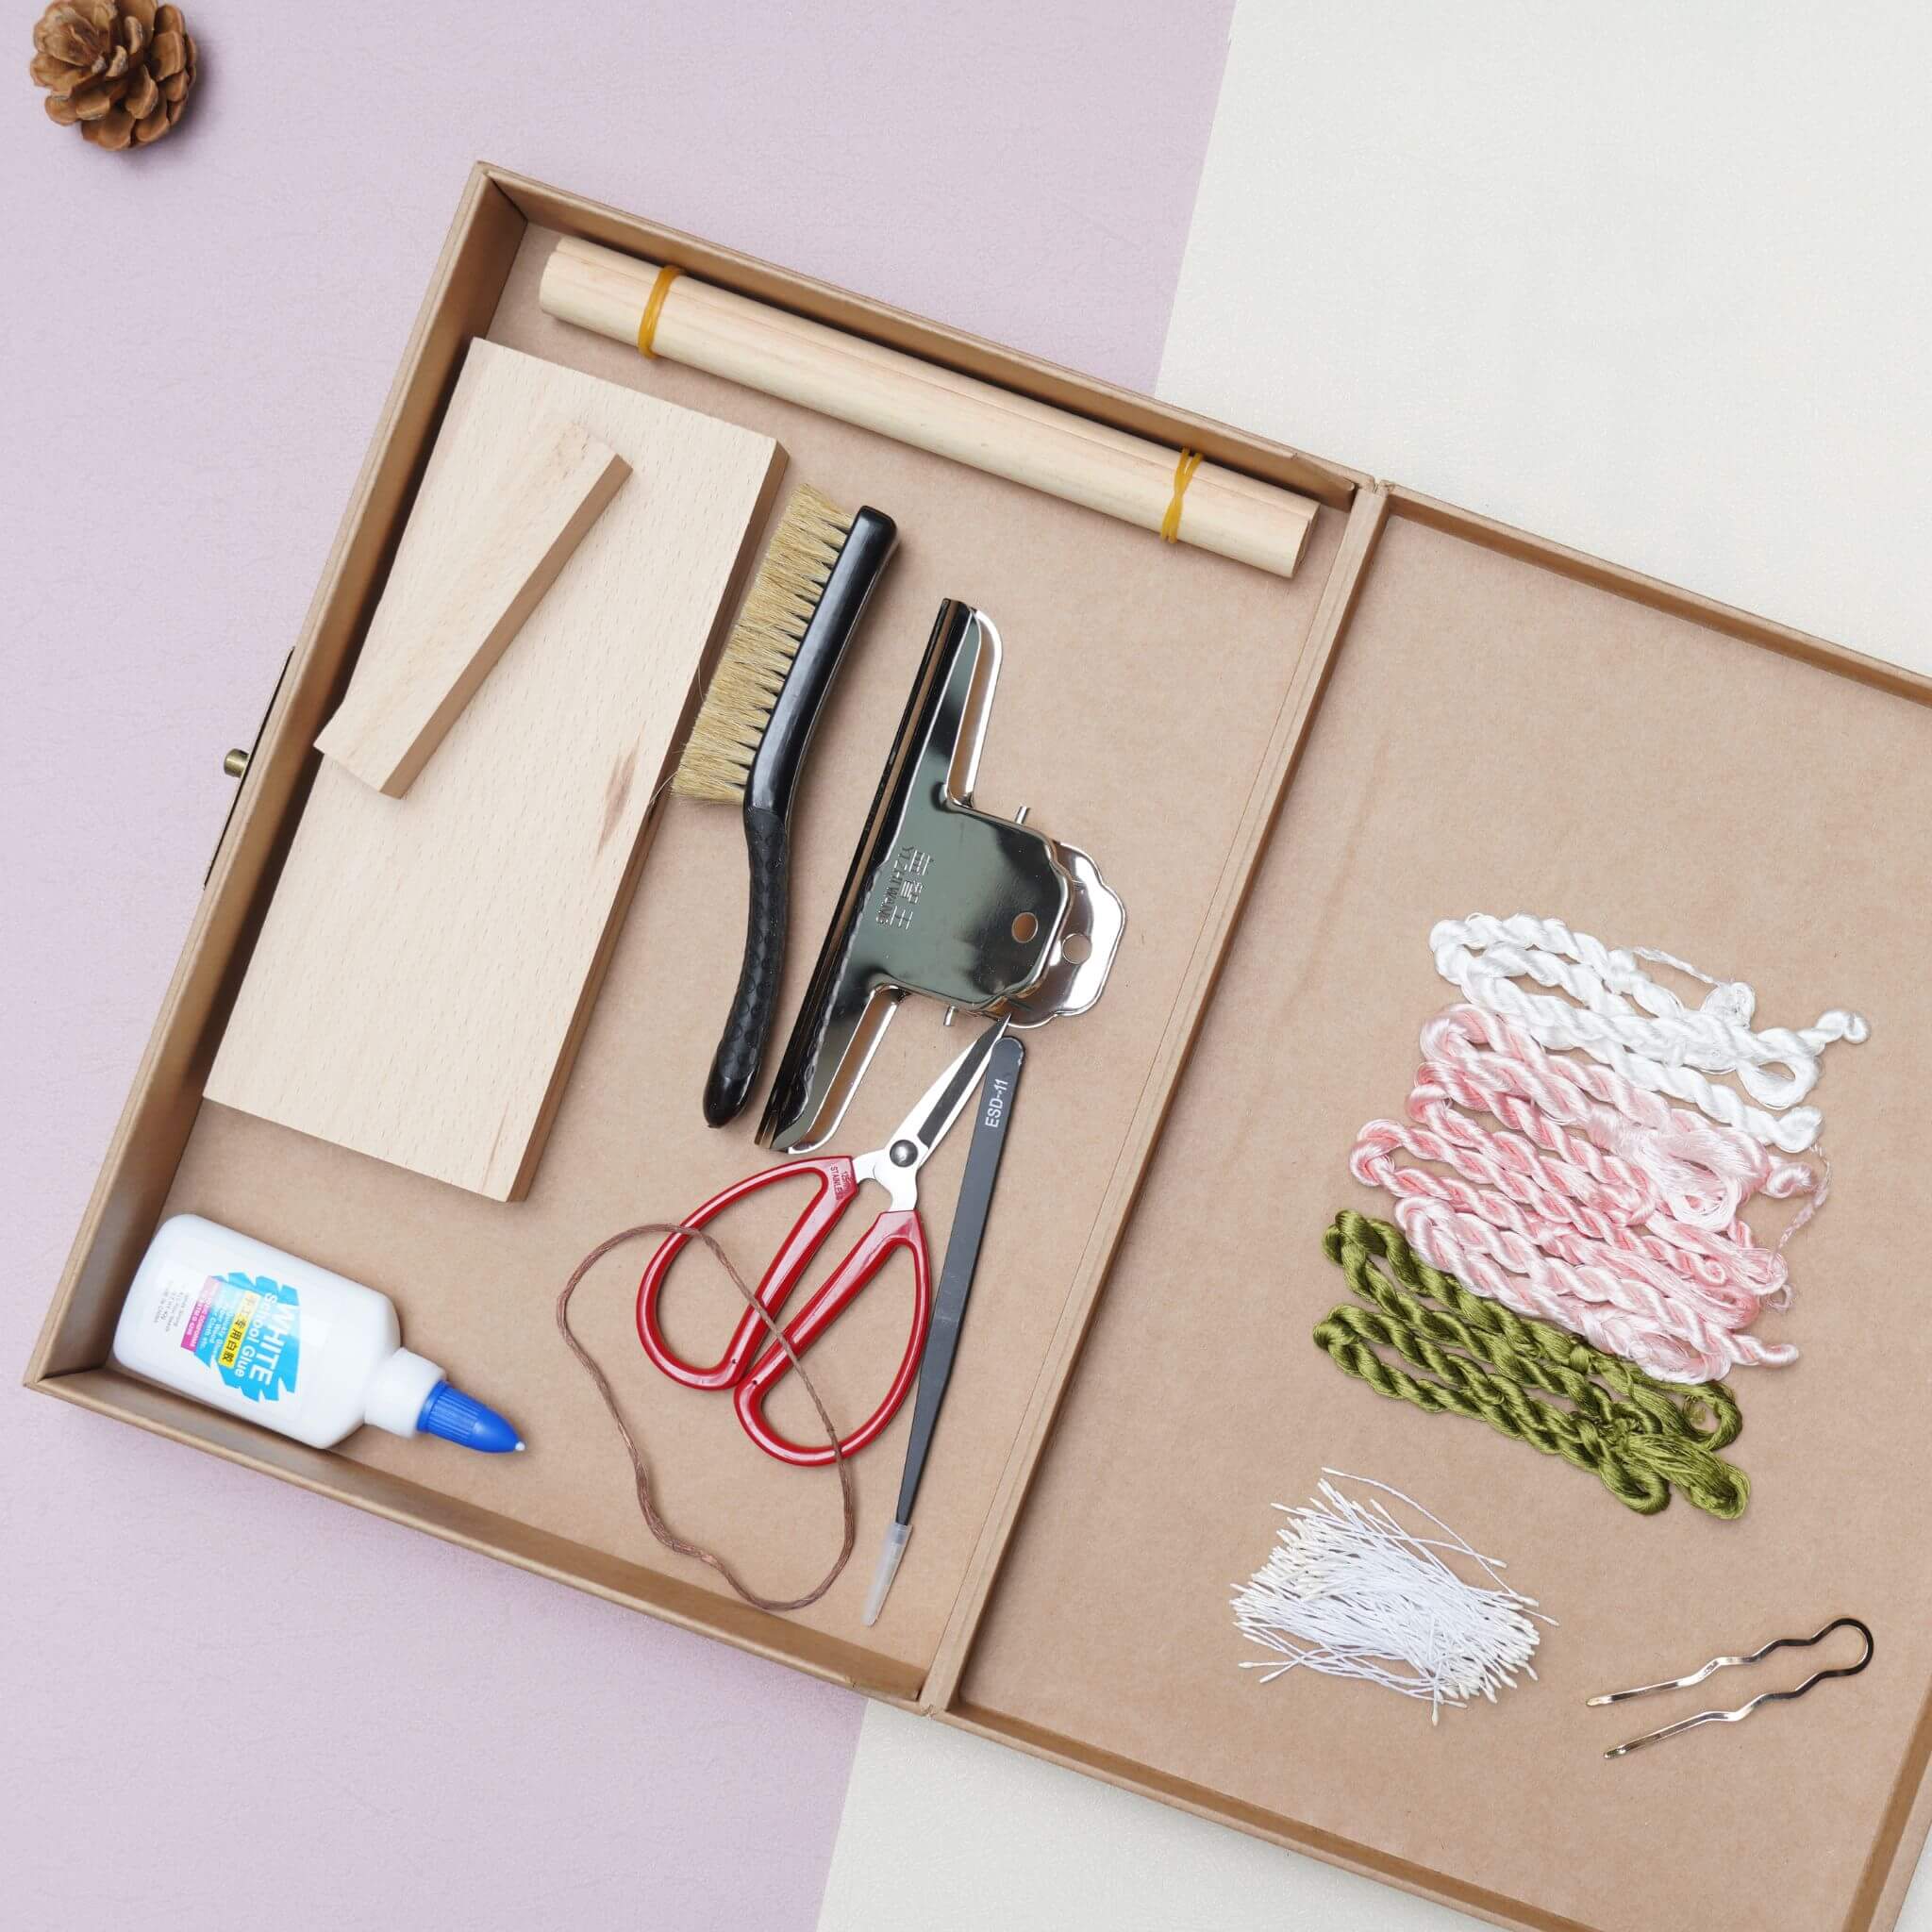
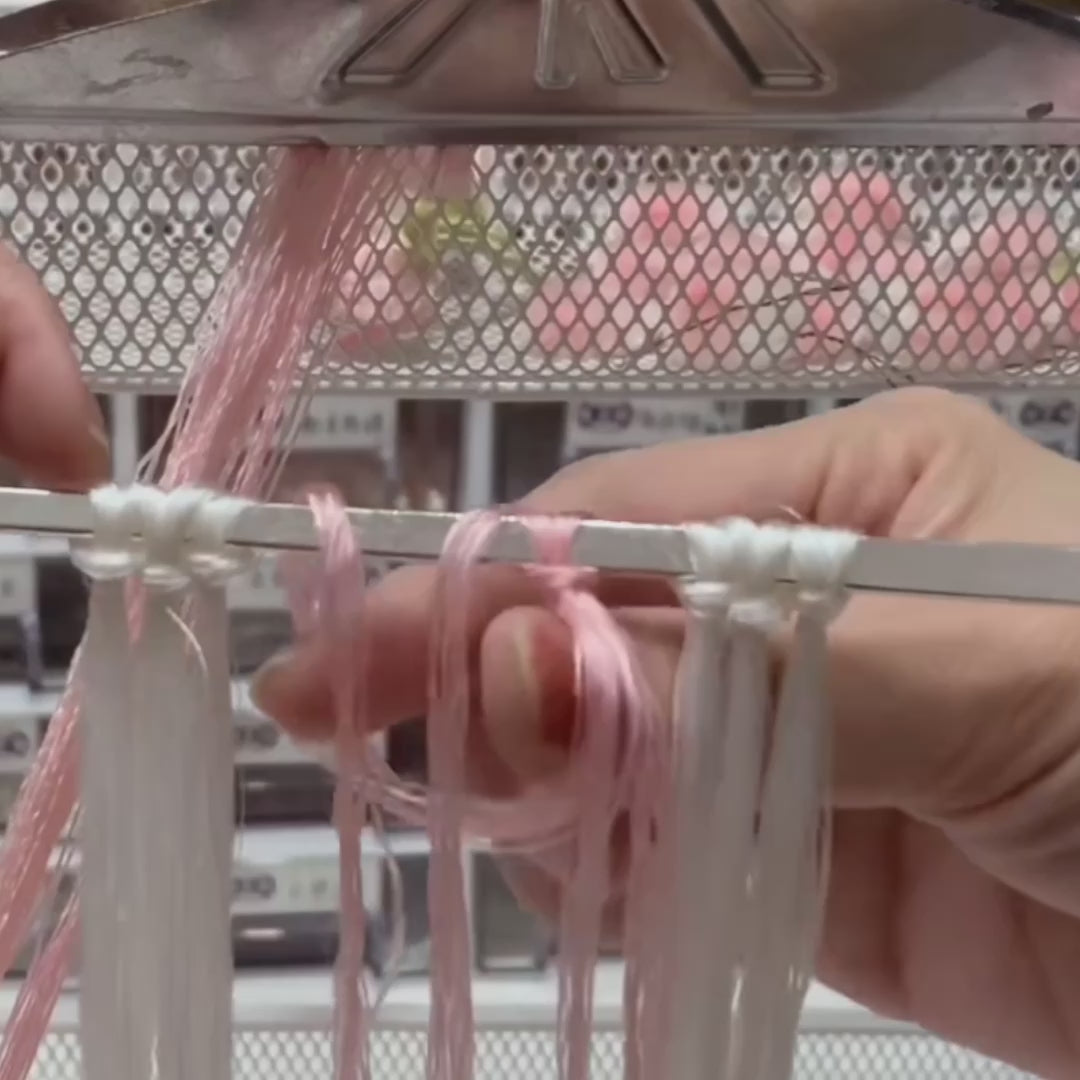
Teilen Sie die Pfirsichblüten-Seidenfäden in Gruppen von 10 bis 12 Fäden, wobei jede Gruppe dicht zusammengehalten wird. Für die Blätter wird nur die Hälfte der Menge eines normalen Seidenstreifens benötigt, da Pfirsichblätter nicht viel brauchen. Zu viele zu machen wäre Verschwendung. Teilen Sie die Fäden in zwei Hälften und schneiden Sie sie in der Mitte, dann schneiden Sie erneut durch die Mitte. Die Flauschigkeit des Seidenstreifens wird nicht durch die Anzahl der Fäden in jeder Gruppe bestimmt, sondern wie dicht die Fäden angeordnet sind.

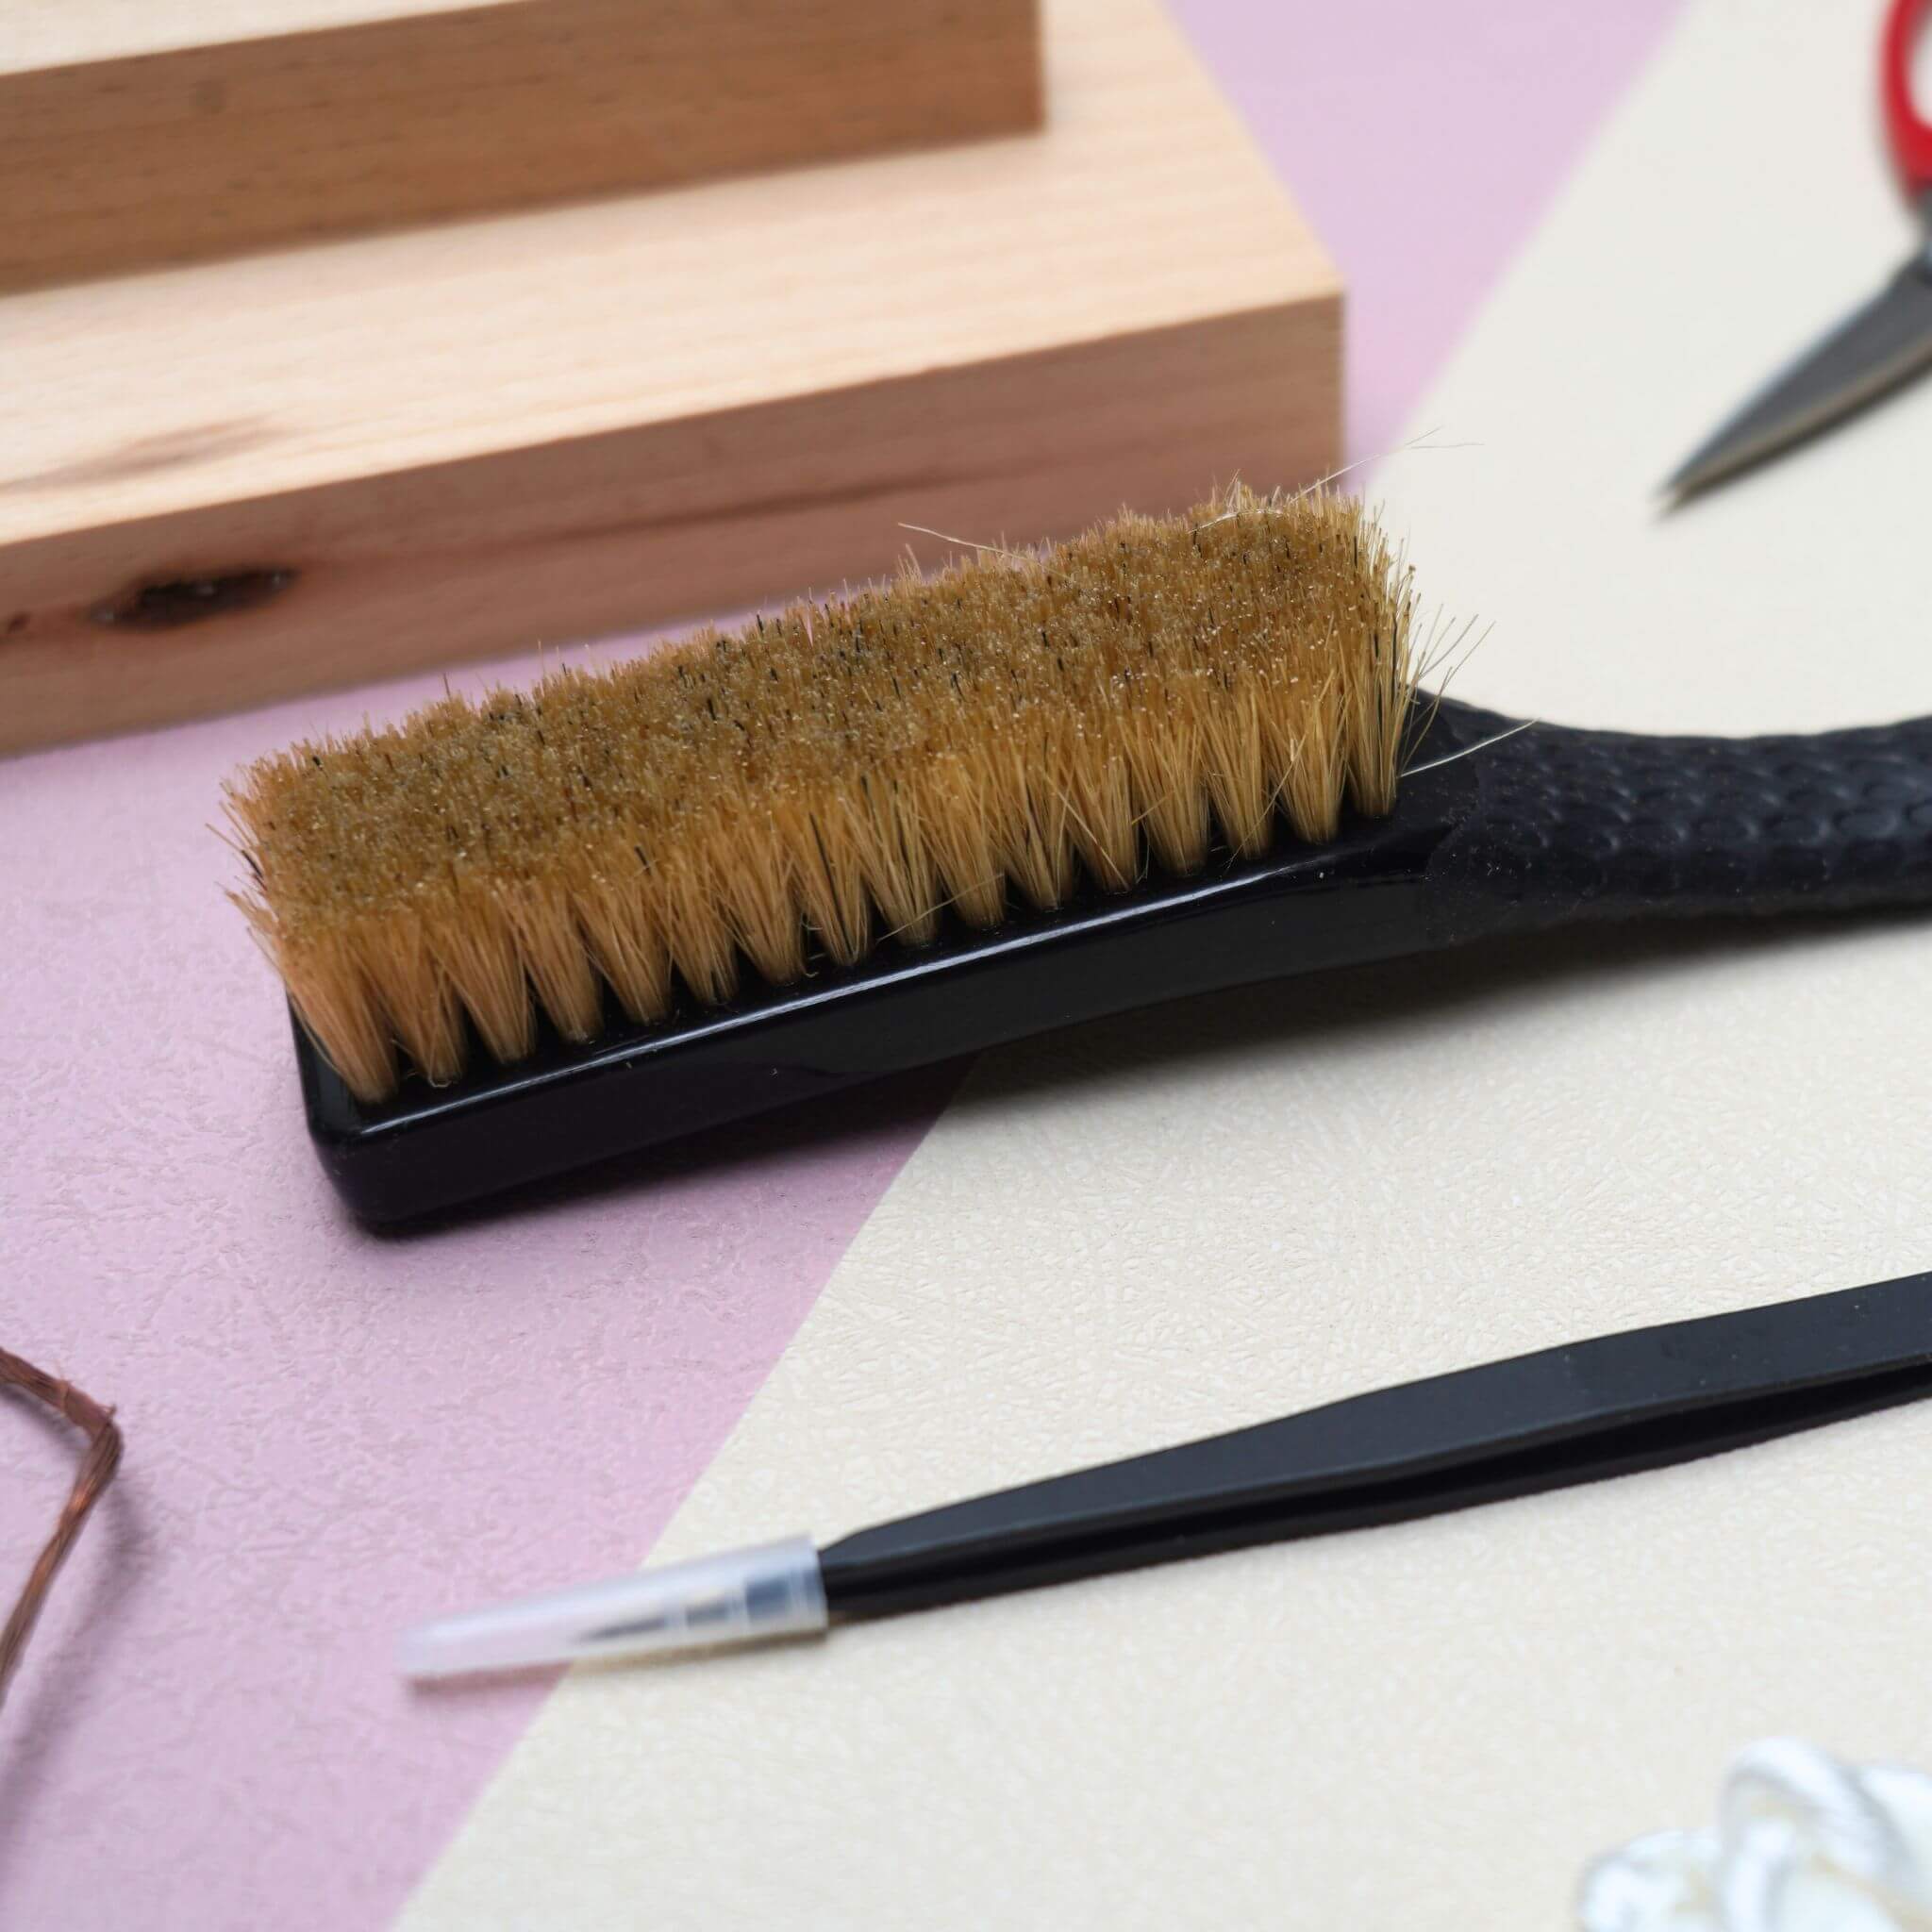
Ein wenig Wasser beim Bürsten zu sprühen kann helfen, dass die Fäden nicht herumfliegen. Die Borsten der Bürste müssen in die Seidenfäden eindringen, sonst neigen sie zum Verheddern. Nach dem Bürsten macht das Pressen der Seide mit einer erhitzten Klammer sie noch glatter.

Schritt 2: Die Seidenstreifen herstellen
Verwenden Sie einen Ständer zur Unterstützung, um die Seidenfäden zu fixieren. Stellen Sie sicher, dass der Seidenstreifen straff gespannt ist und die Breite von oben nach unten gleichmäßig bleibt. Befestigen Sie ihn schließlich mit einer bergförmigen Klammer. Richten Sie den Kupferdraht gerade aus und drehen Sie das geschlossene Ende etwa 2 bis 3 cm. Beim Drehen des Kupferdrahts muss dieser straff gehalten werden. Drehen Sie zuerst die beiden Drähte an einem Ende zusammen, dann drehen Sie mit beiden Händen den Kupferdraht in entgegengesetzte Richtungen. Der Draht sollte straff, aber noch beweglich nach oben und unten sein. Für diesen Seidenstreifen beträgt der Abstand zwischen den Kupferdrähten 1,5 cm. Wenn der Kupferdraht nicht richtig gedreht wird, können die Seidenstreifen beim Schneiden auseinanderfallen. Es ist am besten, etwas Magnesiumpulver oder Anti-Rutsch-Pulver auf die Finger aufzutragen, wenn Sie mit dem Kupferdraht arbeiten.


Sobald der Draht gesichert ist, beginnen Sie, die Seide zu schneiden. Der Seidenstreifen sollte in eine Form geschnitten werden, die dem Bild ähnelt – an einem Ende dicker und am anderen dünner.


Schritt 3: Die Blütenblätter zusammensetzen
Schneiden Sie die Basis des Blütenzentrums schräg ab und wickeln Sie es dann fest mit Seidenfaden ein. Fünf Blütenblätter ergeben eine vollständige Blume. Jedes Mal, wenn Sie ein Blütenblatt hinzufügen, wickeln Sie den Faden einmal herum. Nachdem Sie den Faden bis zum Boden gewickelt haben, machen Sie einen Knoten und schneiden den Überschuss ab. Verwenden Sie eine Pinzette, um die Form der Blütenblätter anzupassen.

Jetzt werden wir die Blätter und die Blume zusammenfügen. Drehen Sie zuerst die Kupferdrähte an der Basis der beiden Blätter zusammen. Dann tragen Sie Weißleim auf die Blätter auf und kleben sie zusammen. Sobald der Leim getrocknet ist, schneiden Sie den überschüssigen Kupferdraht ab.
Sobald die Blume fertig ist, wählen Sie eine Basis, die Ihnen gefällt, und befestigen Sie die Blume daran. Die Pfirsichblüte ist nun komplett.

Wenn du dein DIY-Produkt fertiggestellt hast, lade dich ein, uns deine großartige Arbeit zu zeigen und Gutscheine zu erhalten für den Rest unserer DIY-Kits!
INS@lanseichina
Pinterest@lanseichina


Einen Kommentar hinterlassen
Alle Kommentare werden vor der Veröffentlichung moderiert.
Diese Website ist durch hCaptcha geschützt und es gelten die allgemeinen Geschäftsbedingungen und Datenschutzbestimmungen von hCaptcha.